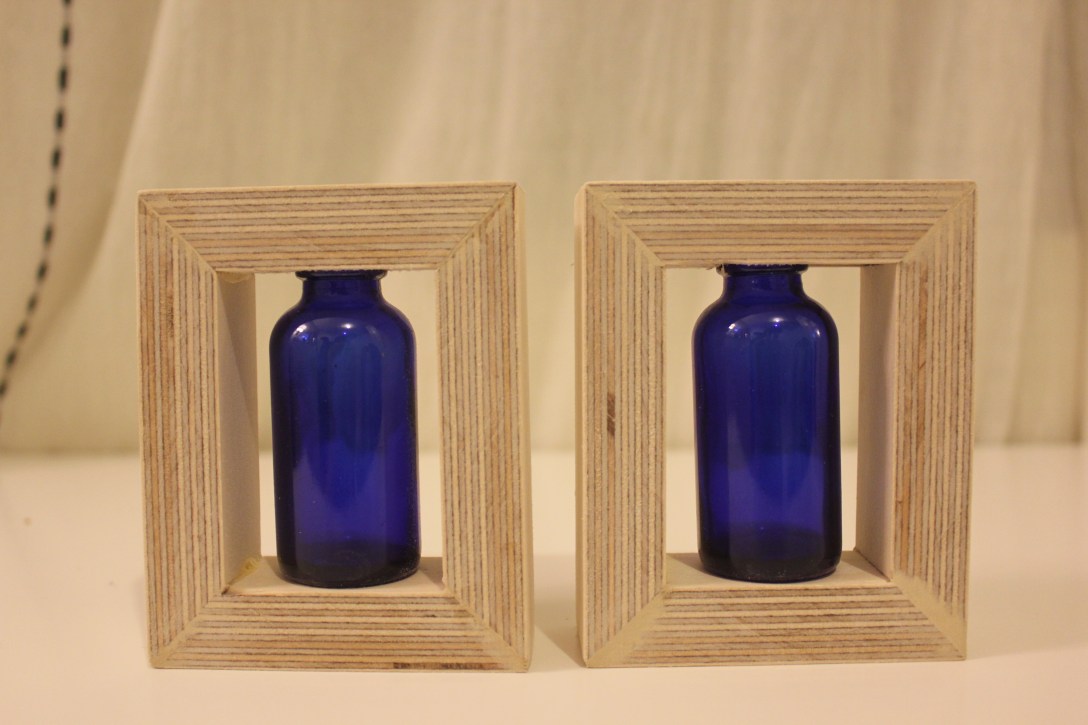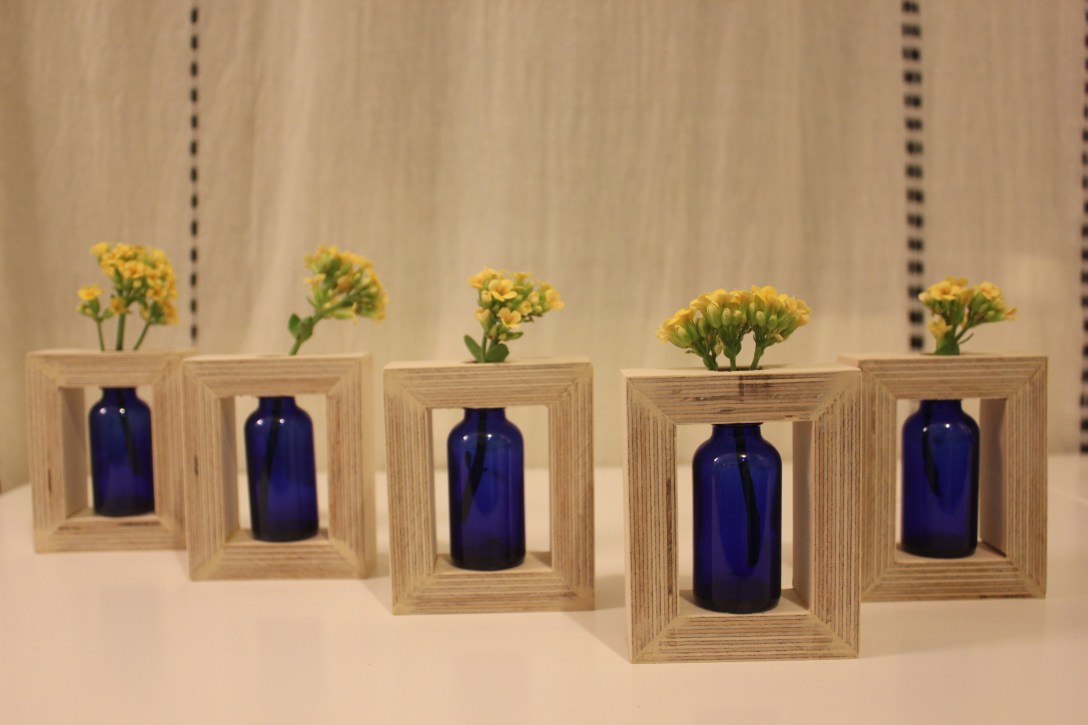
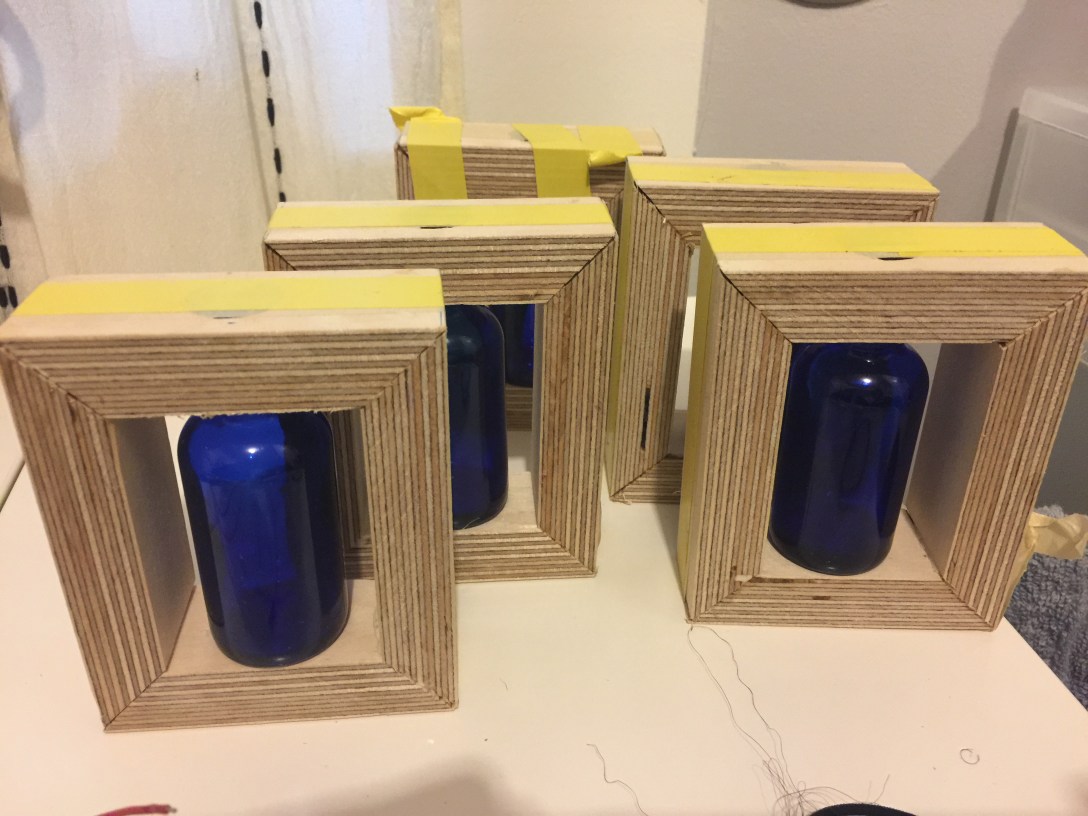
 I created 5 identical bud vases for my WK 2 assignment. Truthfully they are irritatingly not identical – this project proved to be more challenging than I expected.
The bud vases came from an idea that I pinned on Pinterest years ago…
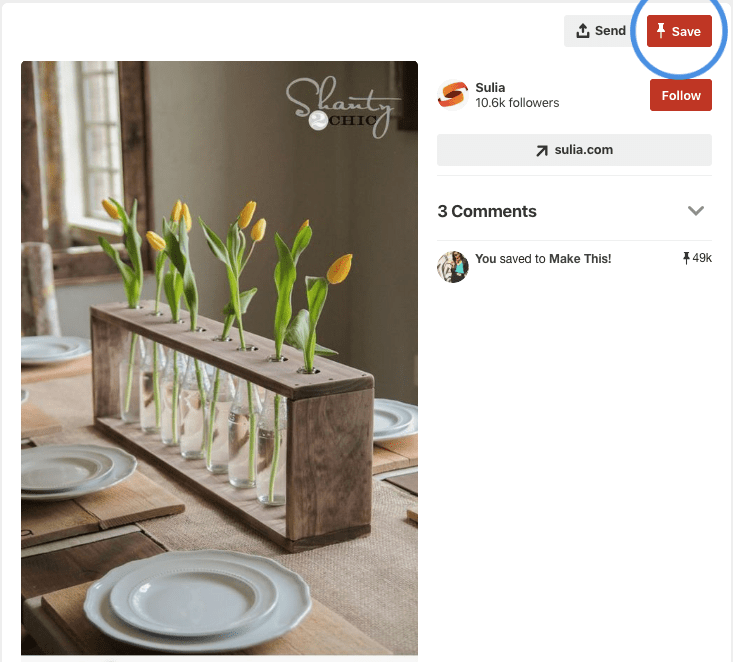
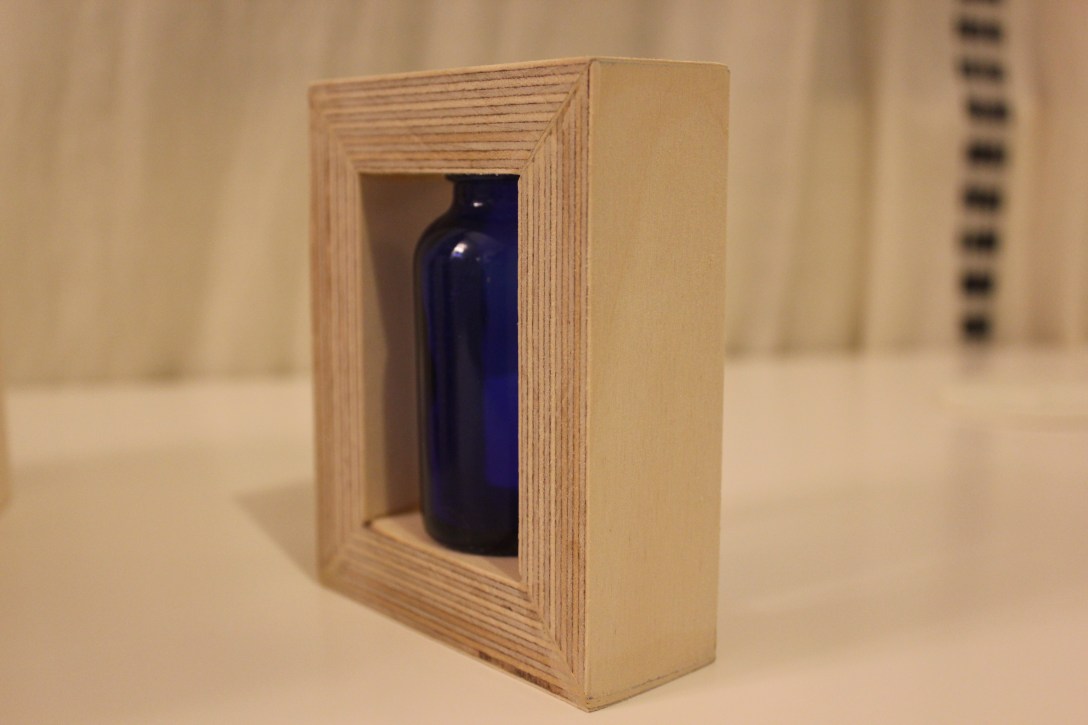
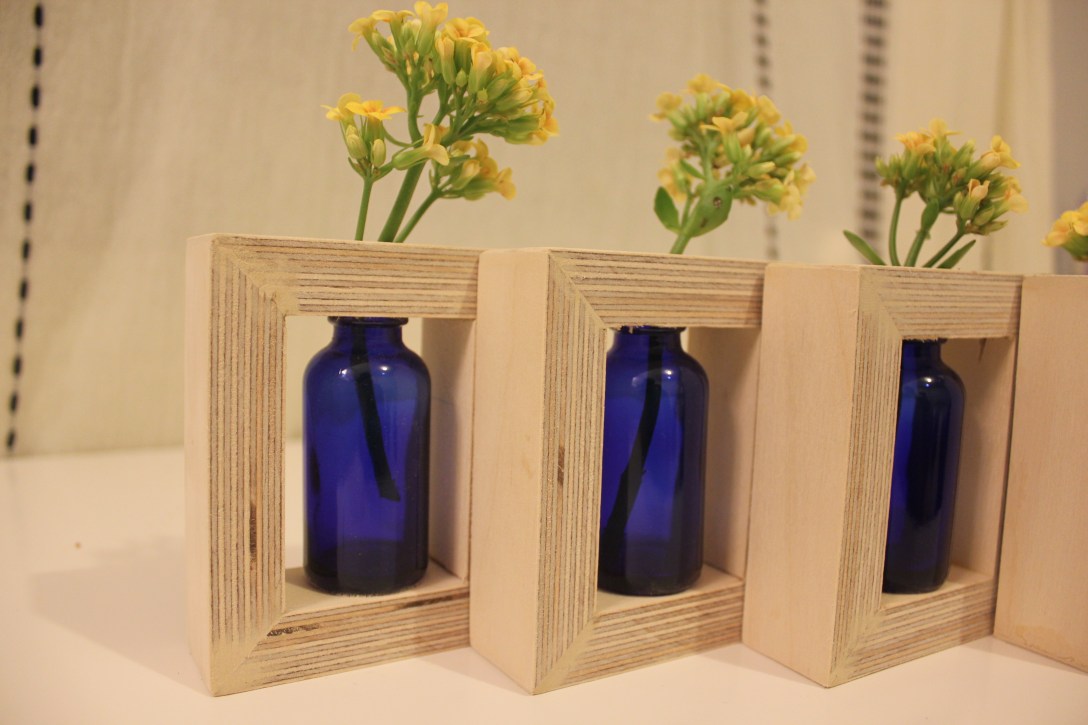
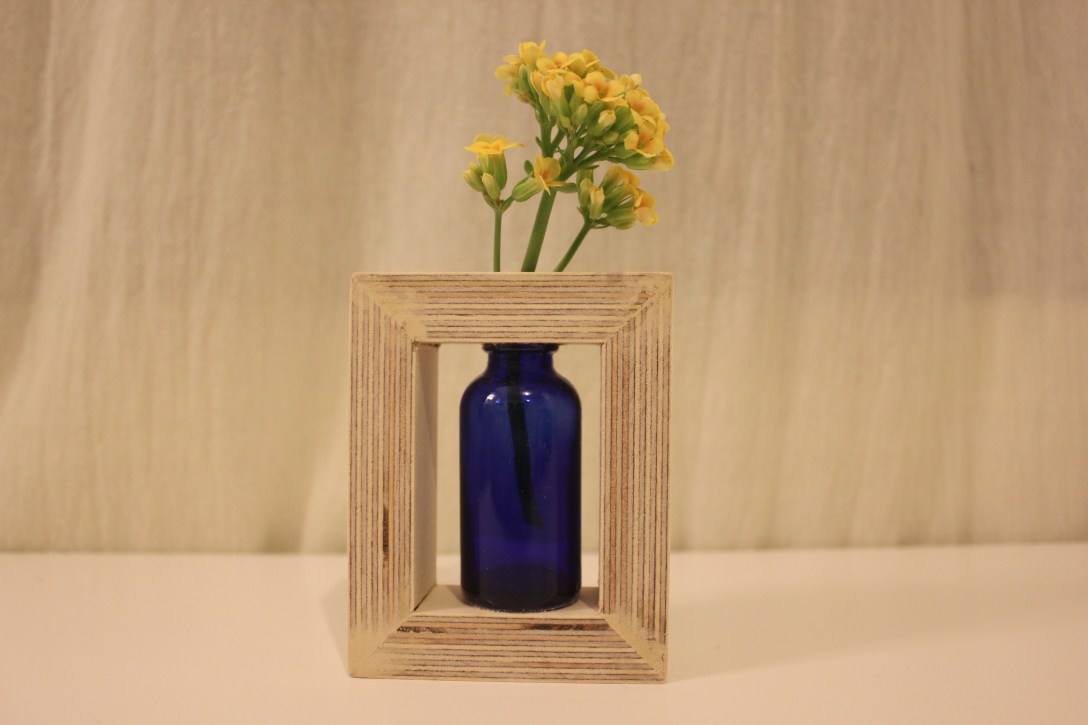
I decided to make something like this, using 5 small bottles, isolating each to its own enclosure. This link didn’t come with any instructions. It was the image that I used as a reference point. I should have followed it a little more closely because, as you can see, this project uses butt joints to connect its edges. I’ve always preferred the look of mitre joints so I decided to venture into that territory. Now, I’ve made mitre joints before but the constraint was never that all the iterations of that project had to be the same.
The first thing to do was to find 5 little bottles that would be a worthy shape and size for the vases. I went to Whole Foods because they have fancy things like Yerba Mate shots that come in cute bottles. I spent several hours just walking the isles, taking photos of bottles, trying to determine which of their contents would be the least terrible to consume in order to empty the container.
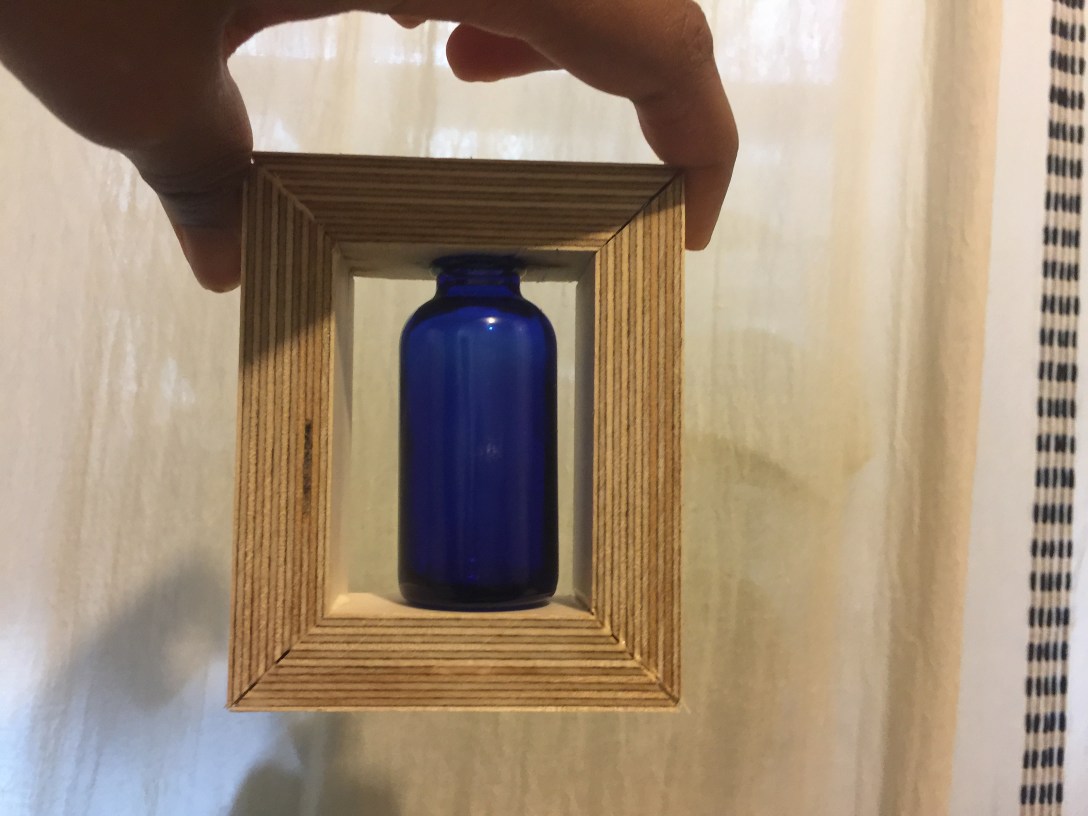
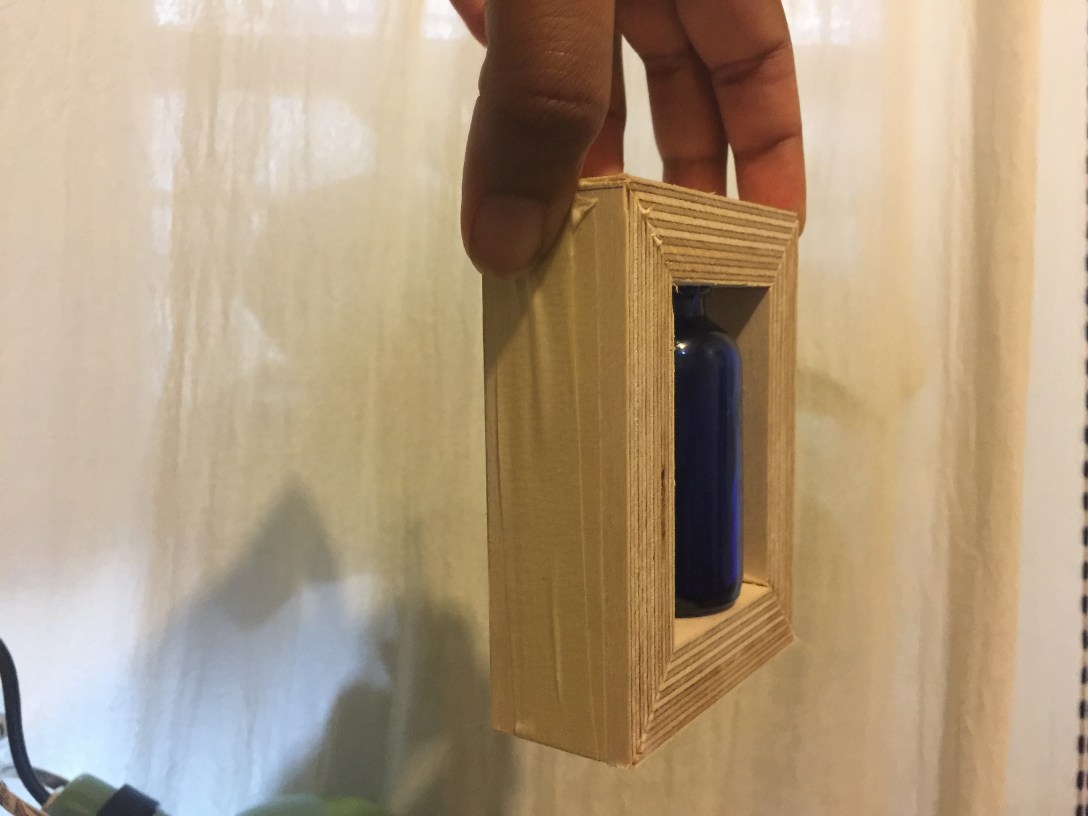
I landed on these very pretty dark blue bottles that are commonly used for making your own essential oil fragrances. The best part was that they were already empty! No turmeric vinegar shots necessary.
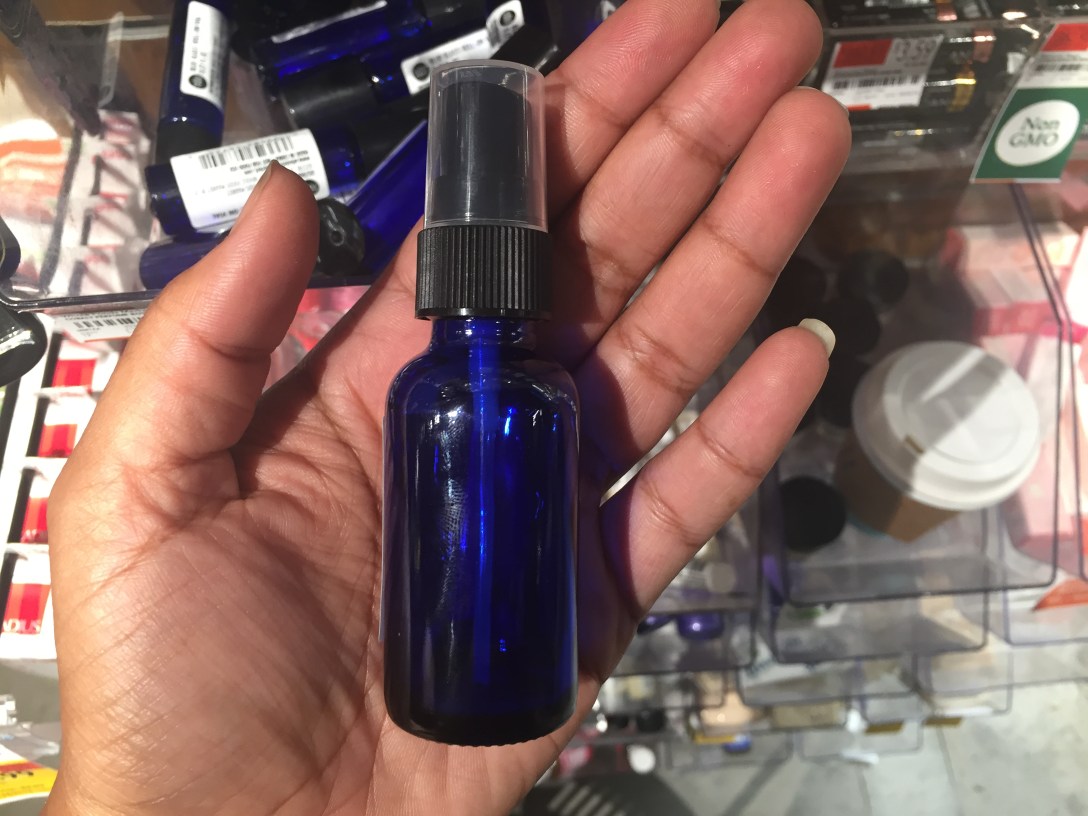
I took them back to shop to take some measurements with a set of callipers. I drew a very vague sketch to begin with. I knew the wooden enclosure had to fit the size of the bottle very snuggly. If the measurements were off then the enclosure would have dramatic gaps in the mitred edges.
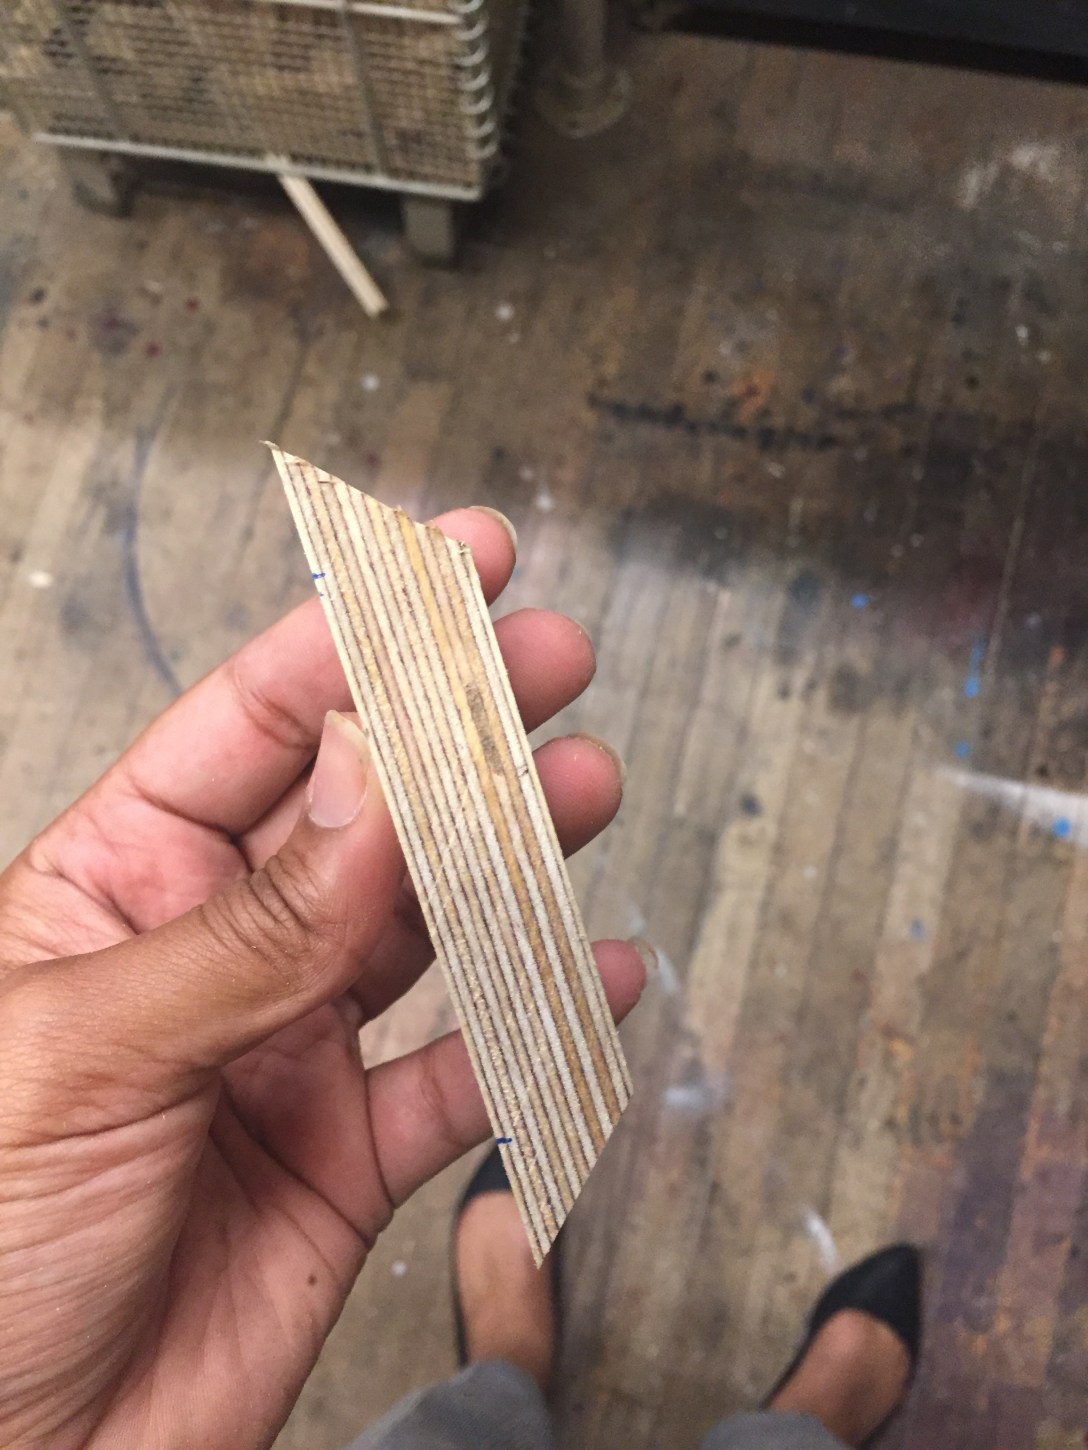
I found a piece of narrow wood in the scrap pile. It was already a similar width to the blue bottles. There was a limited amount of it so I was nervous about making a mistake and running out of length.


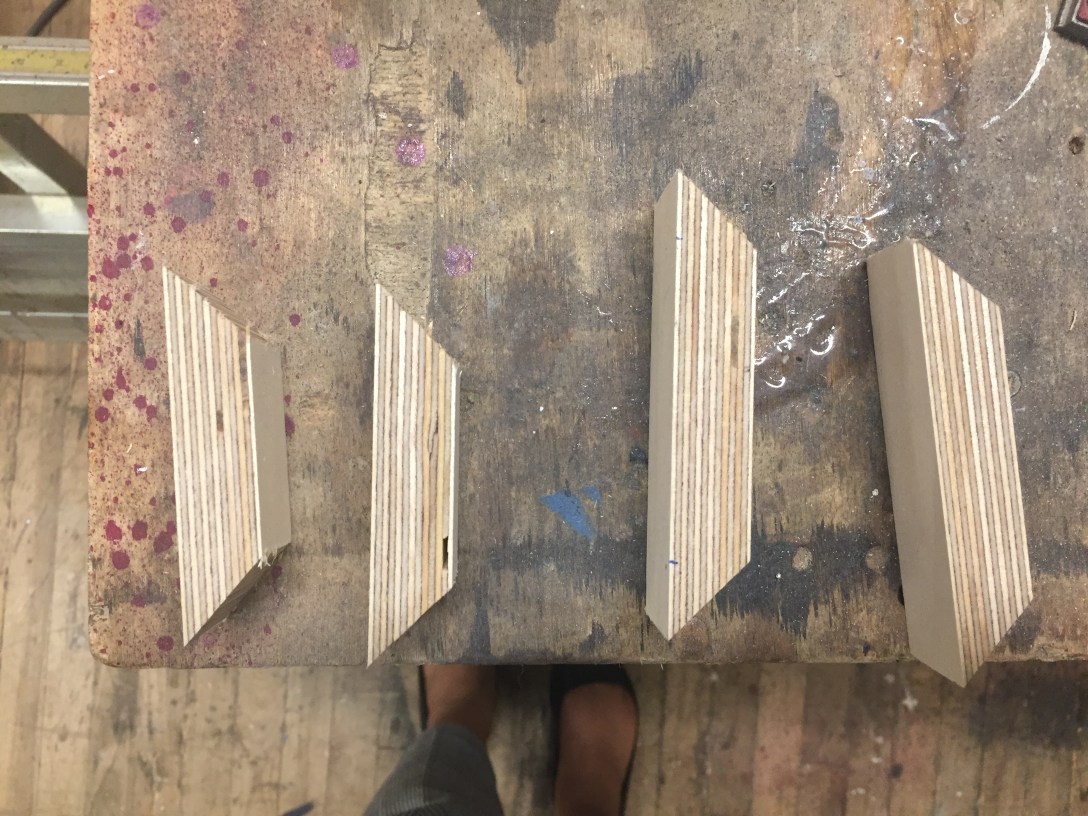
I measured about a dozen times but it took me so many attempts to finally cut a set of four sides that were long enough to tightly enclose around the bottle. The trouble was that I knew my inside dimensions but I had a hard time calculating how the mitred edge would effect the length of the outside dimension.
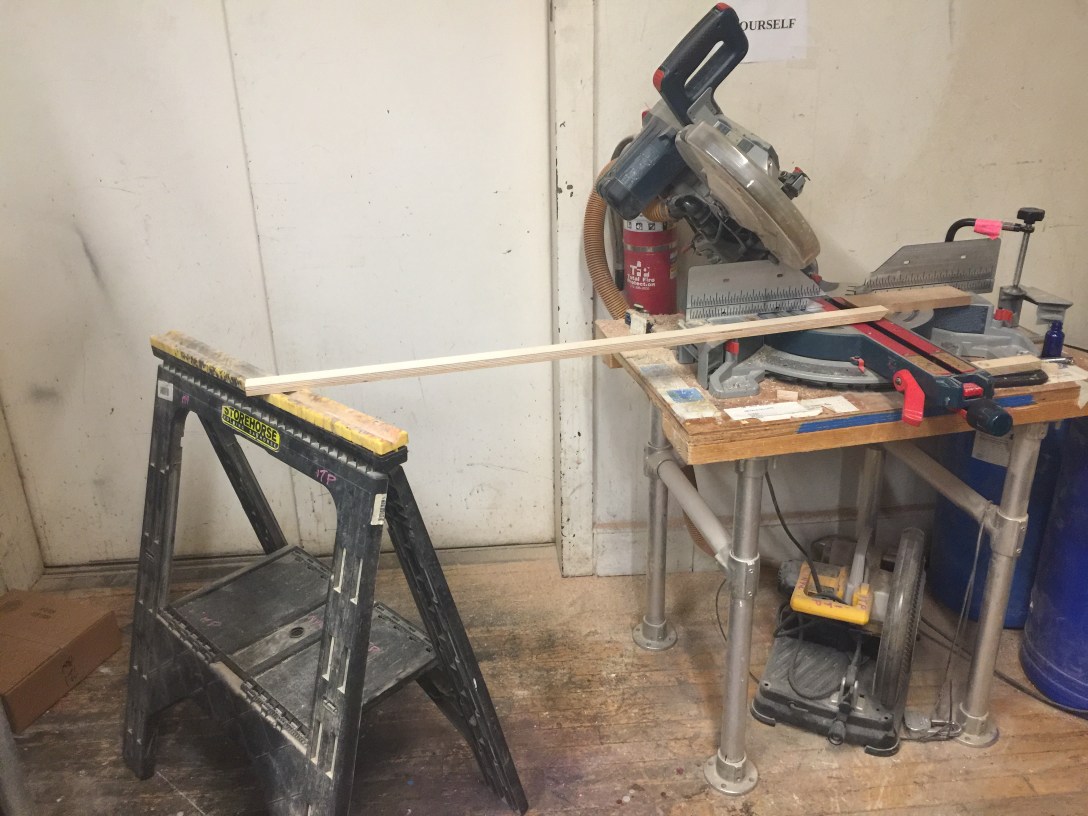
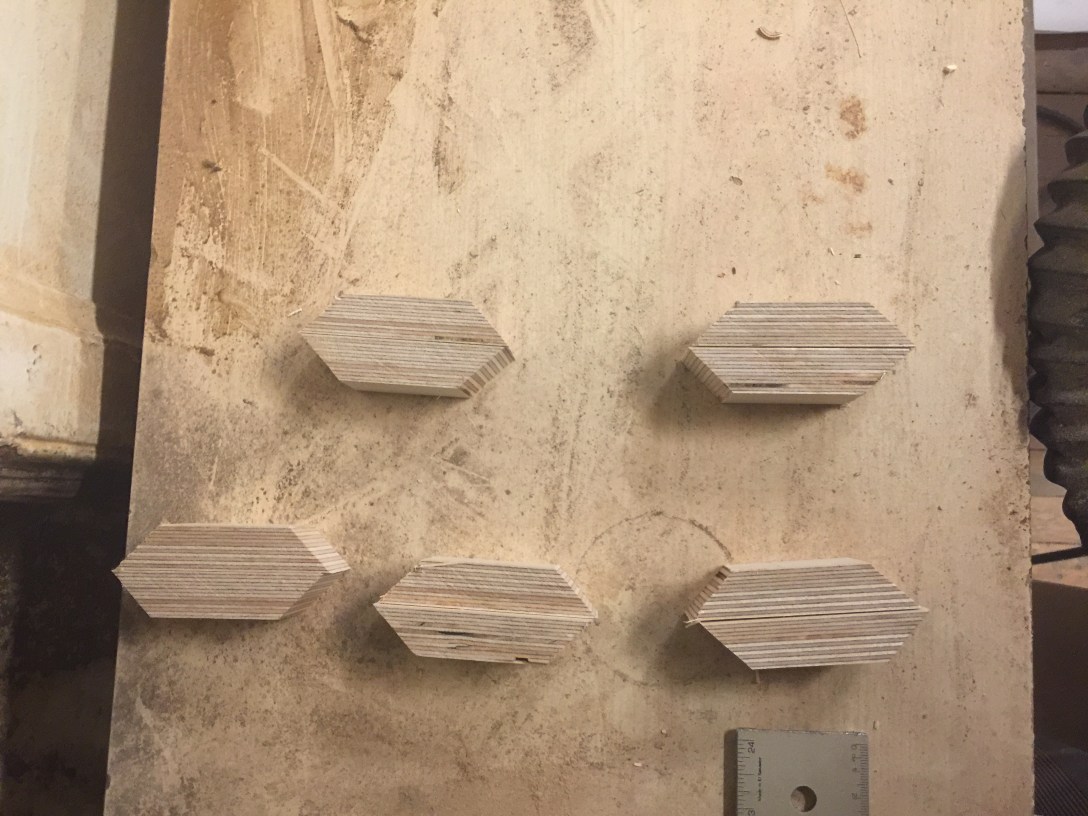
I used the chop saw to make moderately straight 45 degree cuts. My pieces were very small so, to avoid getting my fingers close to the blade, I had to fashion a simple jig. It was basically just a straight piece of wood with some demarkation lines to indicate how long my cuts should be. I clamped my piece to this jig and to the side of the chop saw fence before making each cut.

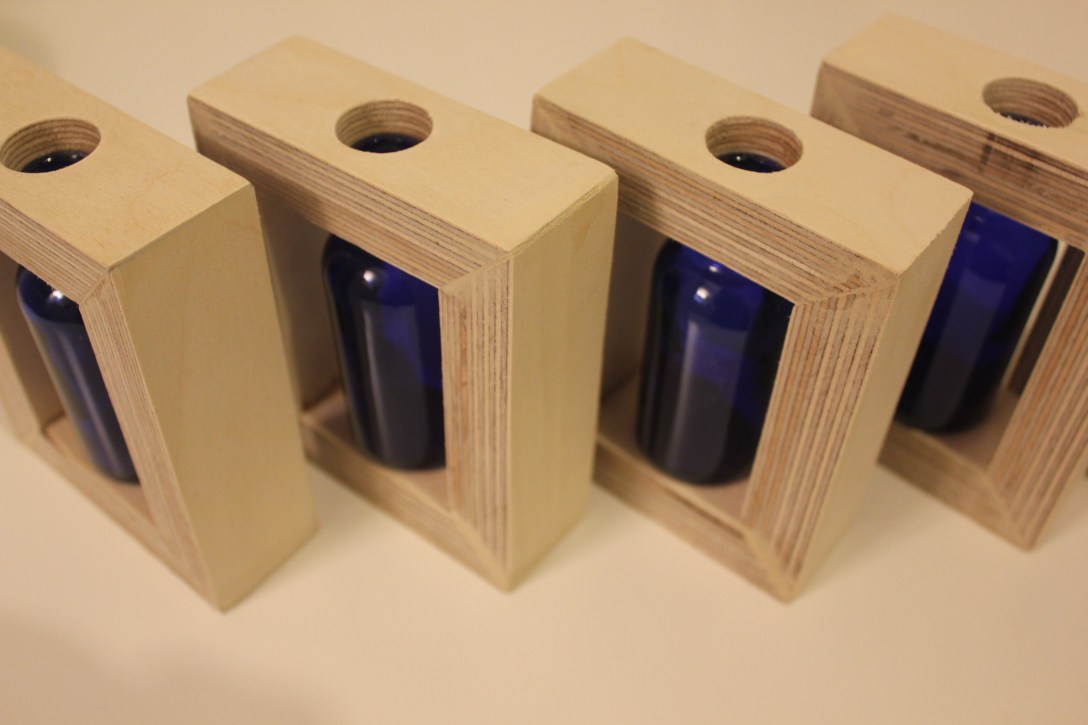
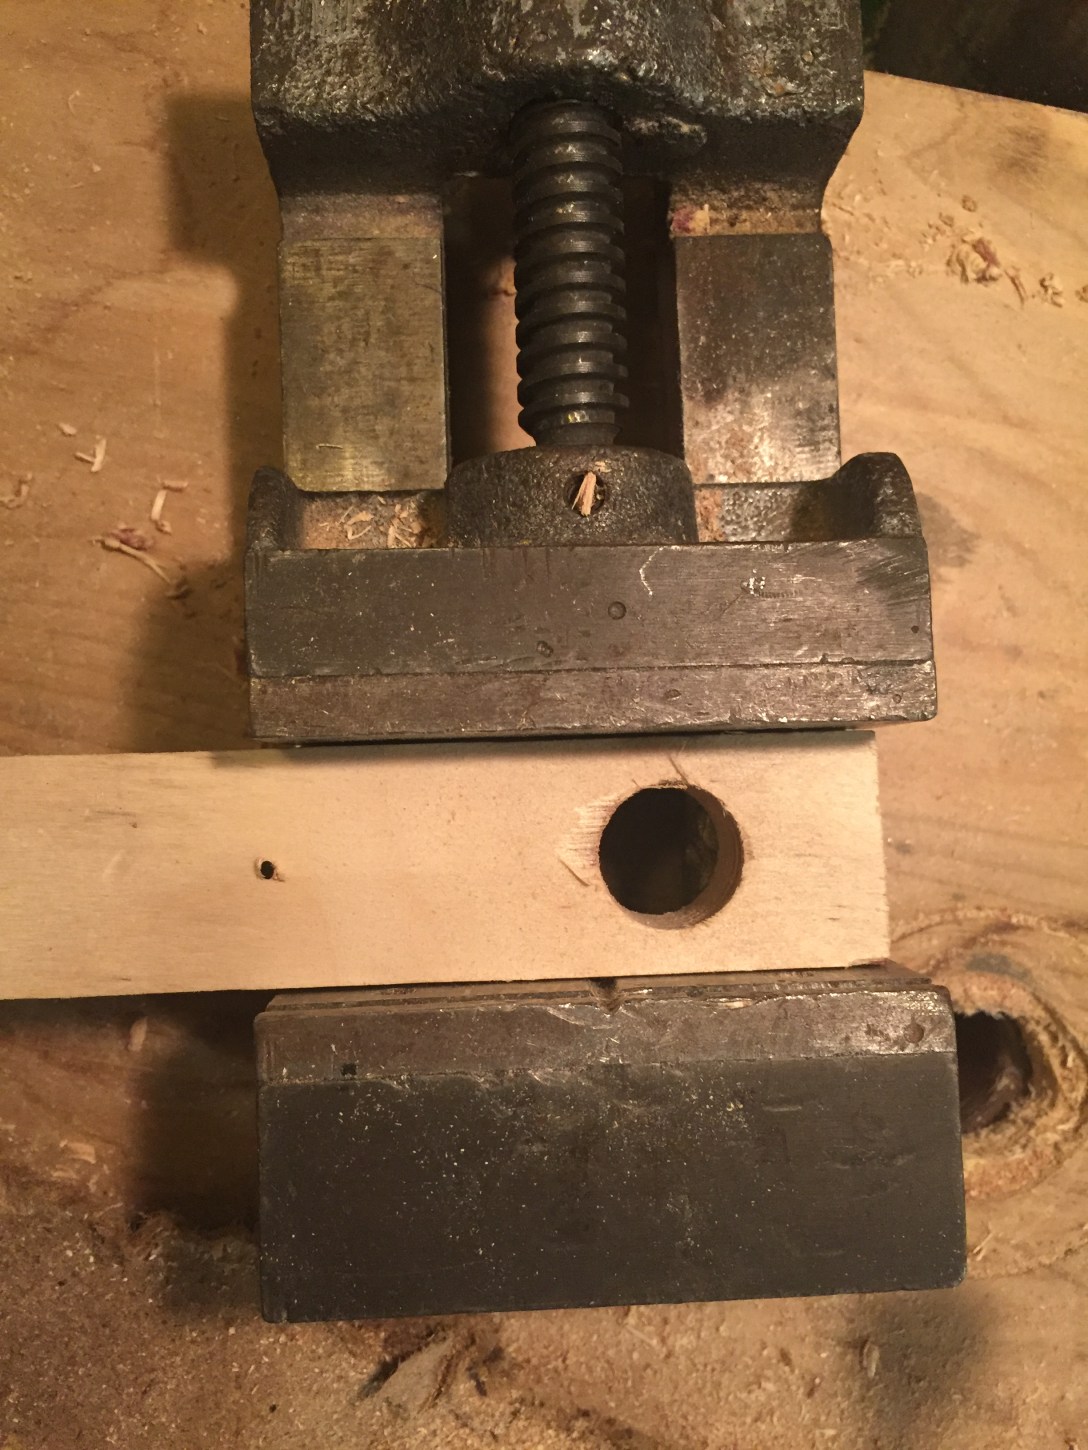
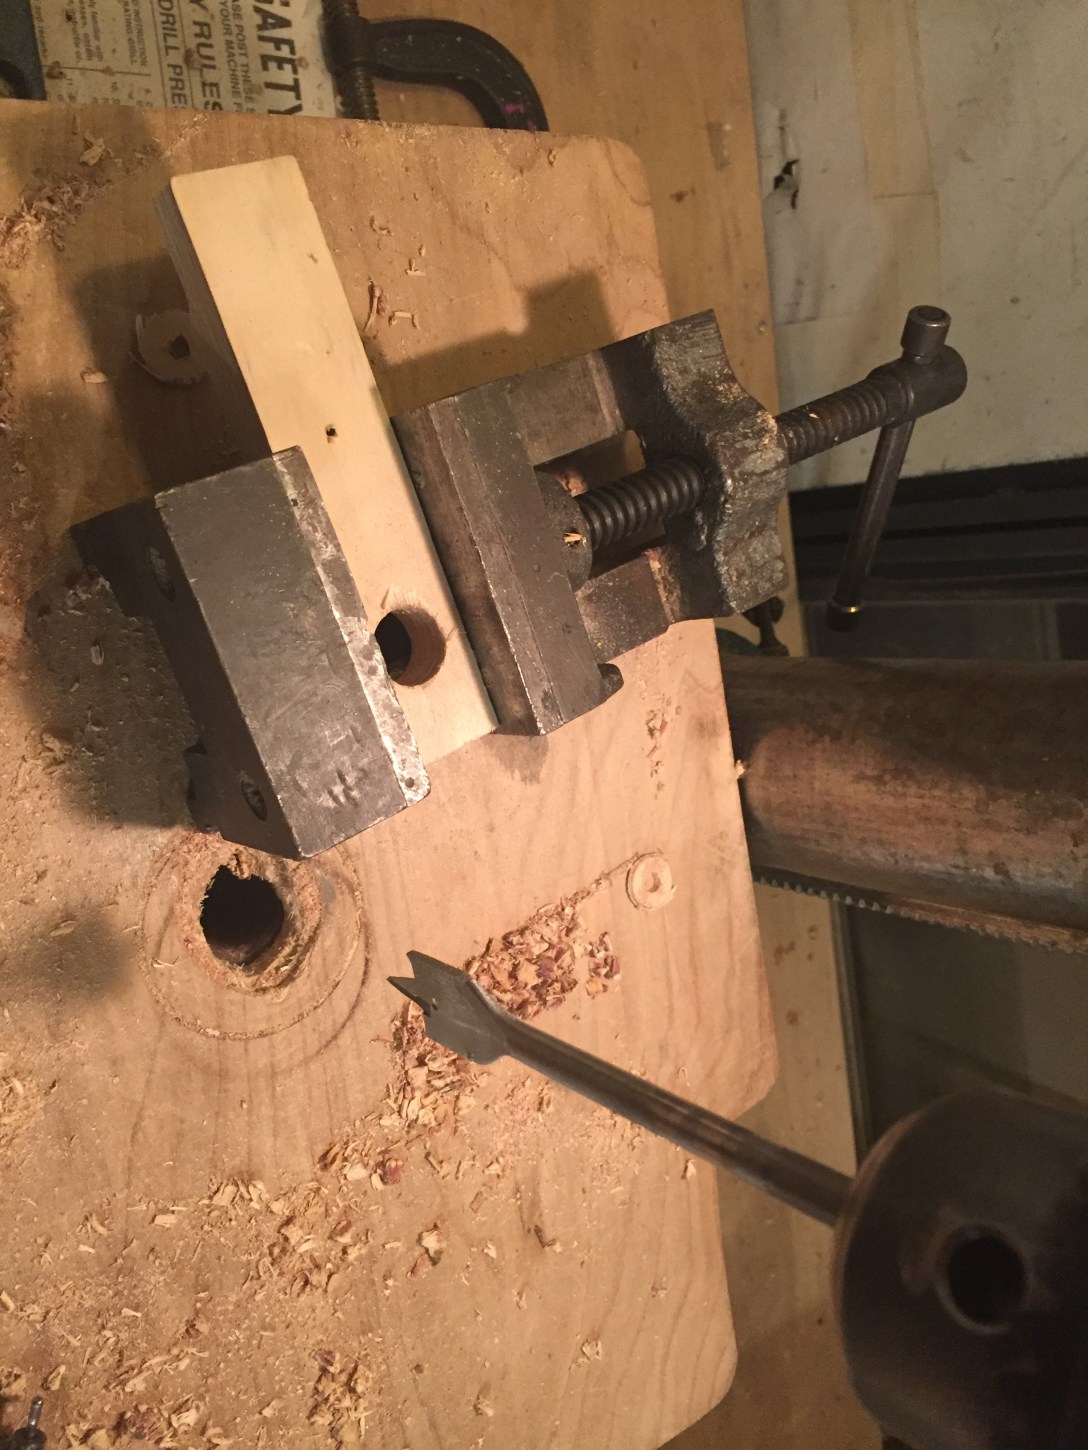
After that, I had to drill a hole in the top section of five pieces in order to allow the neck of the bottle to protrude through the frame. I used callipers to find the width of the neck and then chose a 3/4″ spade drill bit to accommodate the size.
I needed each piece to be as centered as possible so I went to Ben’s mailbox, hoping to find the jig that he demonstrated in class.
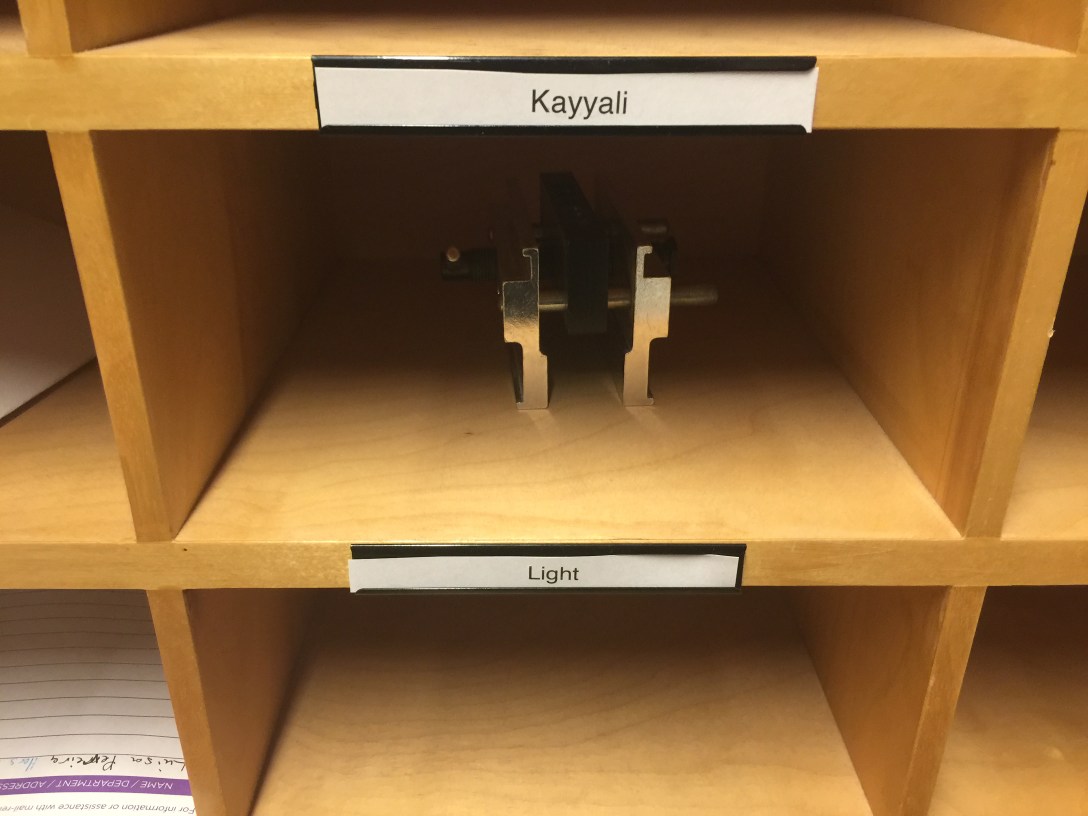
I used this to make pilot holes while I waited for the drill press to become available.
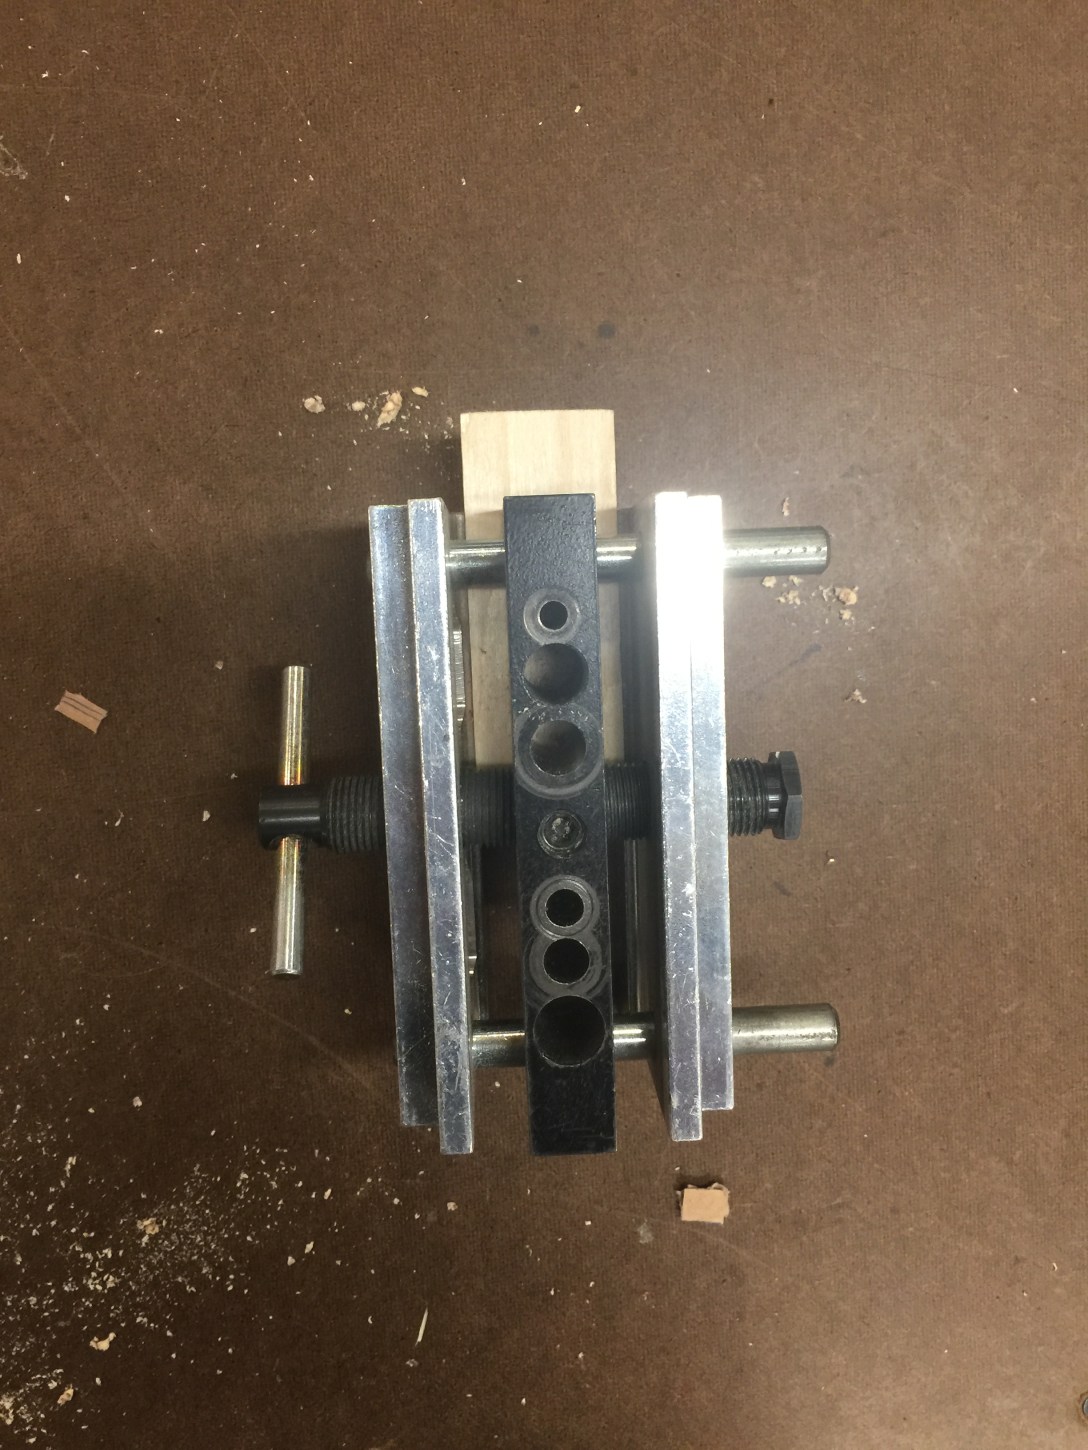

When I got on the drill press, I had to make a jig so that all the holes were centered. My pilot holes were pretty large in comparison to the tip of my 3/4″ bit which left a lot of room for error. I drilled a hole through a scrap piece and clamped it to each of my frame tops. This also helped minimize the tearing effect of the spade bit. The tops came out relatively pretty.
Then I took all these pieces home to glue together. This is where I learned that all my mitre cuts were a few millimetres off – annoying, but to be expected. Laying all my pieces flat on a table, I used tape to connect the outside edge so that I could simply fold the shape closed after applying some glue.
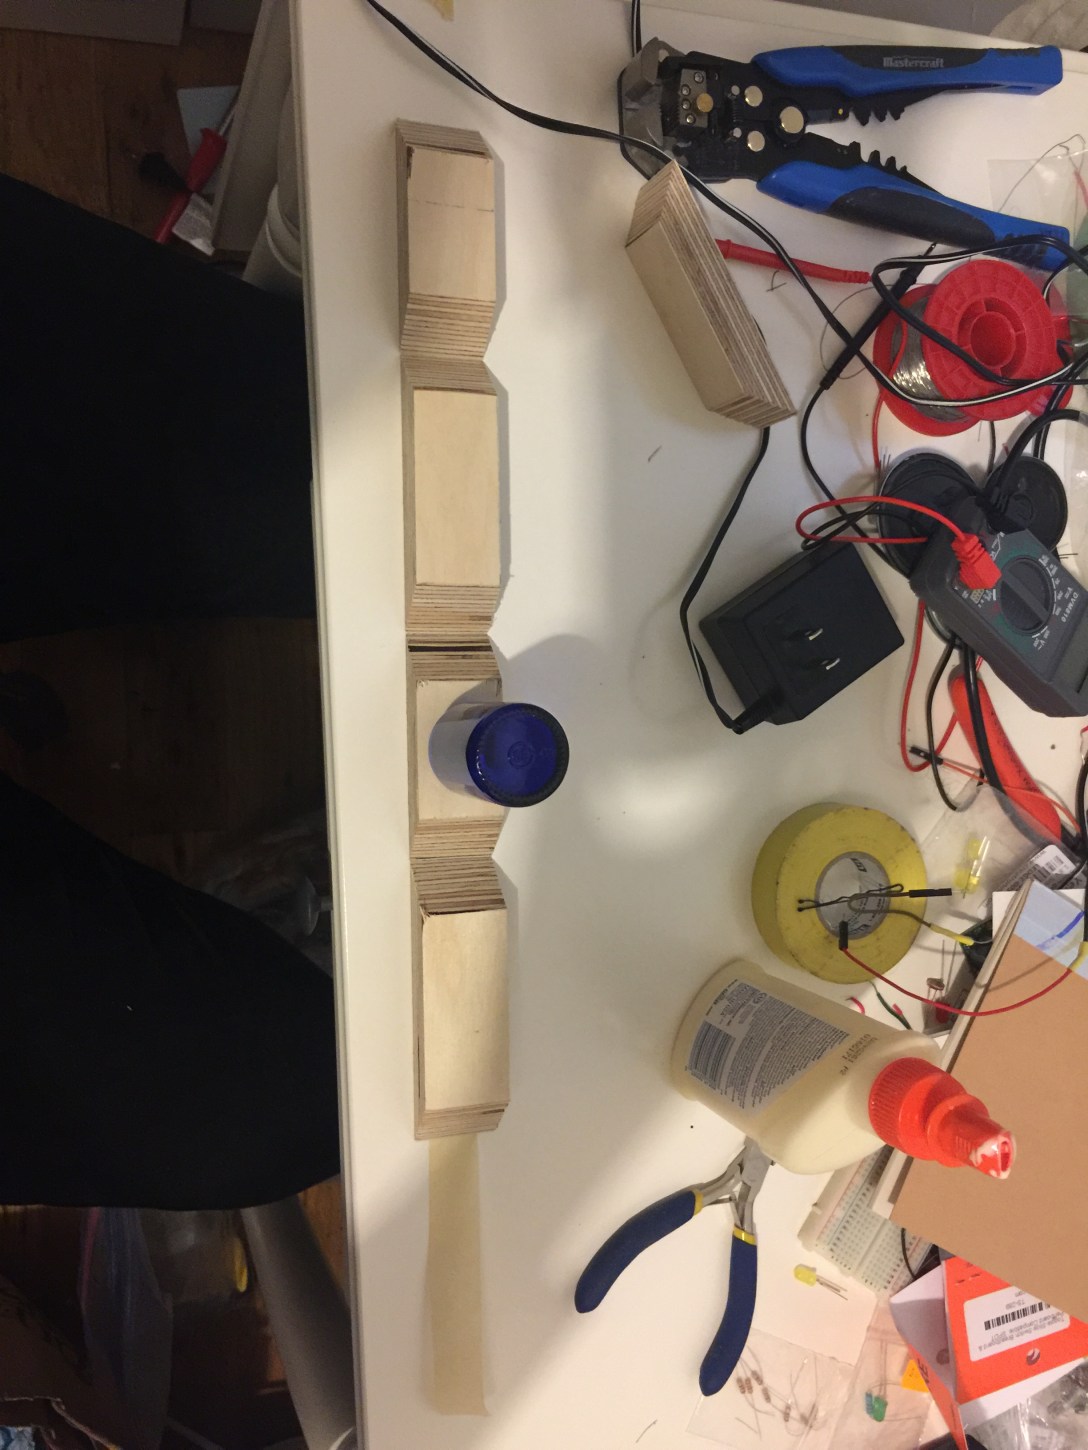
I like using electrical tape when I glue things together because it has a little elasticity so I can pull the edges together almost as it it were a sticky rubber band. I was able to close as least 40% of the gaping mitred edges through brute force.
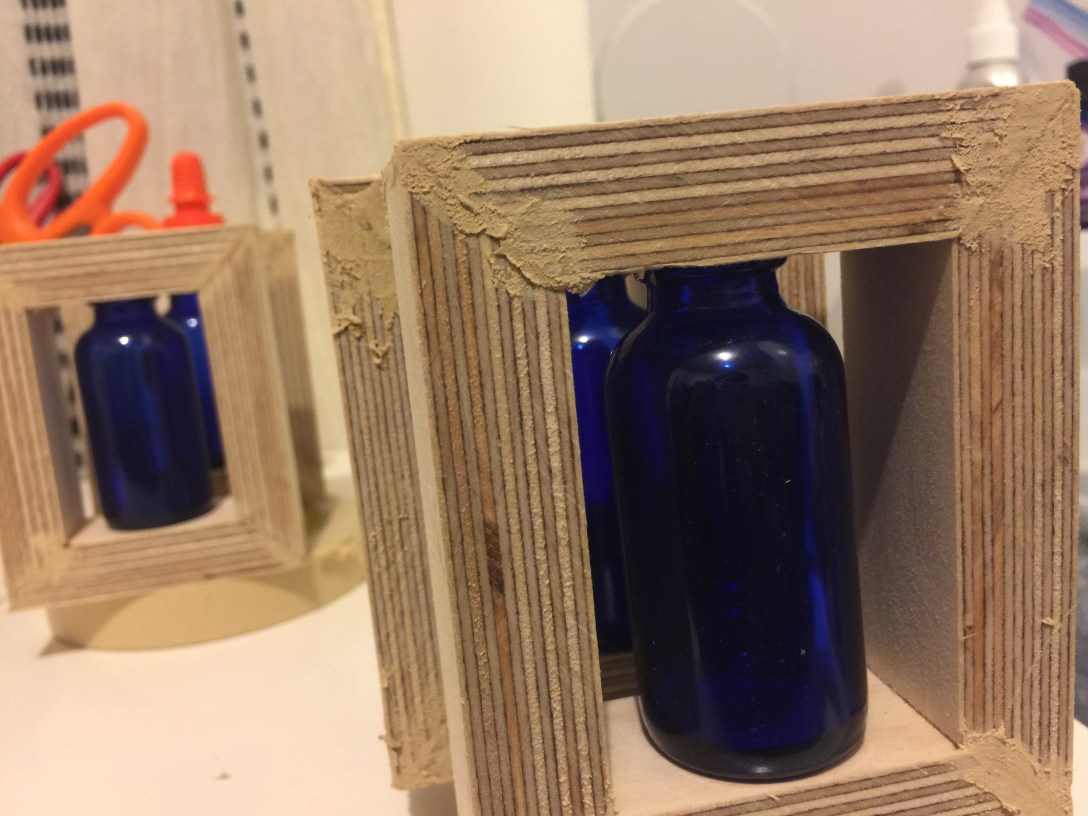
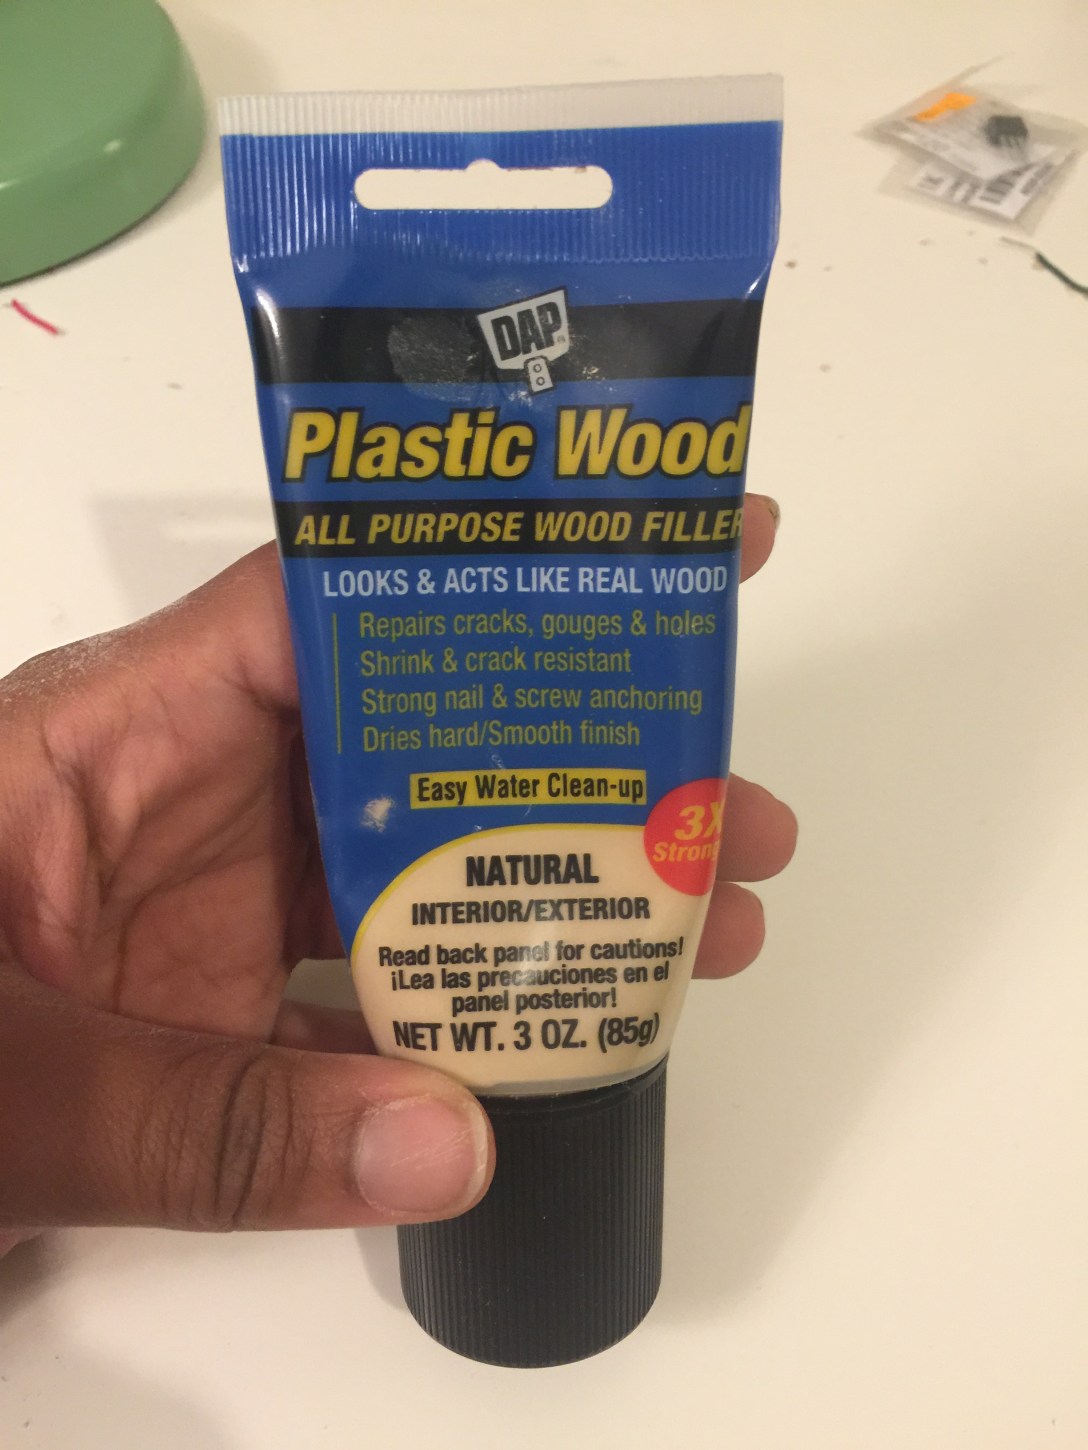
After the glue had dried overnight, I used wood filler to putty the open gaps. I had to allow this to dry as well and then spent a ton of time hand sanding it down. I really wish I had used the power sander or the belt sander to make this part of the process simpler.
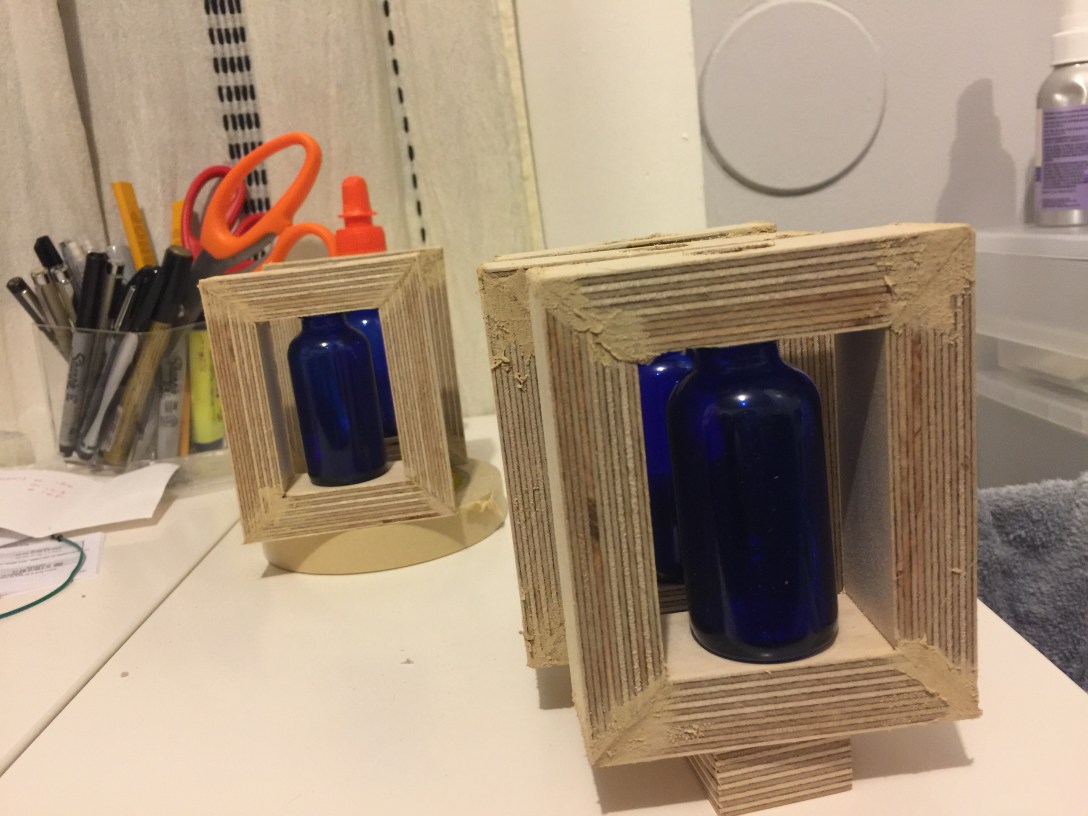
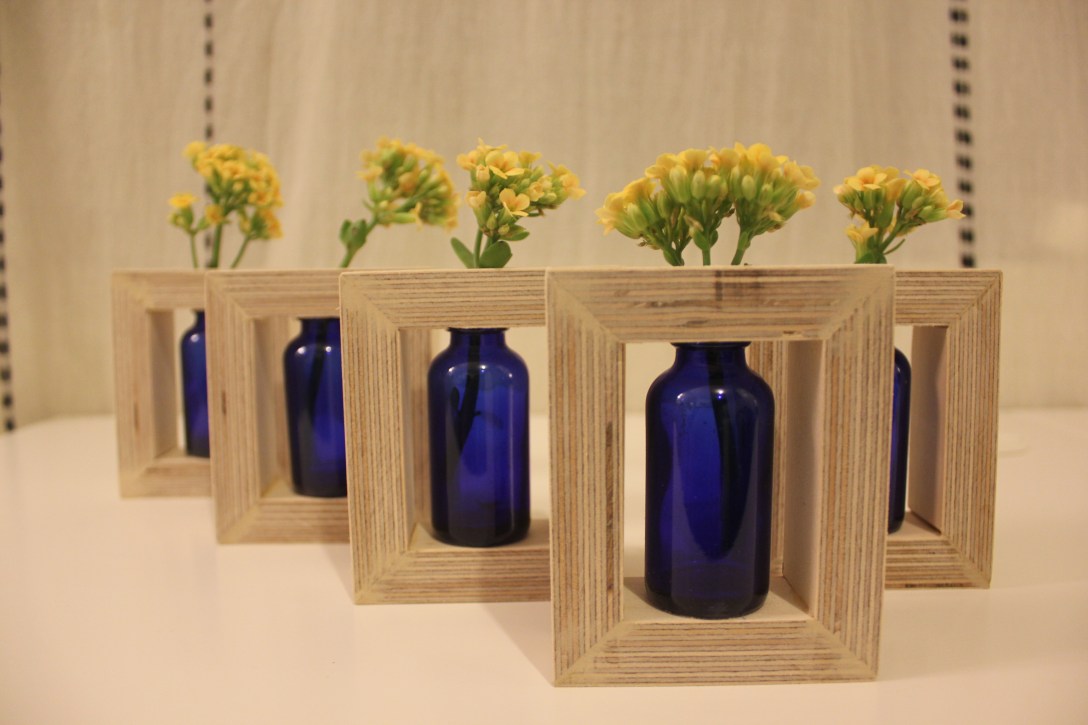
The final products looked like this: