This week we made a mallet to practice turning two interlocking pieces. After watching the demo, I felt pretty confident about the procedure but there was an incredible amount of brain power that went into this assignment. I felt like I was building a mental map to the finished product as I was working through it.
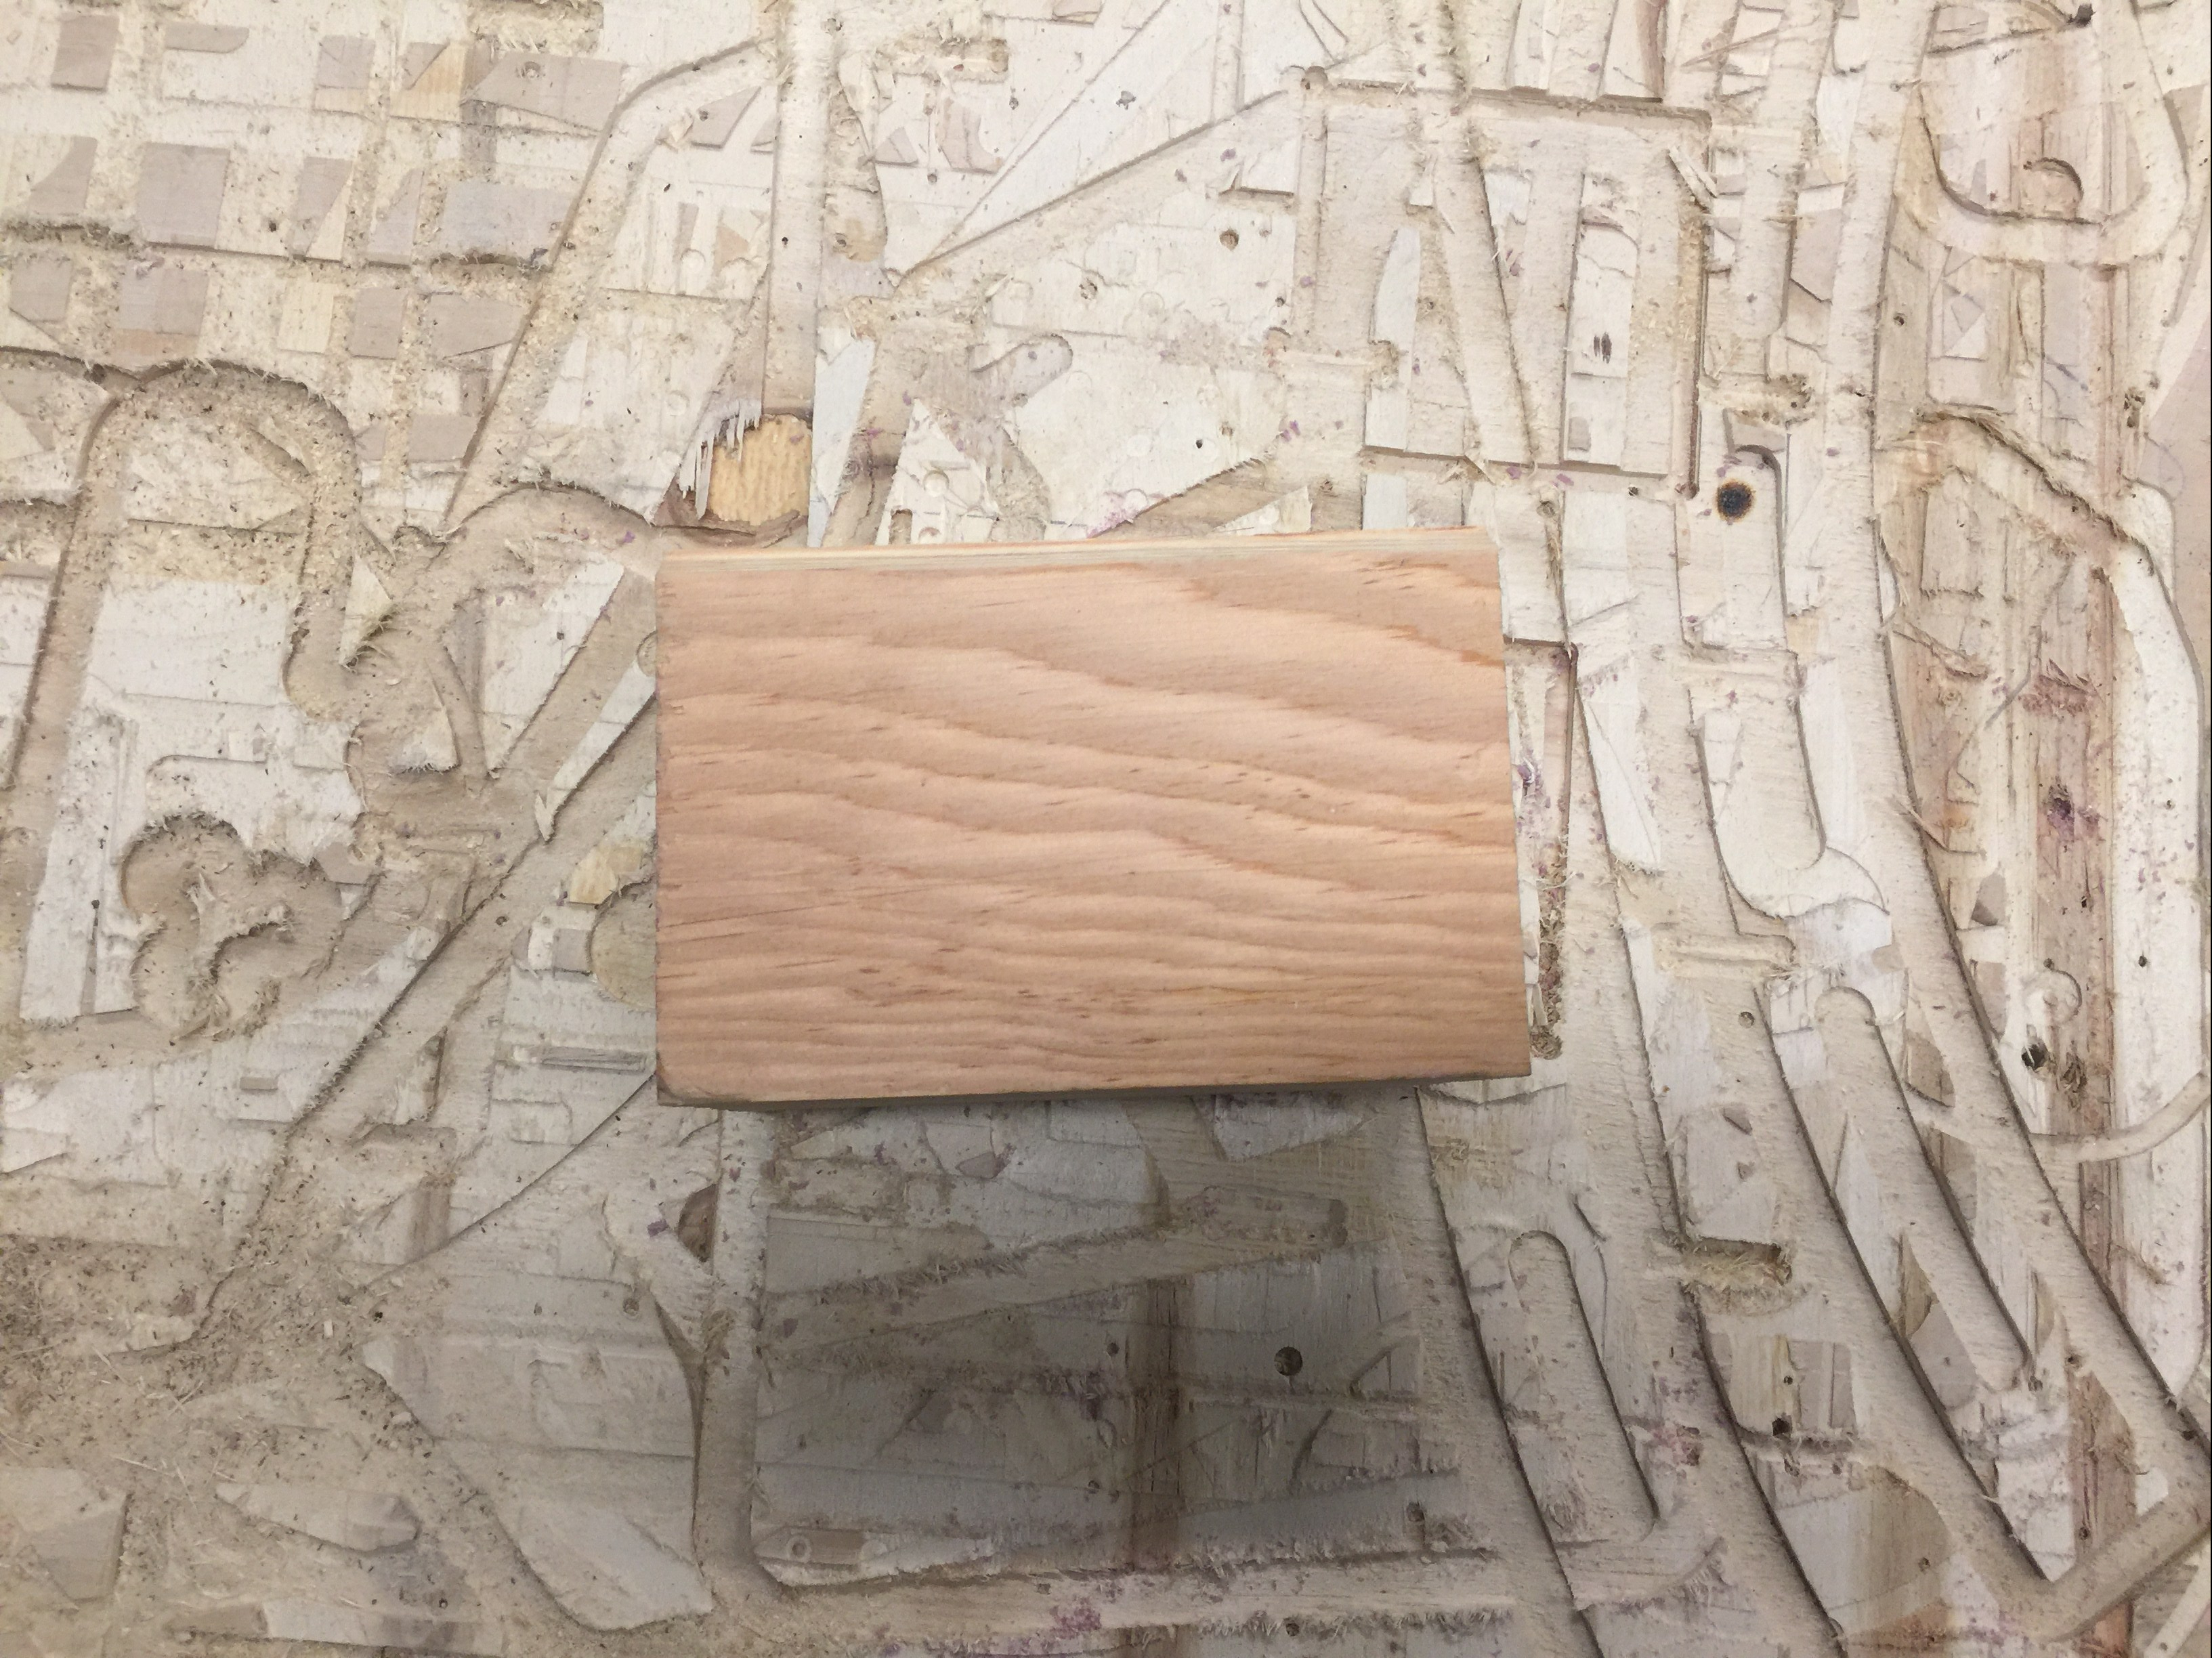
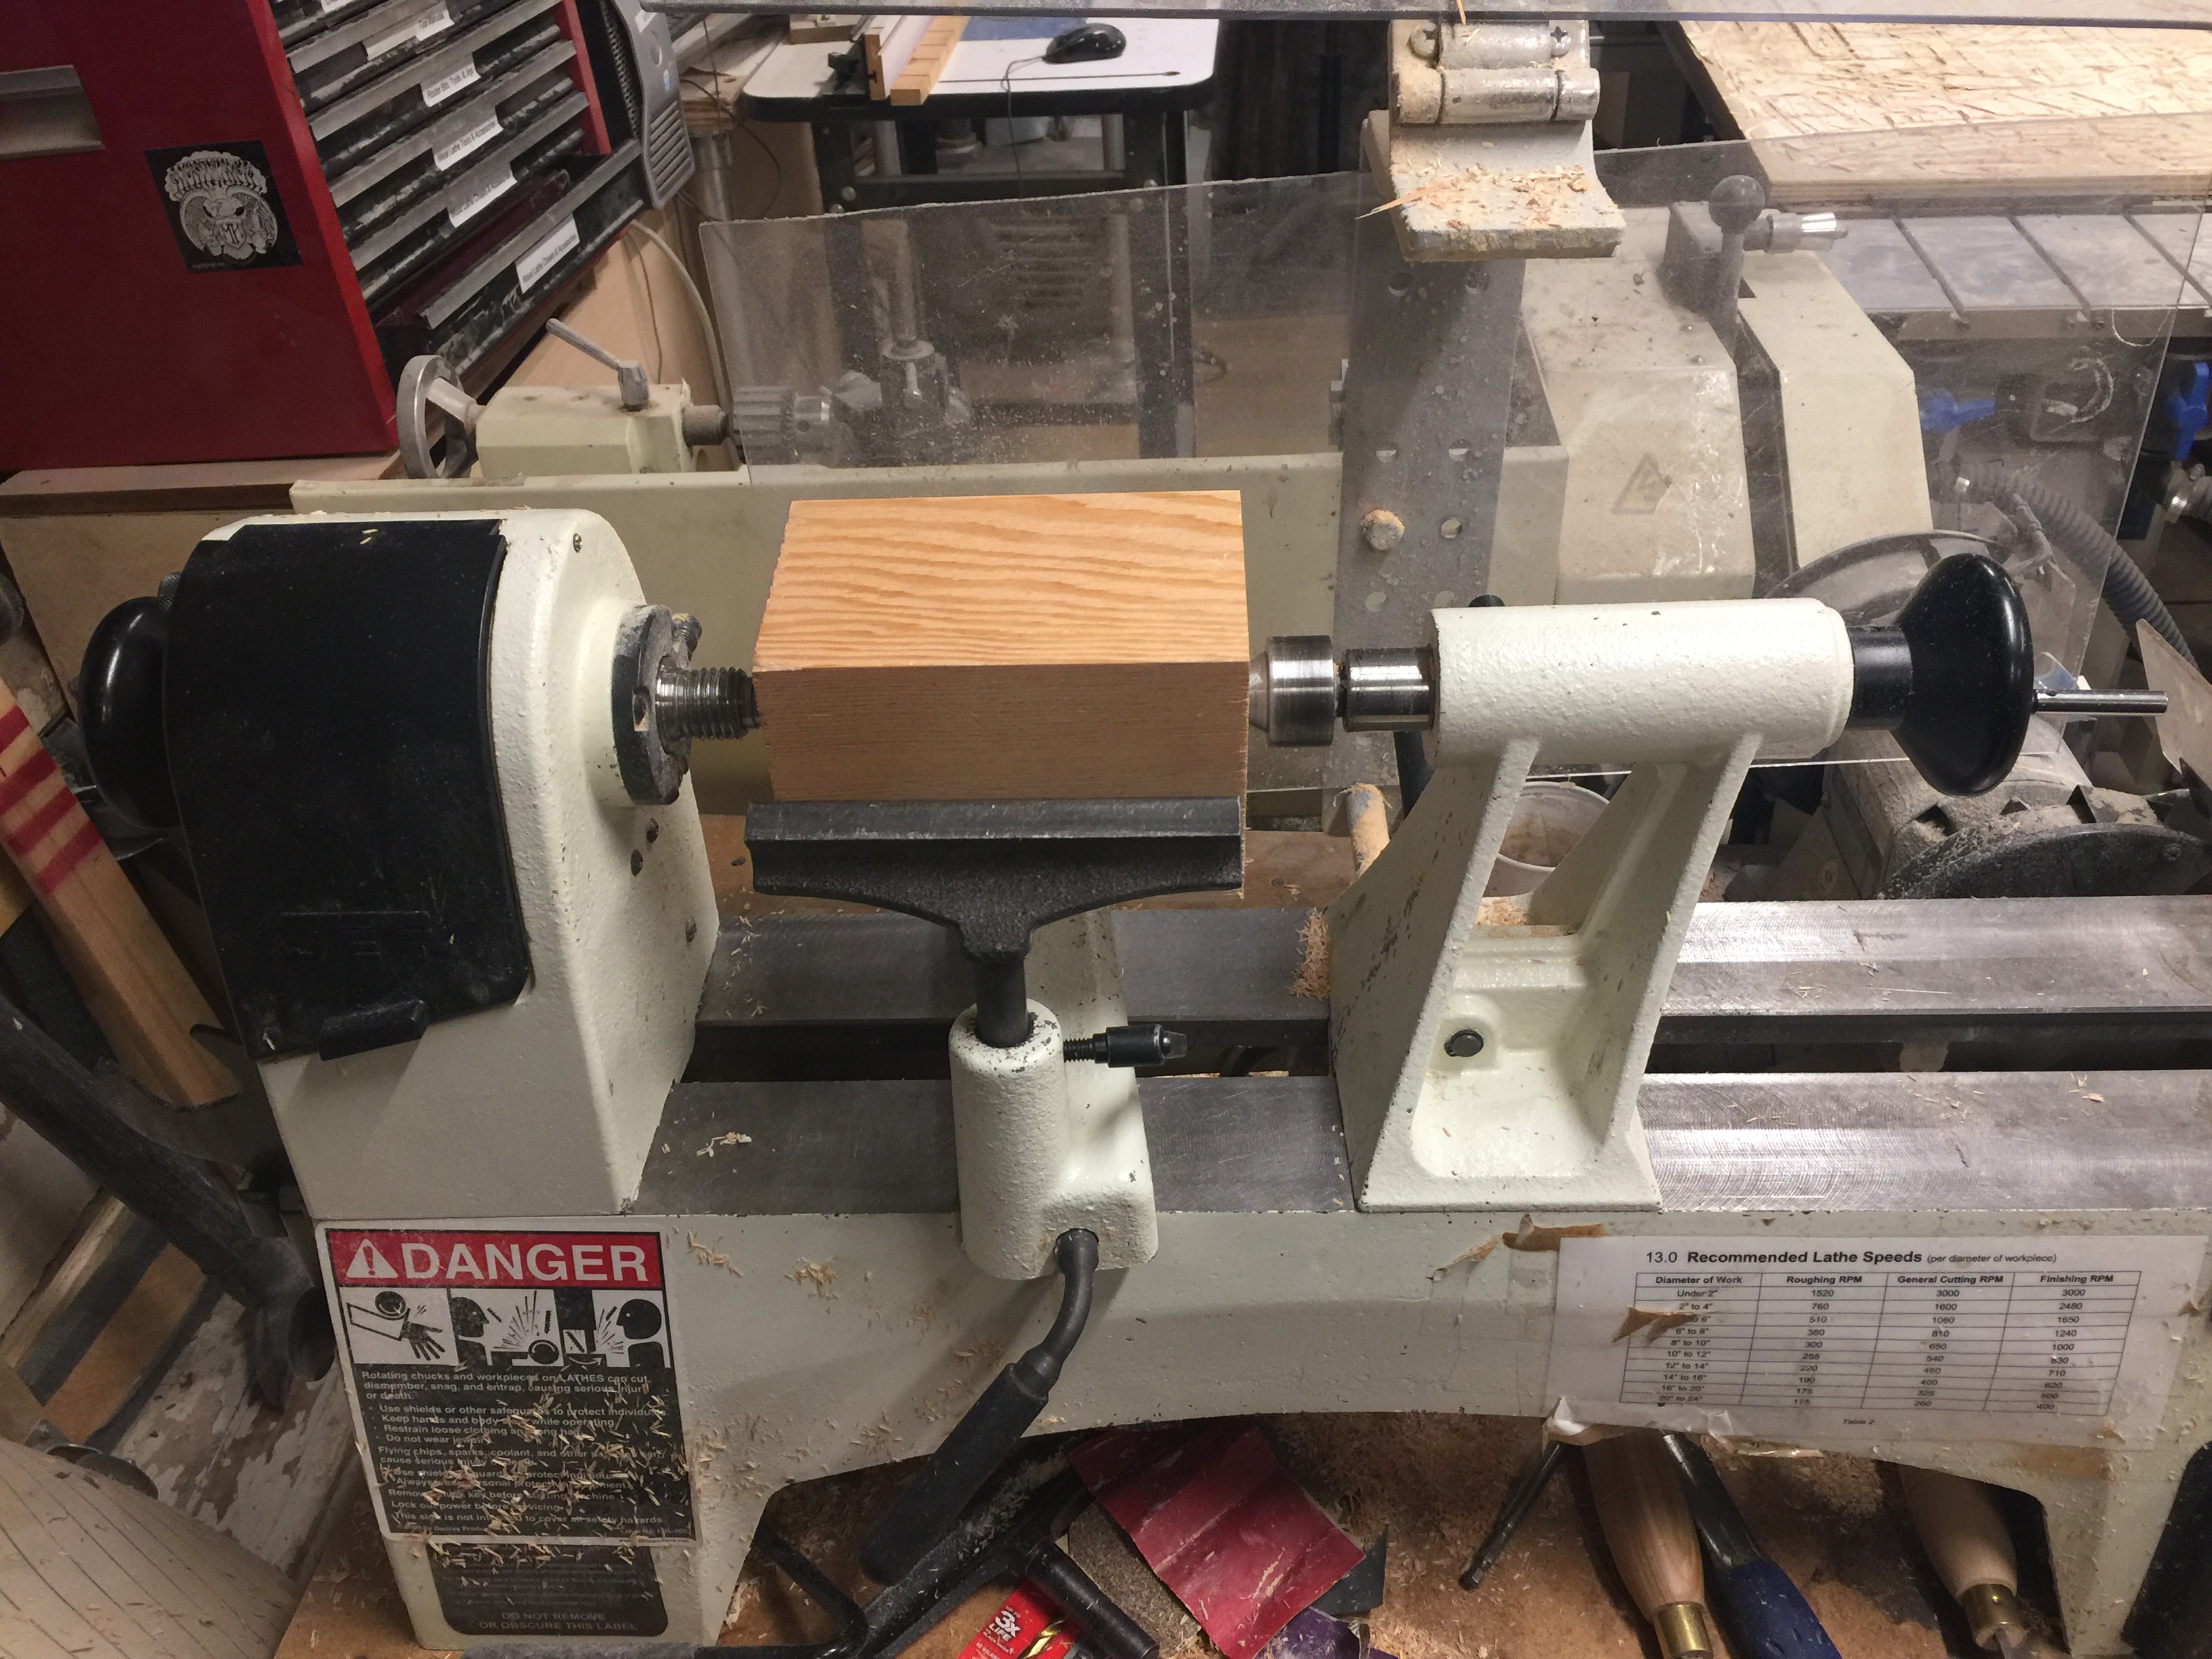
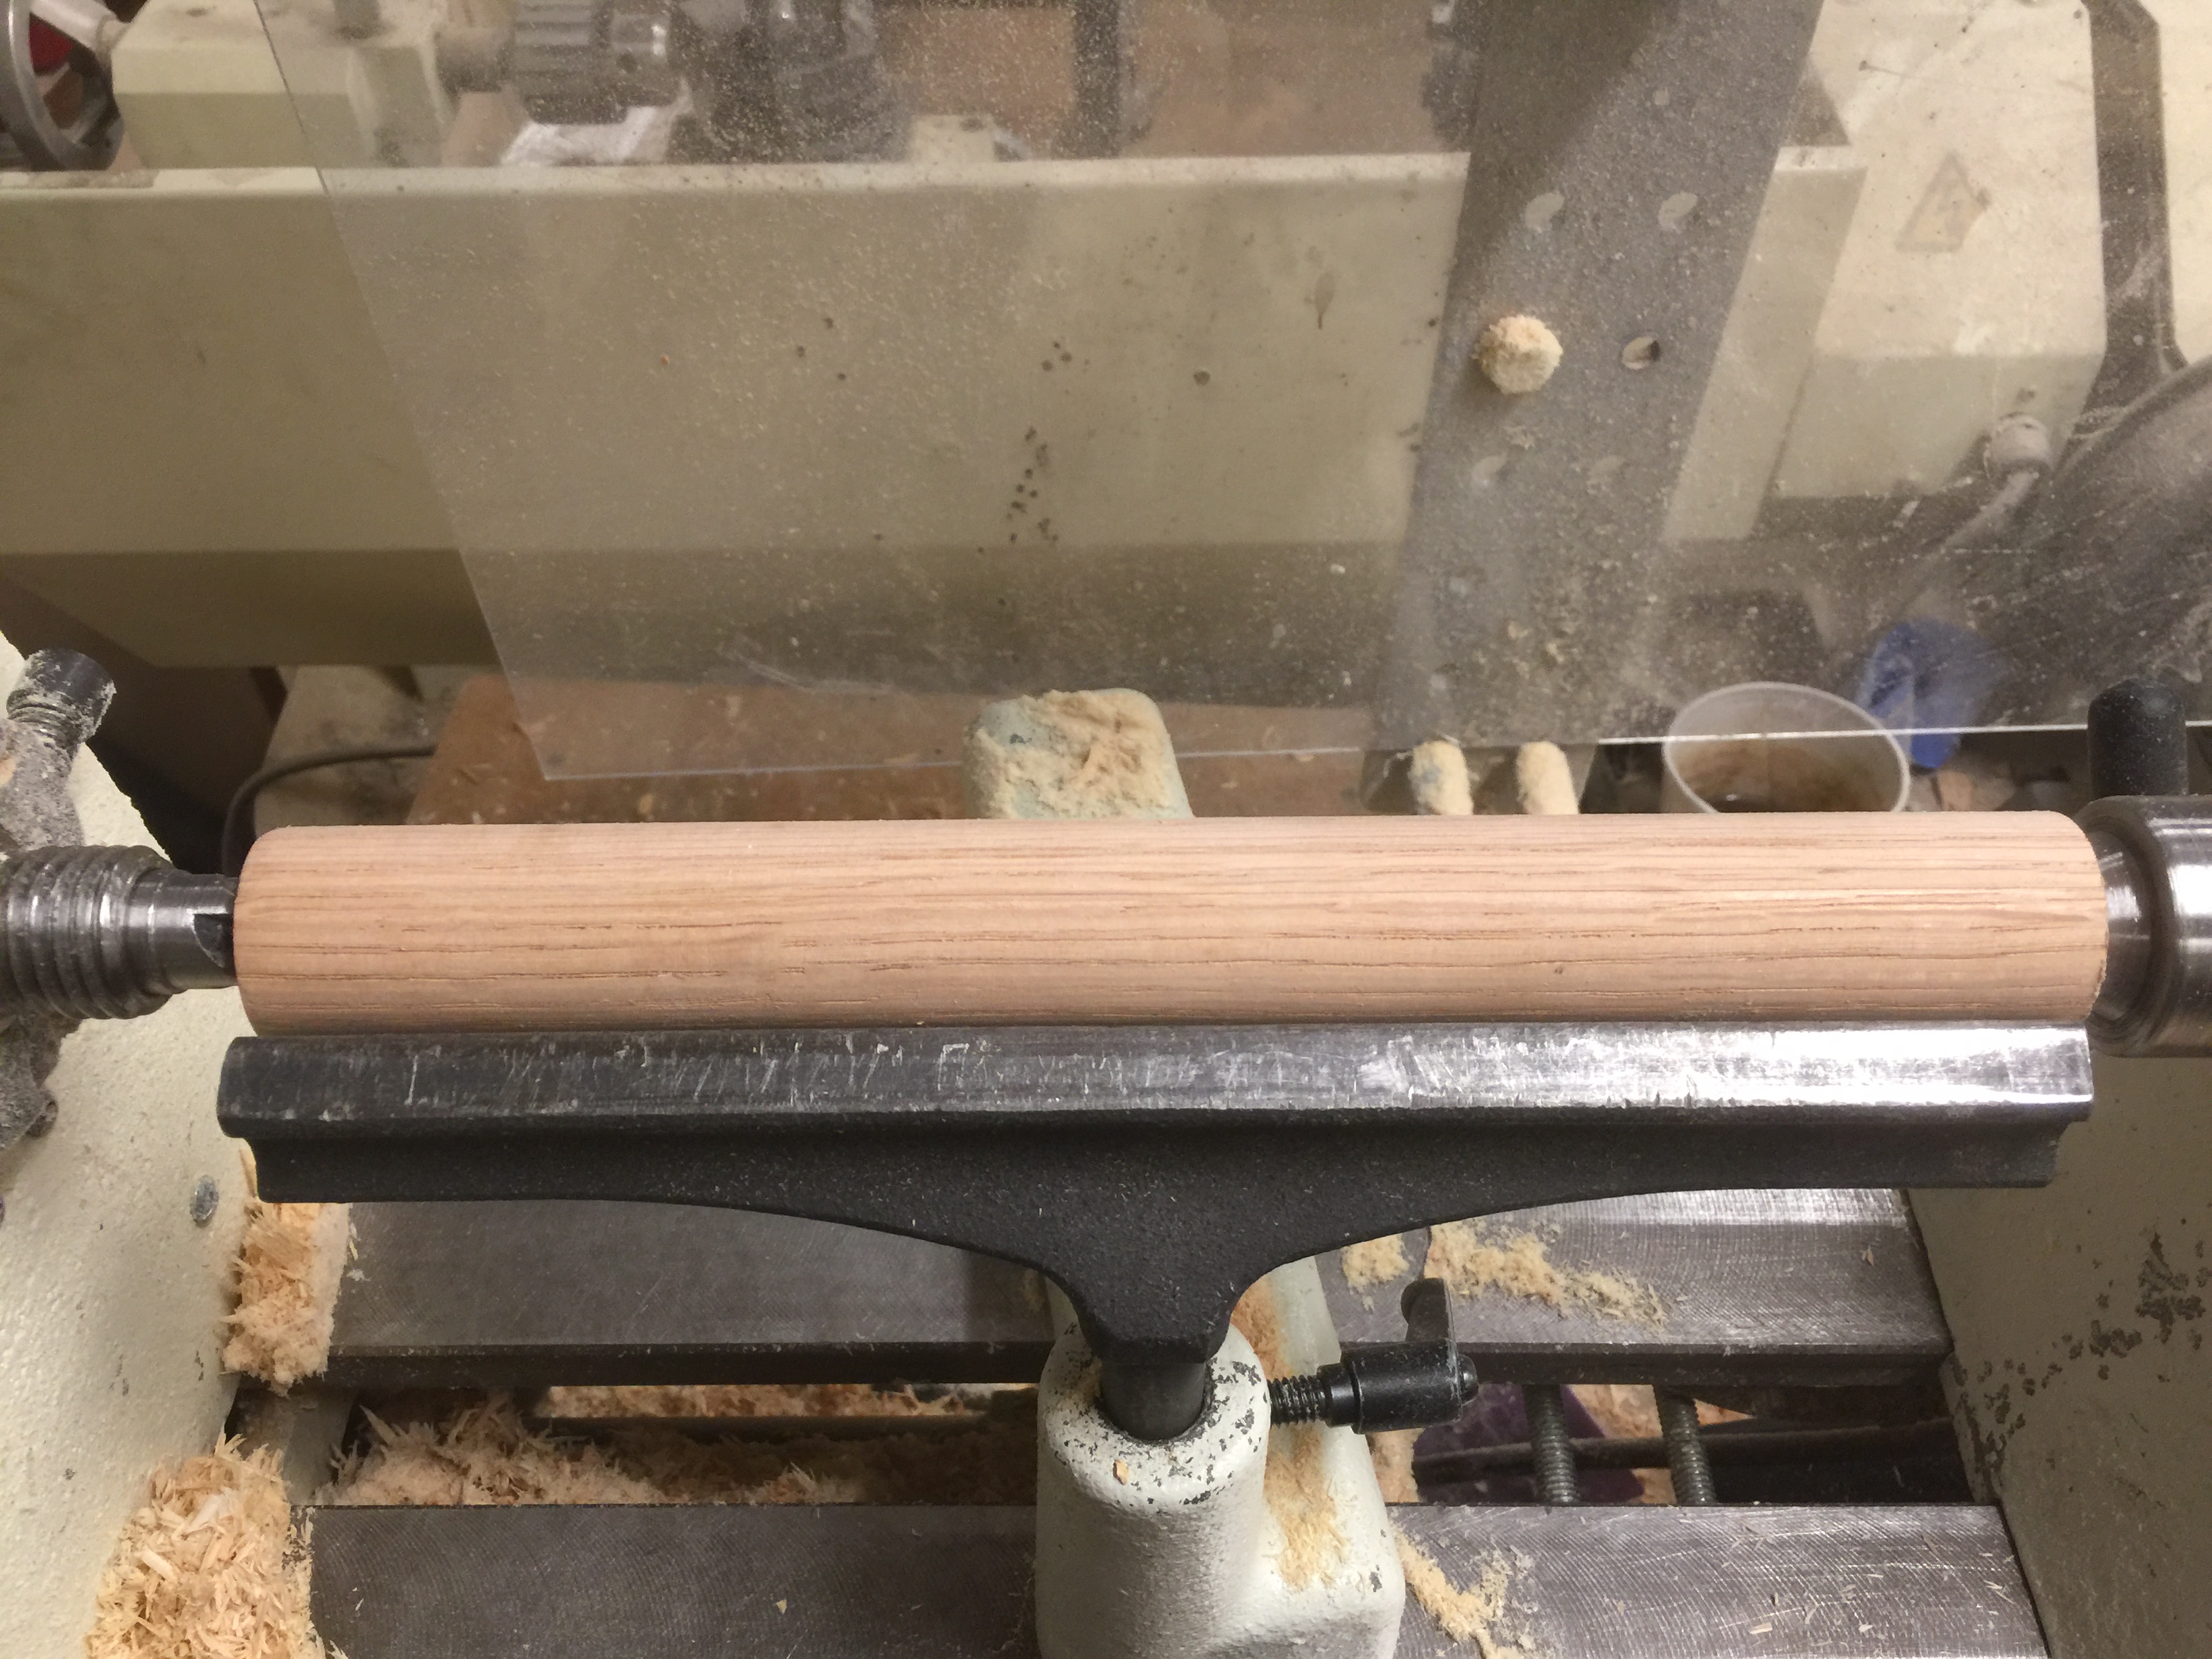
First I began with the block of wood shown above. I got this block as an off cut from a friend in Toronto when she and I exhibited together in an art show. She thought it would be cool to turn some bowls for our installation and revealed this whole skill set that I didn’t know she had. She was working as a designer at a furniture studio at the time and could acquire nice off cuts at almost no cost. She briefly showed me how to turn and then gave me a couple blocks to turn myself one day.
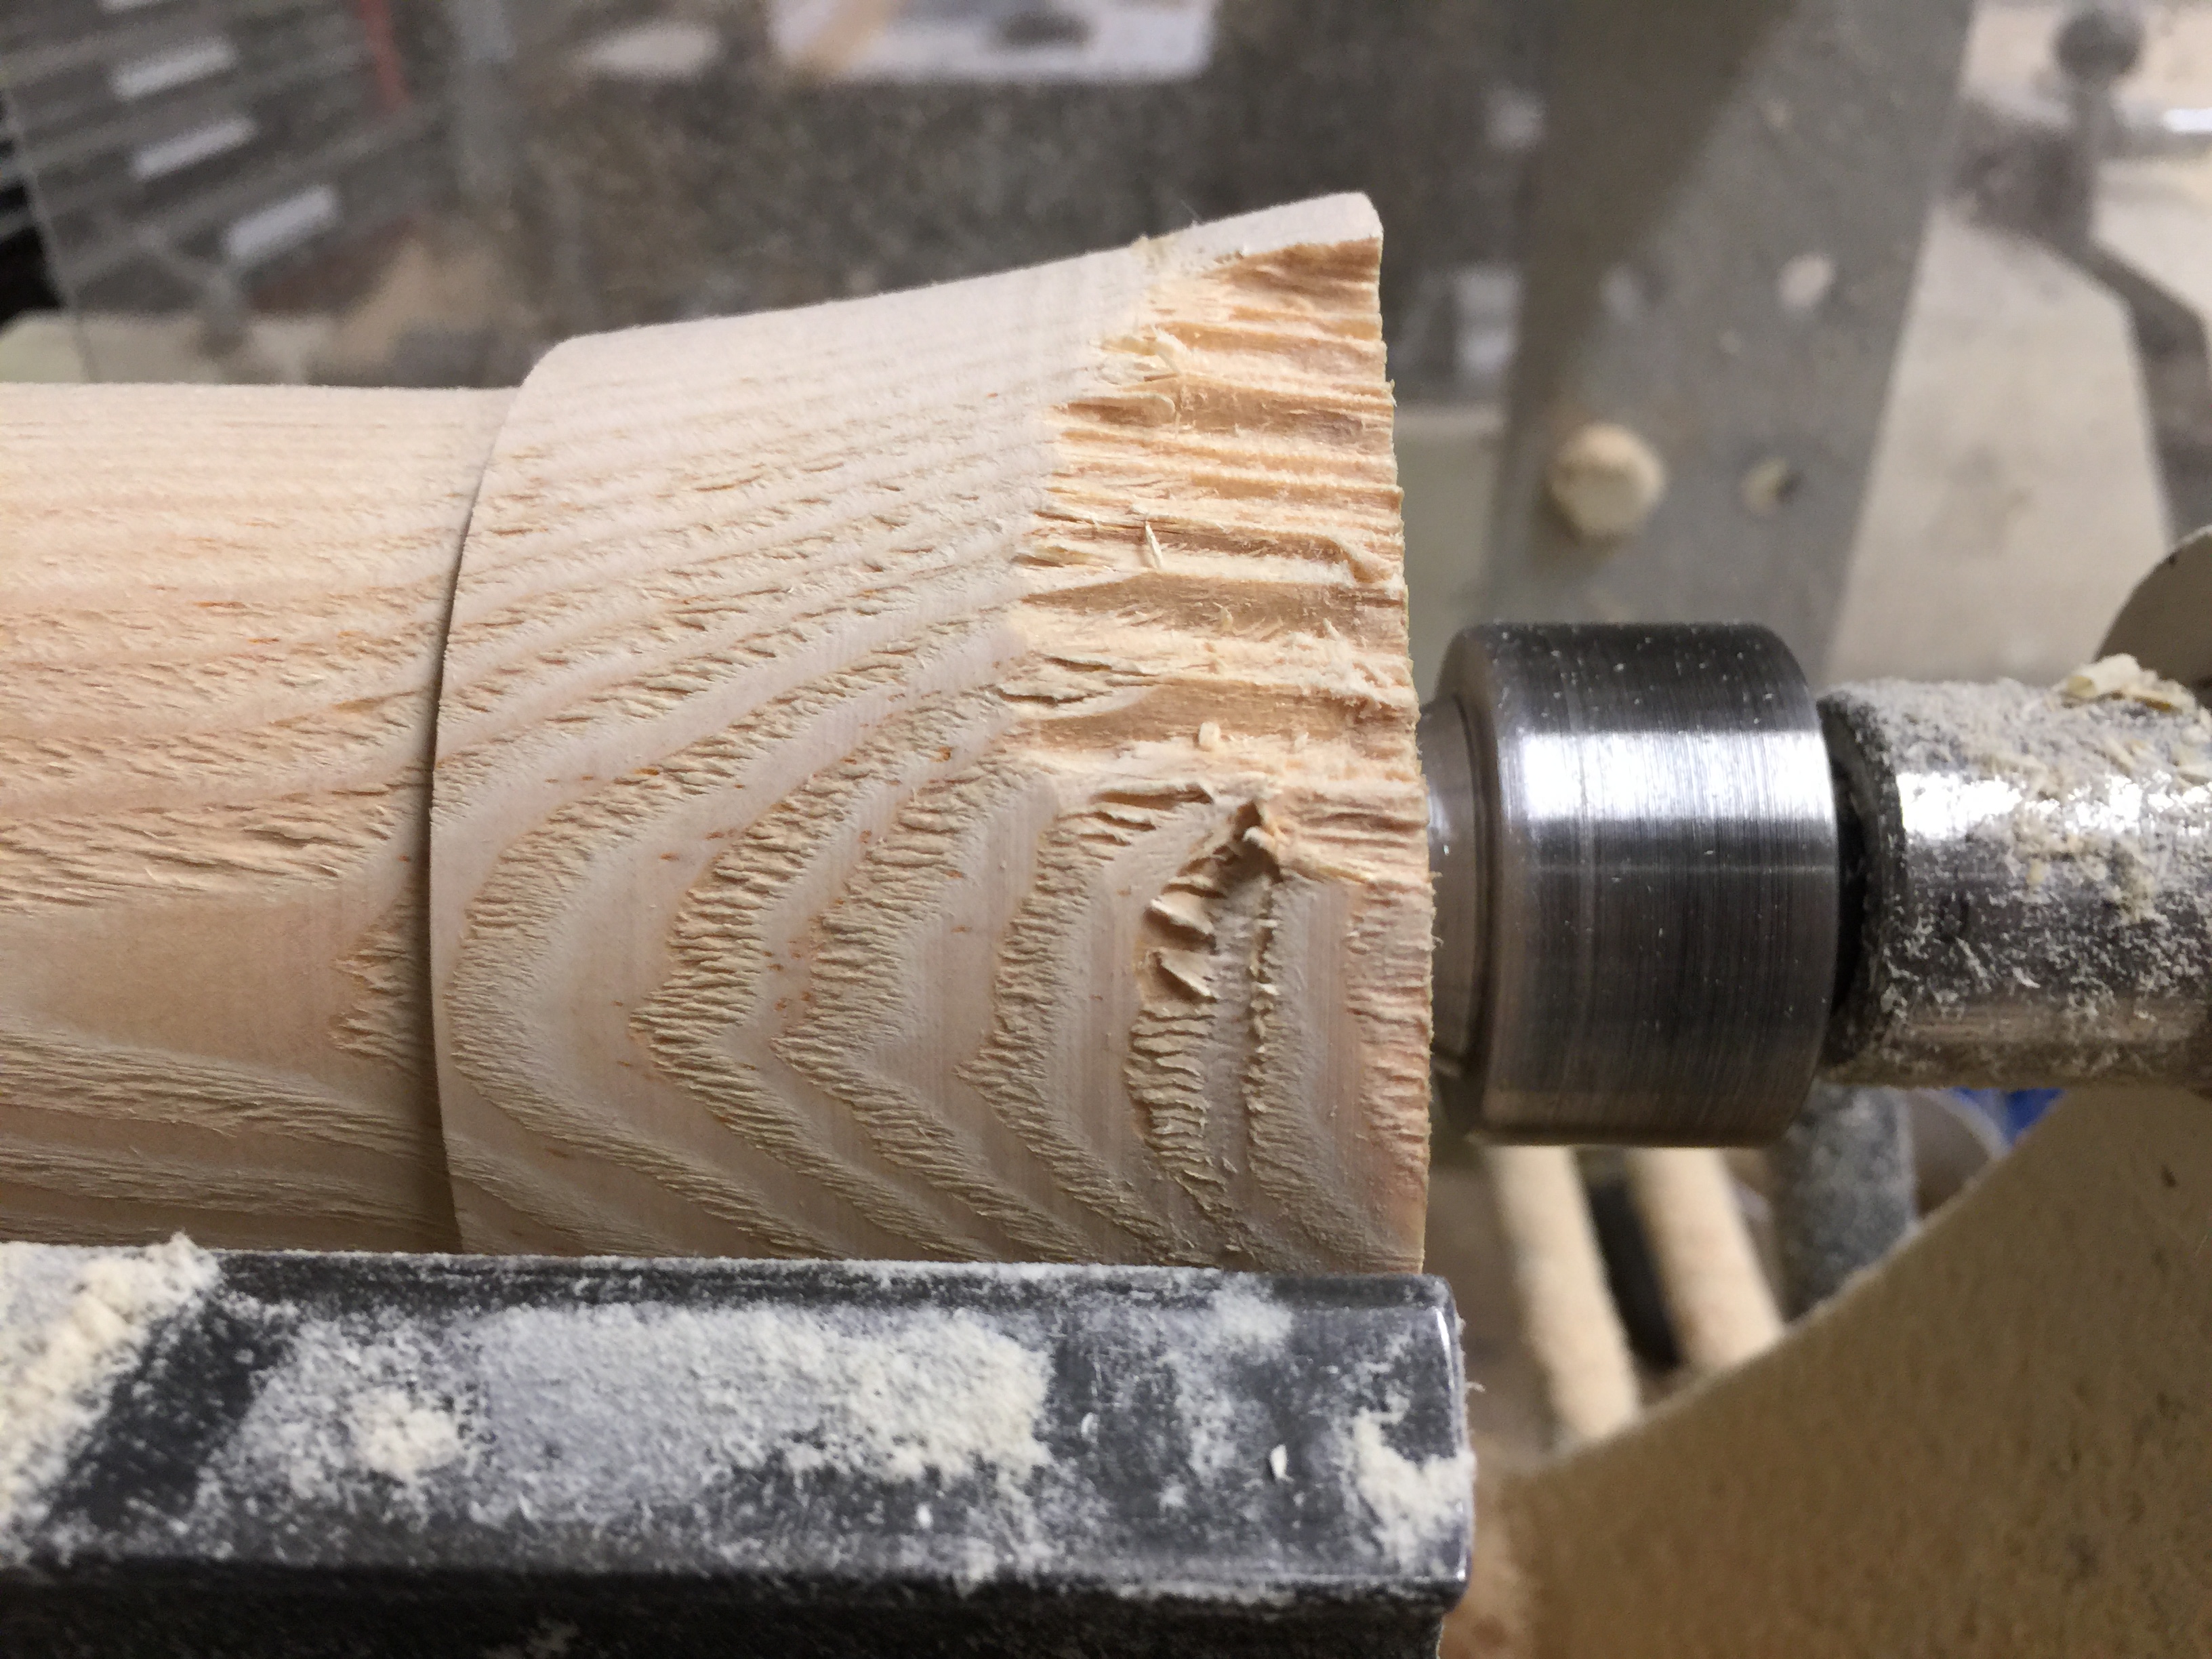
Taking this thing down from sharp square edges to round was a wild experience. I could have taken the edges down on the sander or bandsaw but I wanted to know what it was like to turn a squared object. There were huge chunks of wood flying out in all directions, like an explosion! It took a long time to bring it down to round.
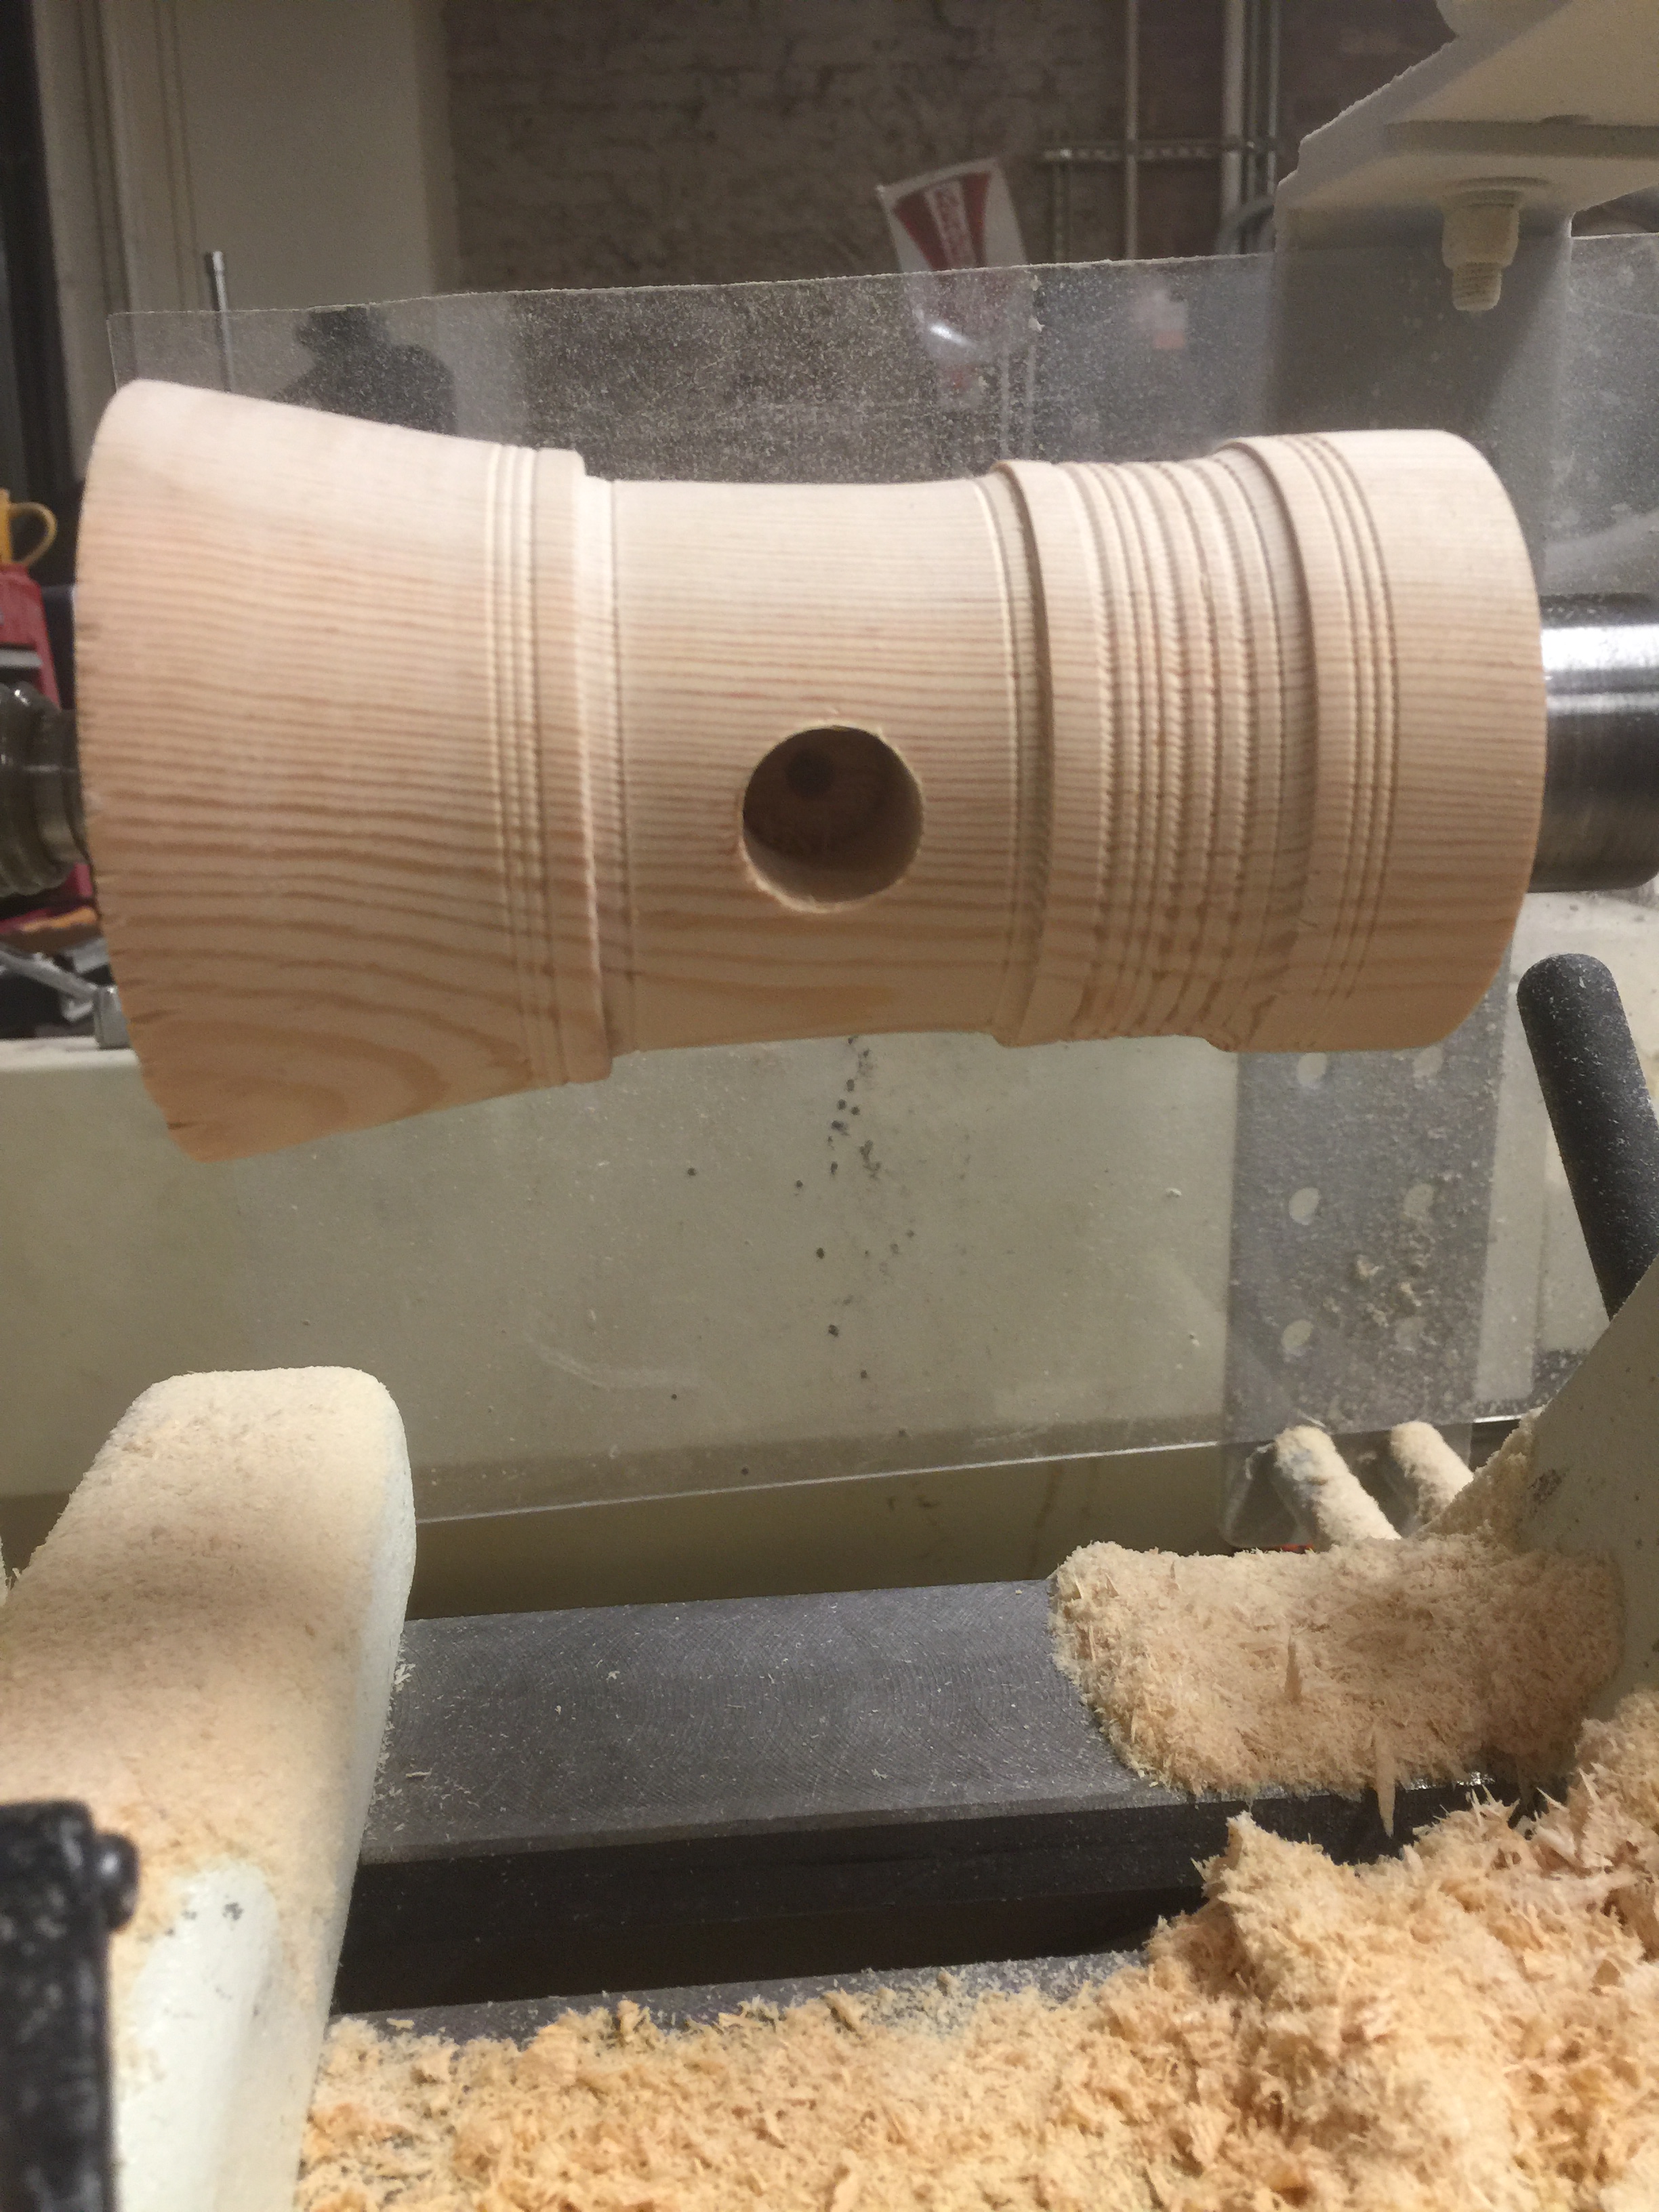
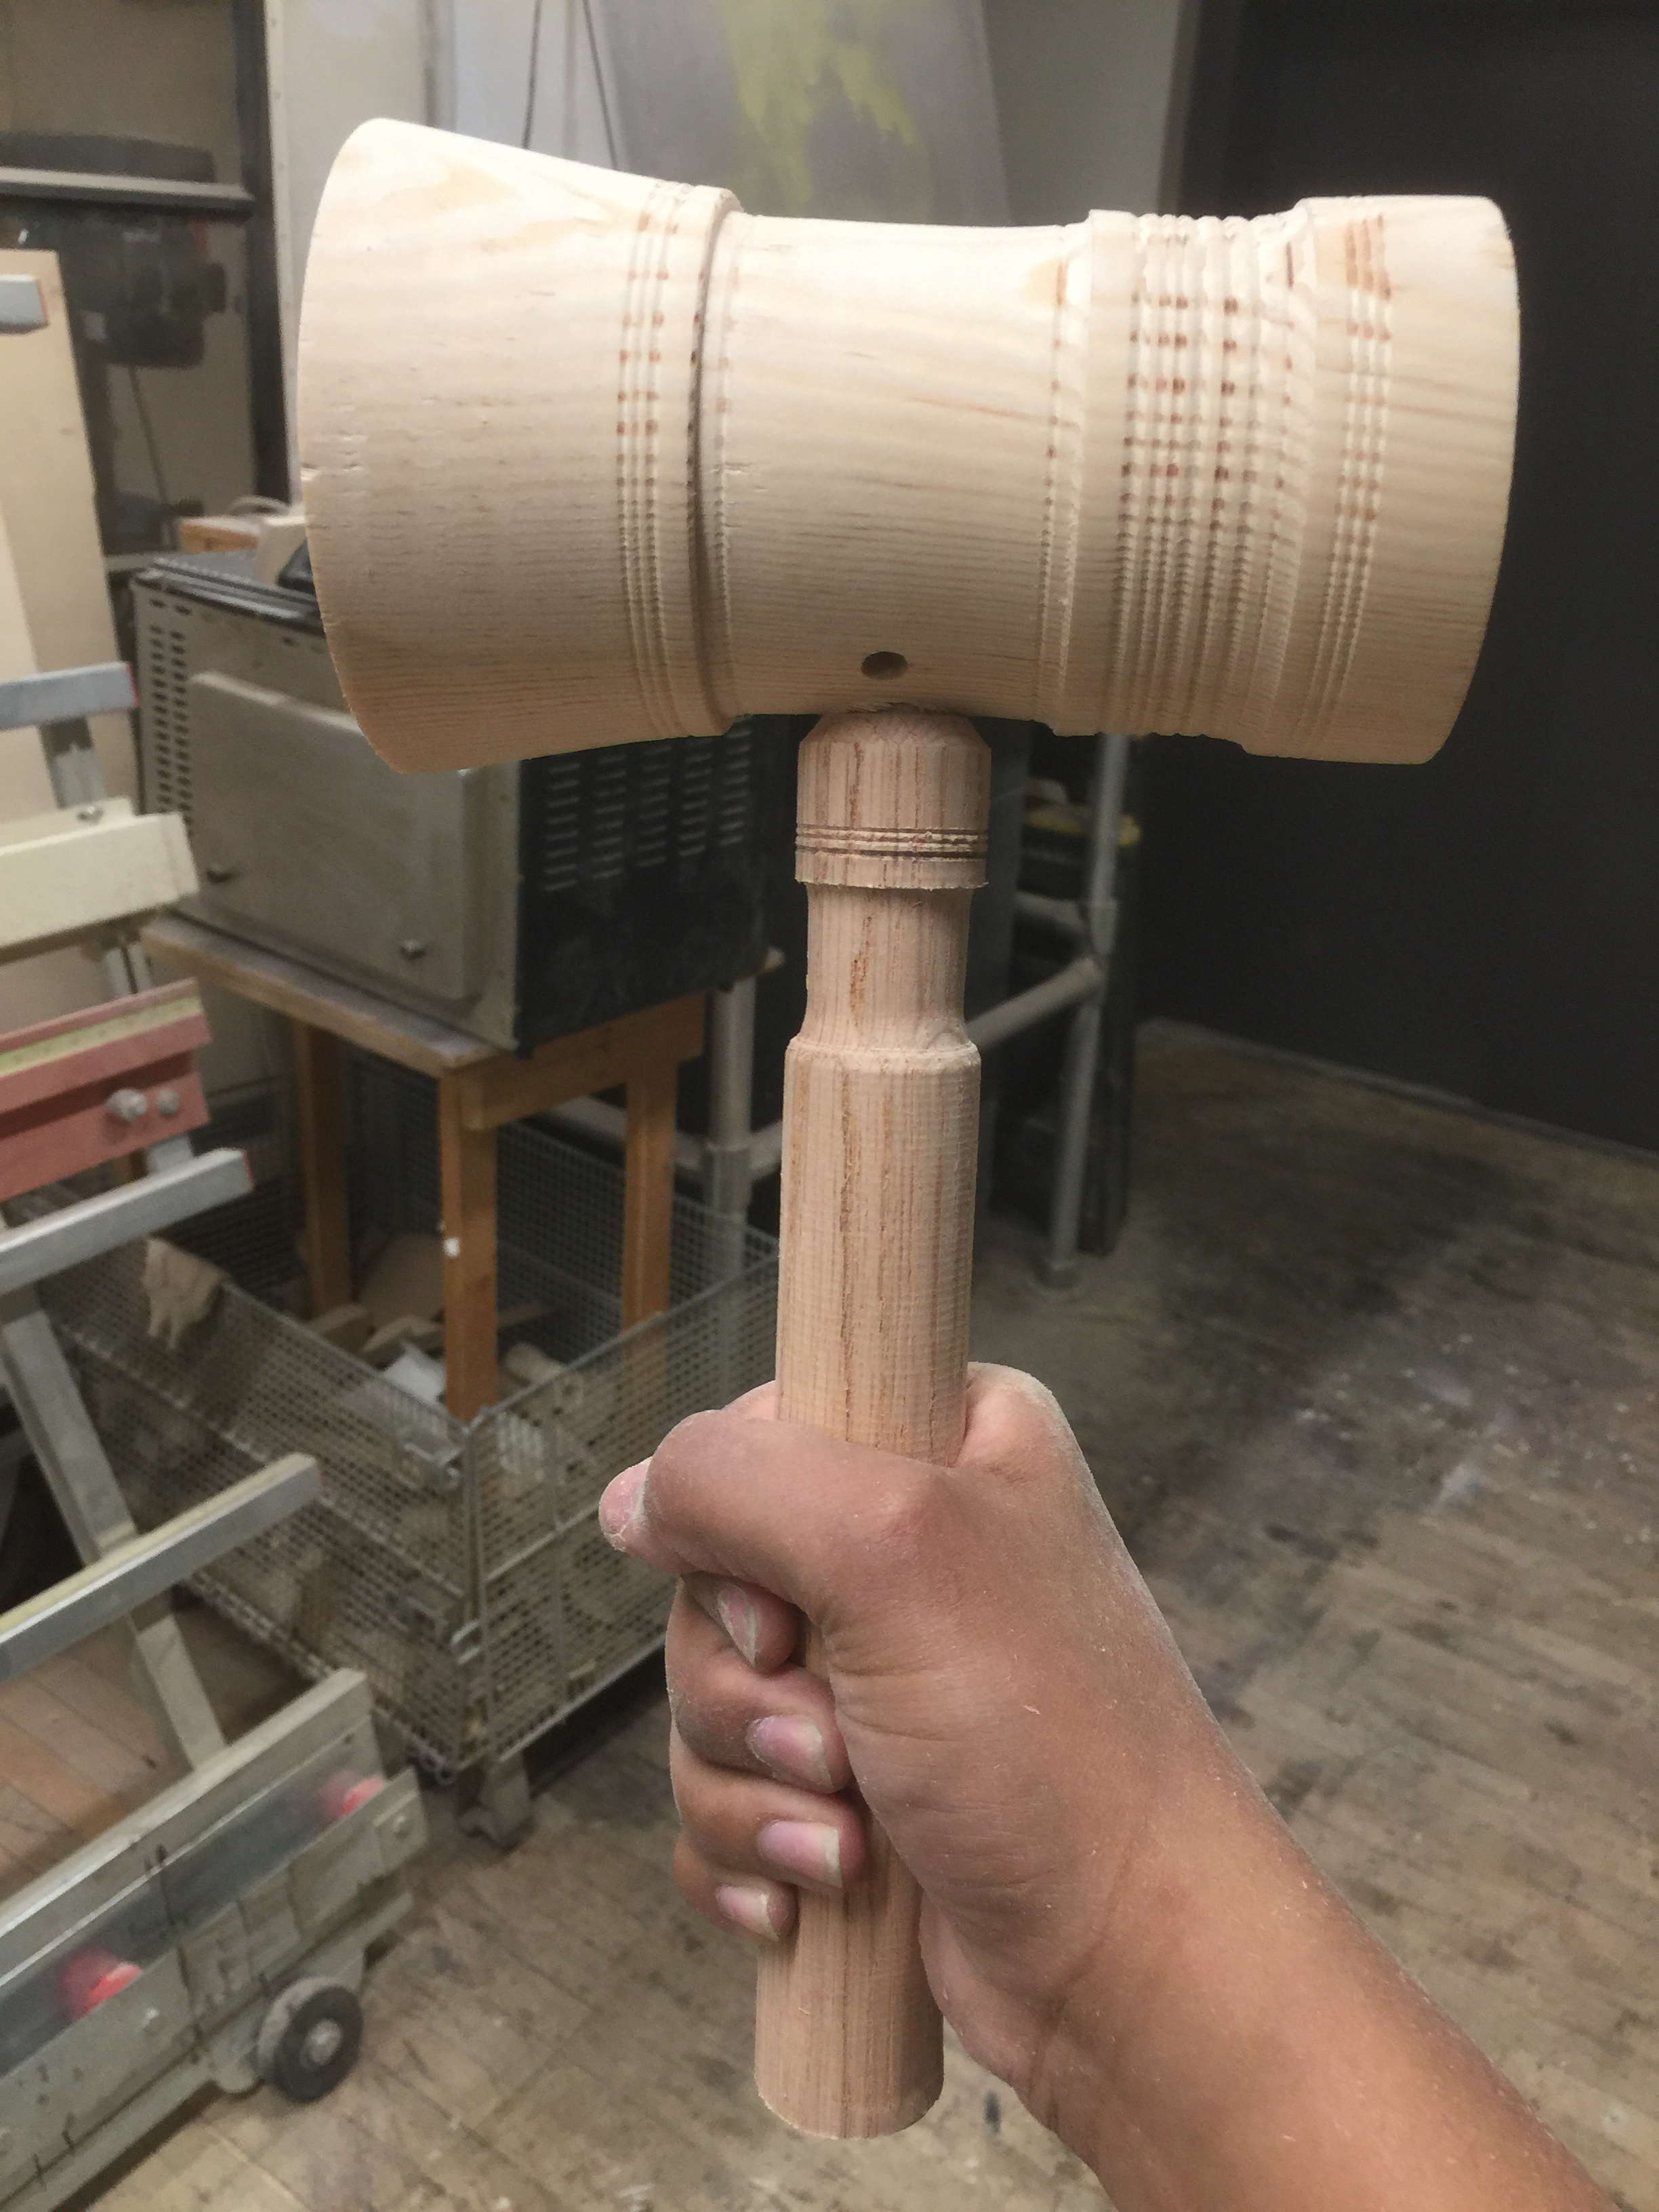
Once it was round I started playing with an idea of form that I had in my head. I didn’t notice at the time, but it started to look a little like a gavel.
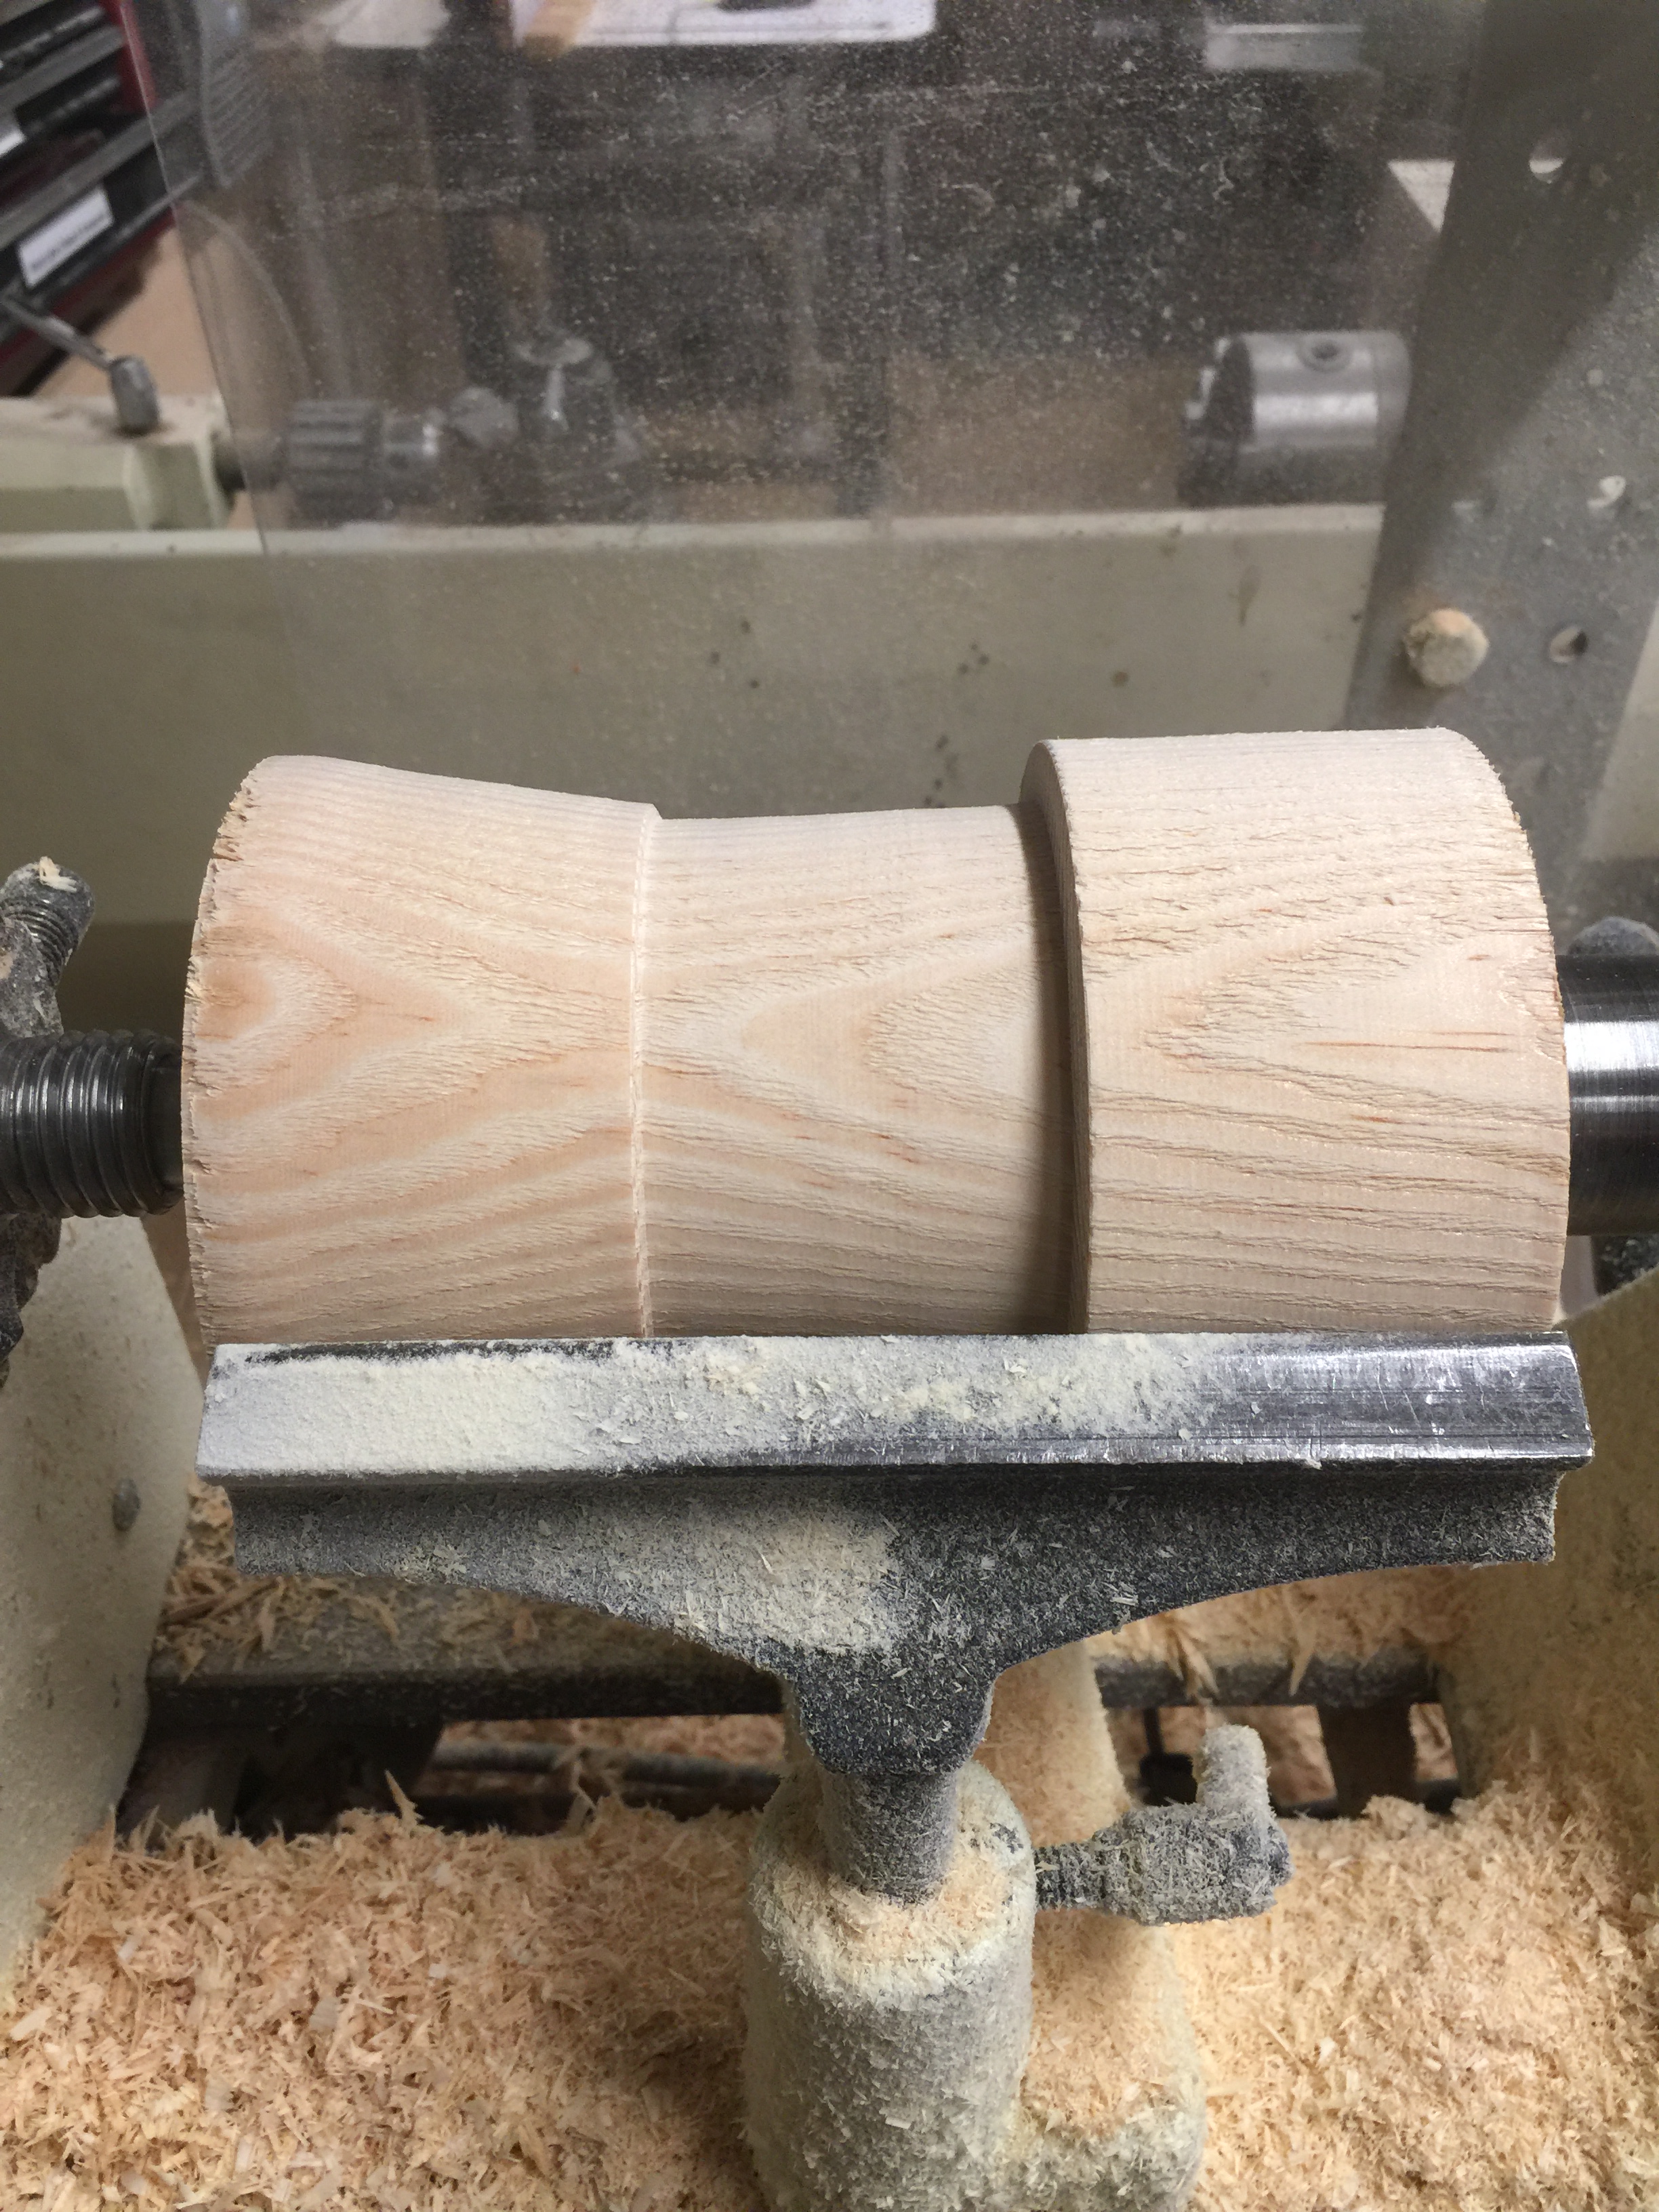
The original plan was to have it flare out on both sides of the handle. I fluted the left side and narrowed the centre and began fluting the right side. Then tragedy struck!
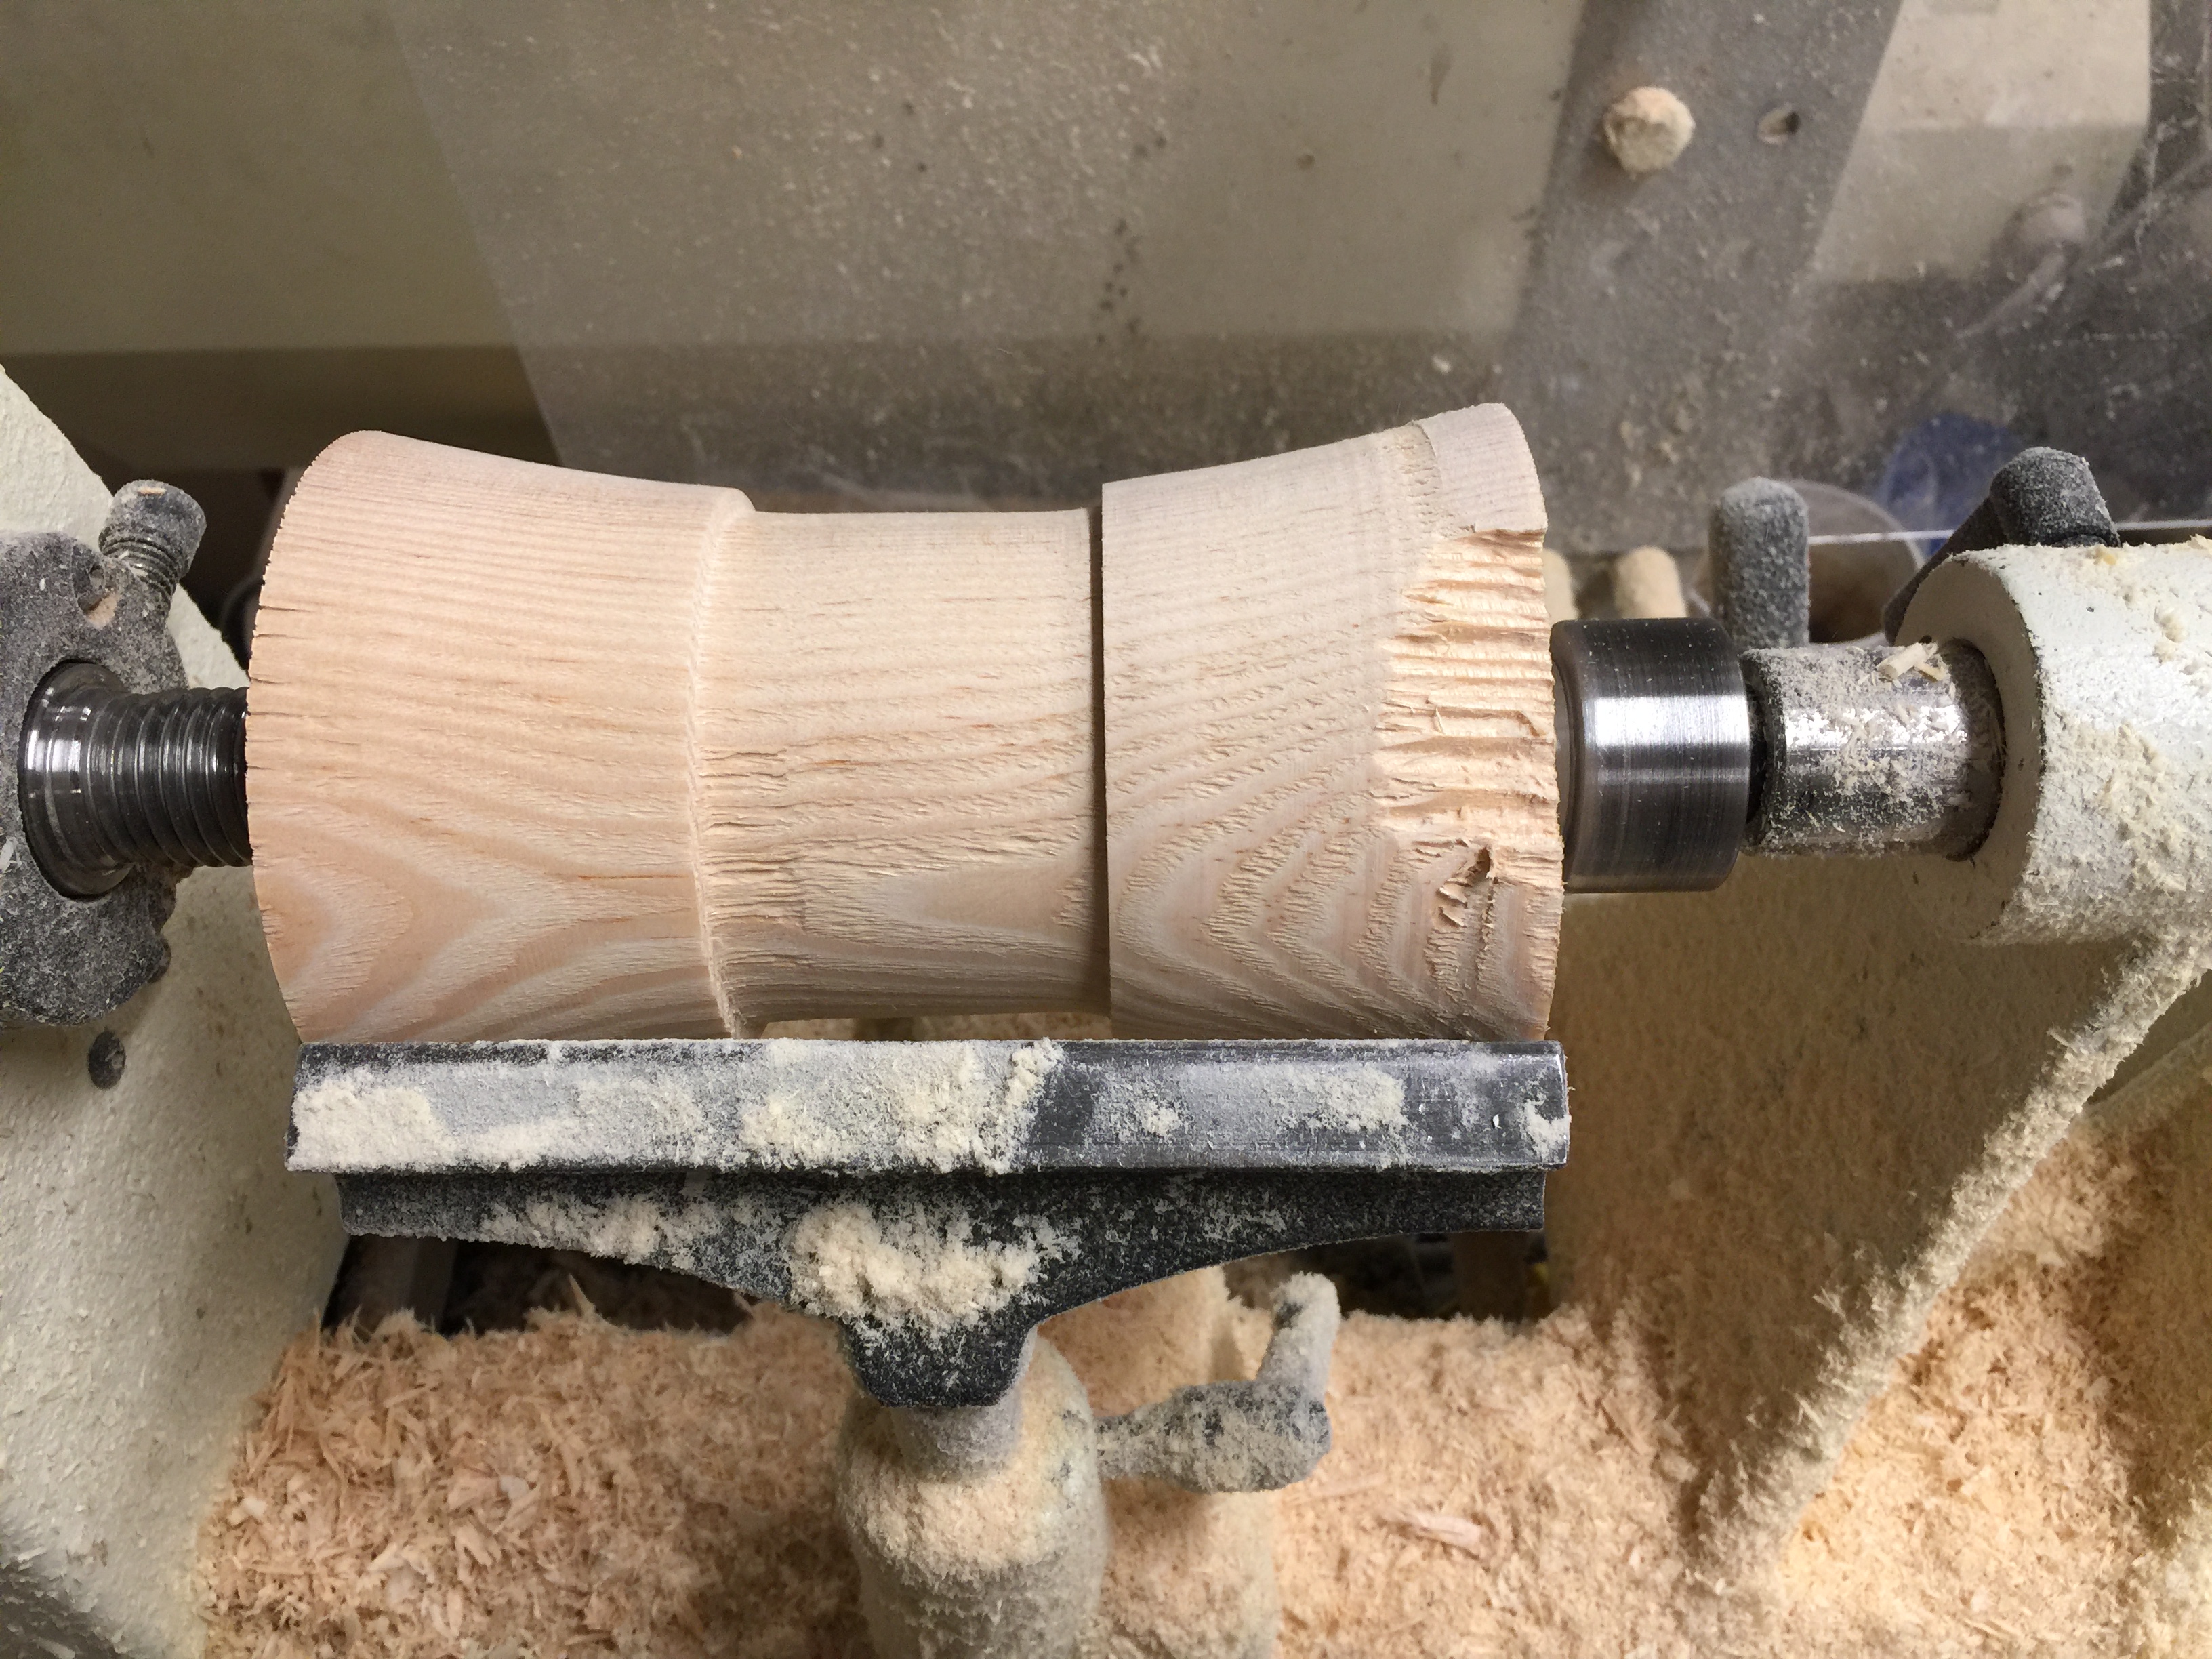
I notched off a HUGE chunk of the edge! It was devastating and I had to reconfigure my entire shape.

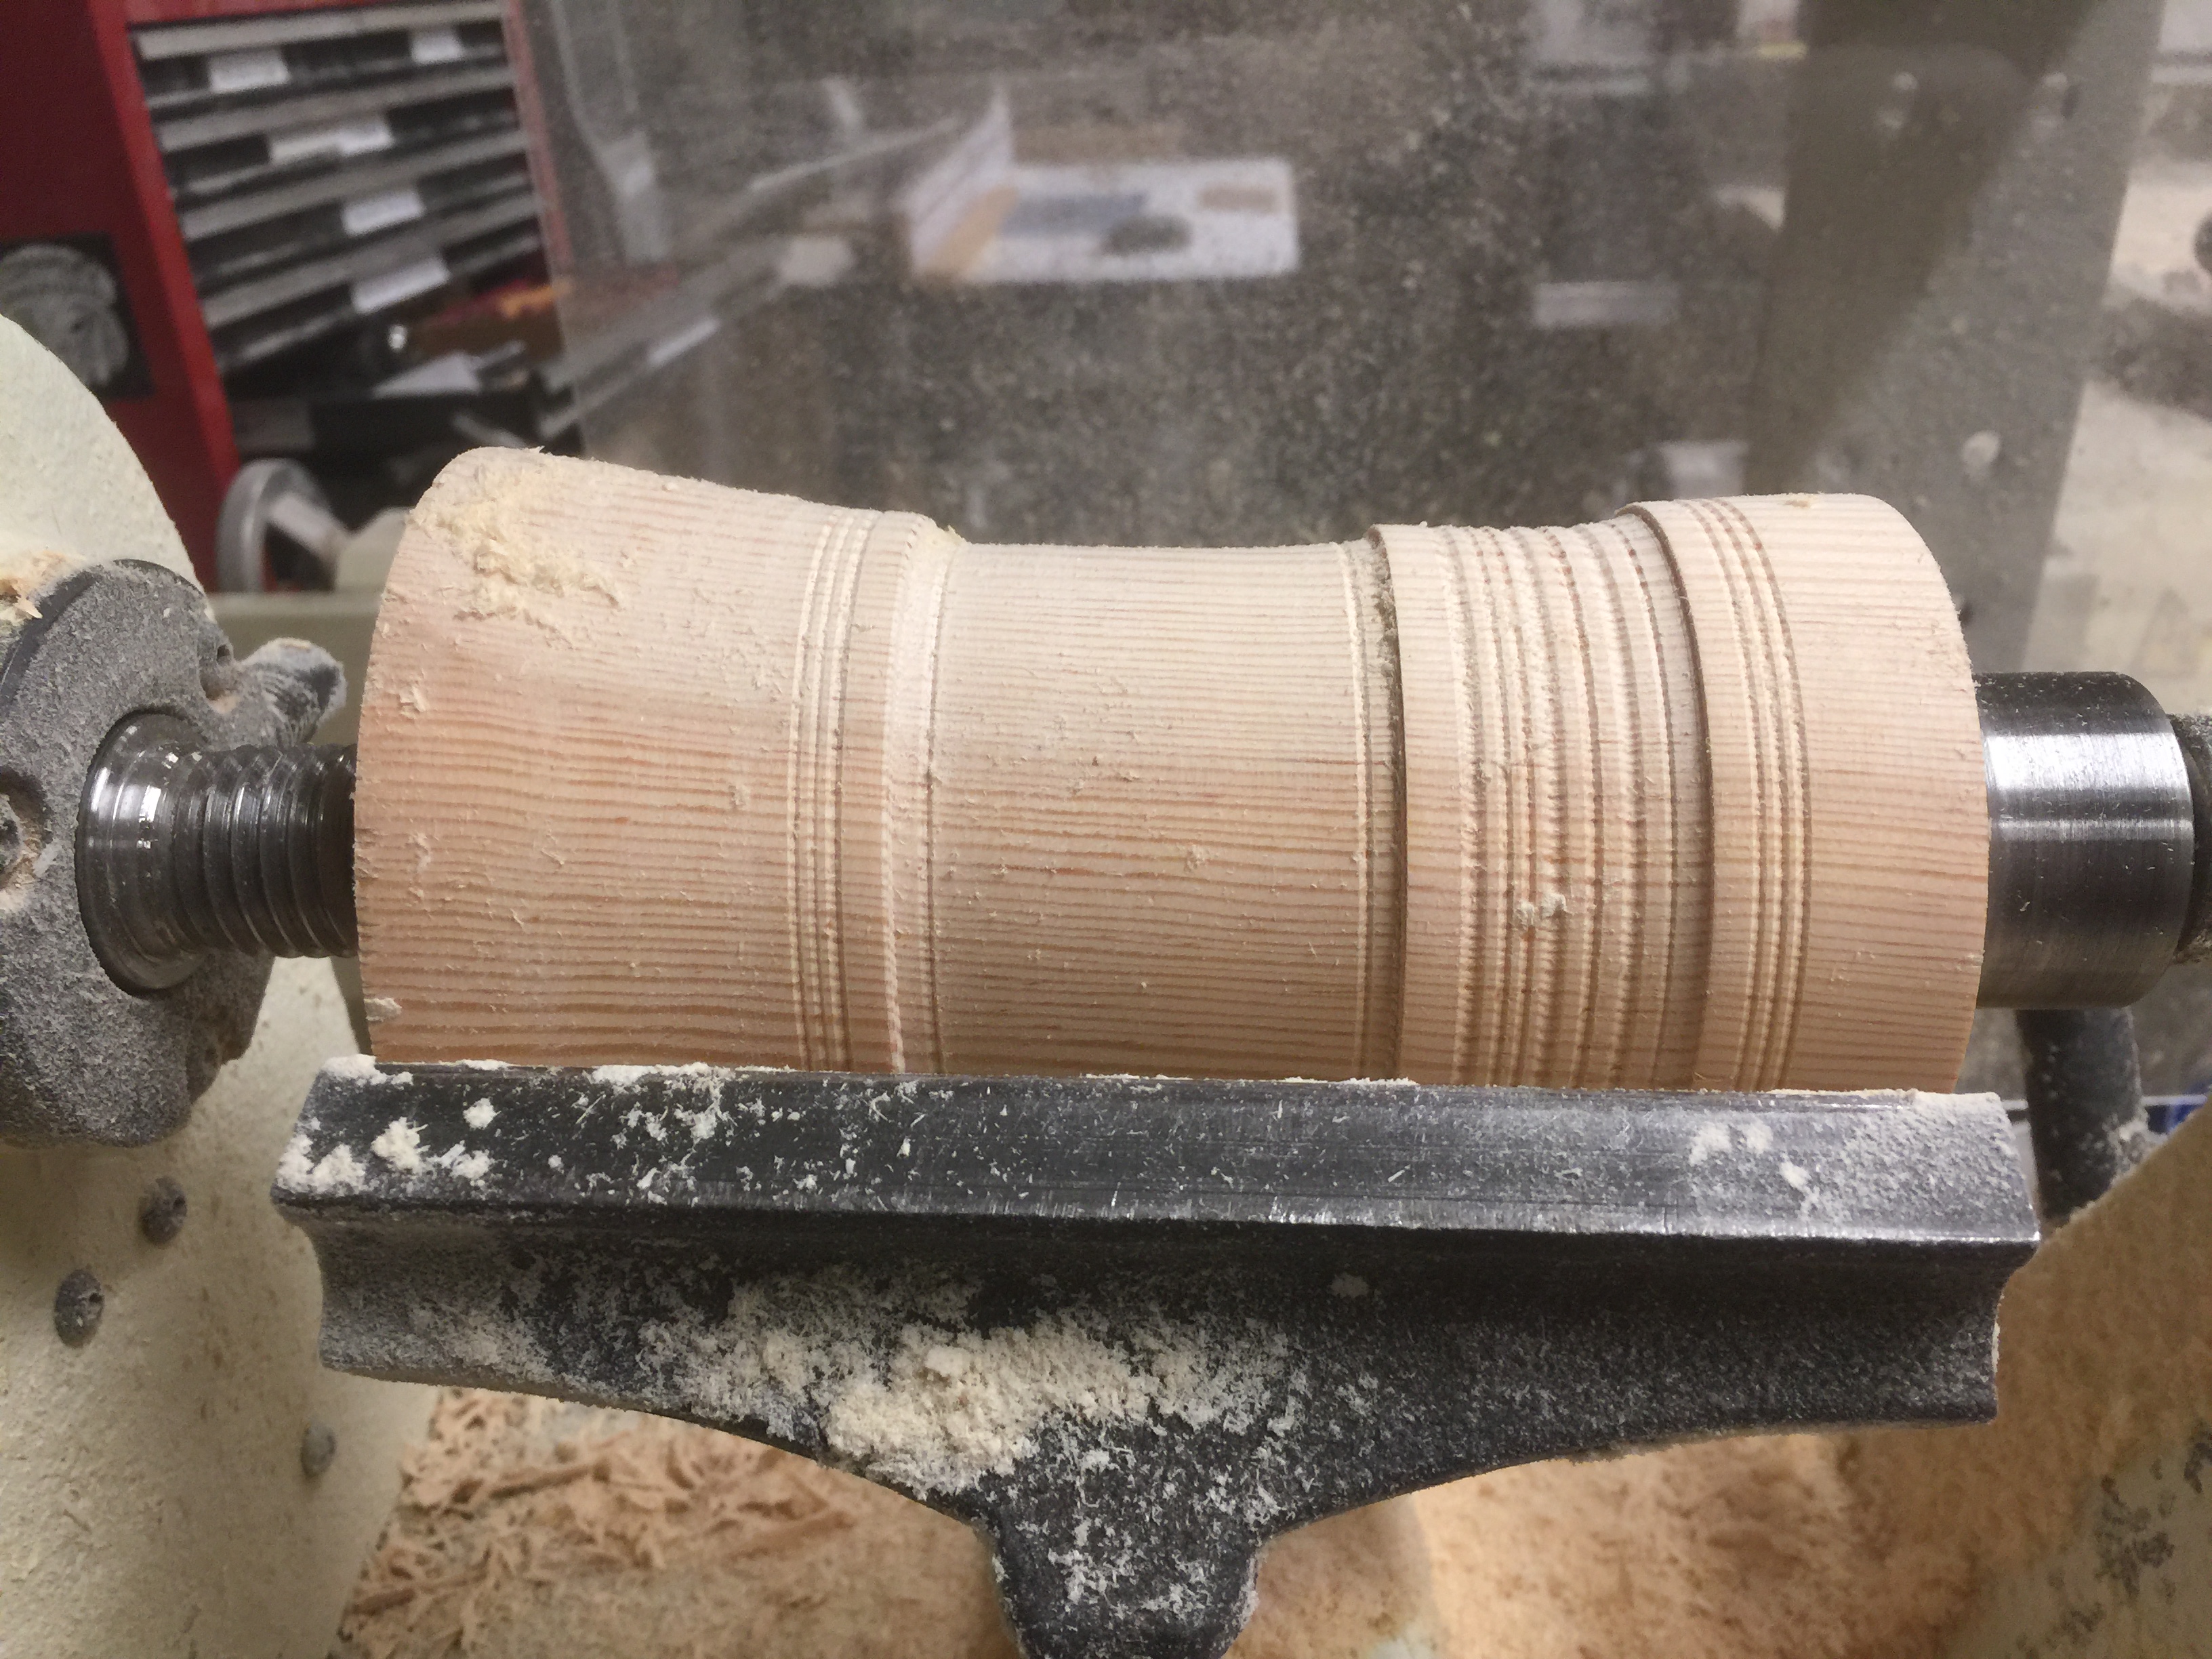
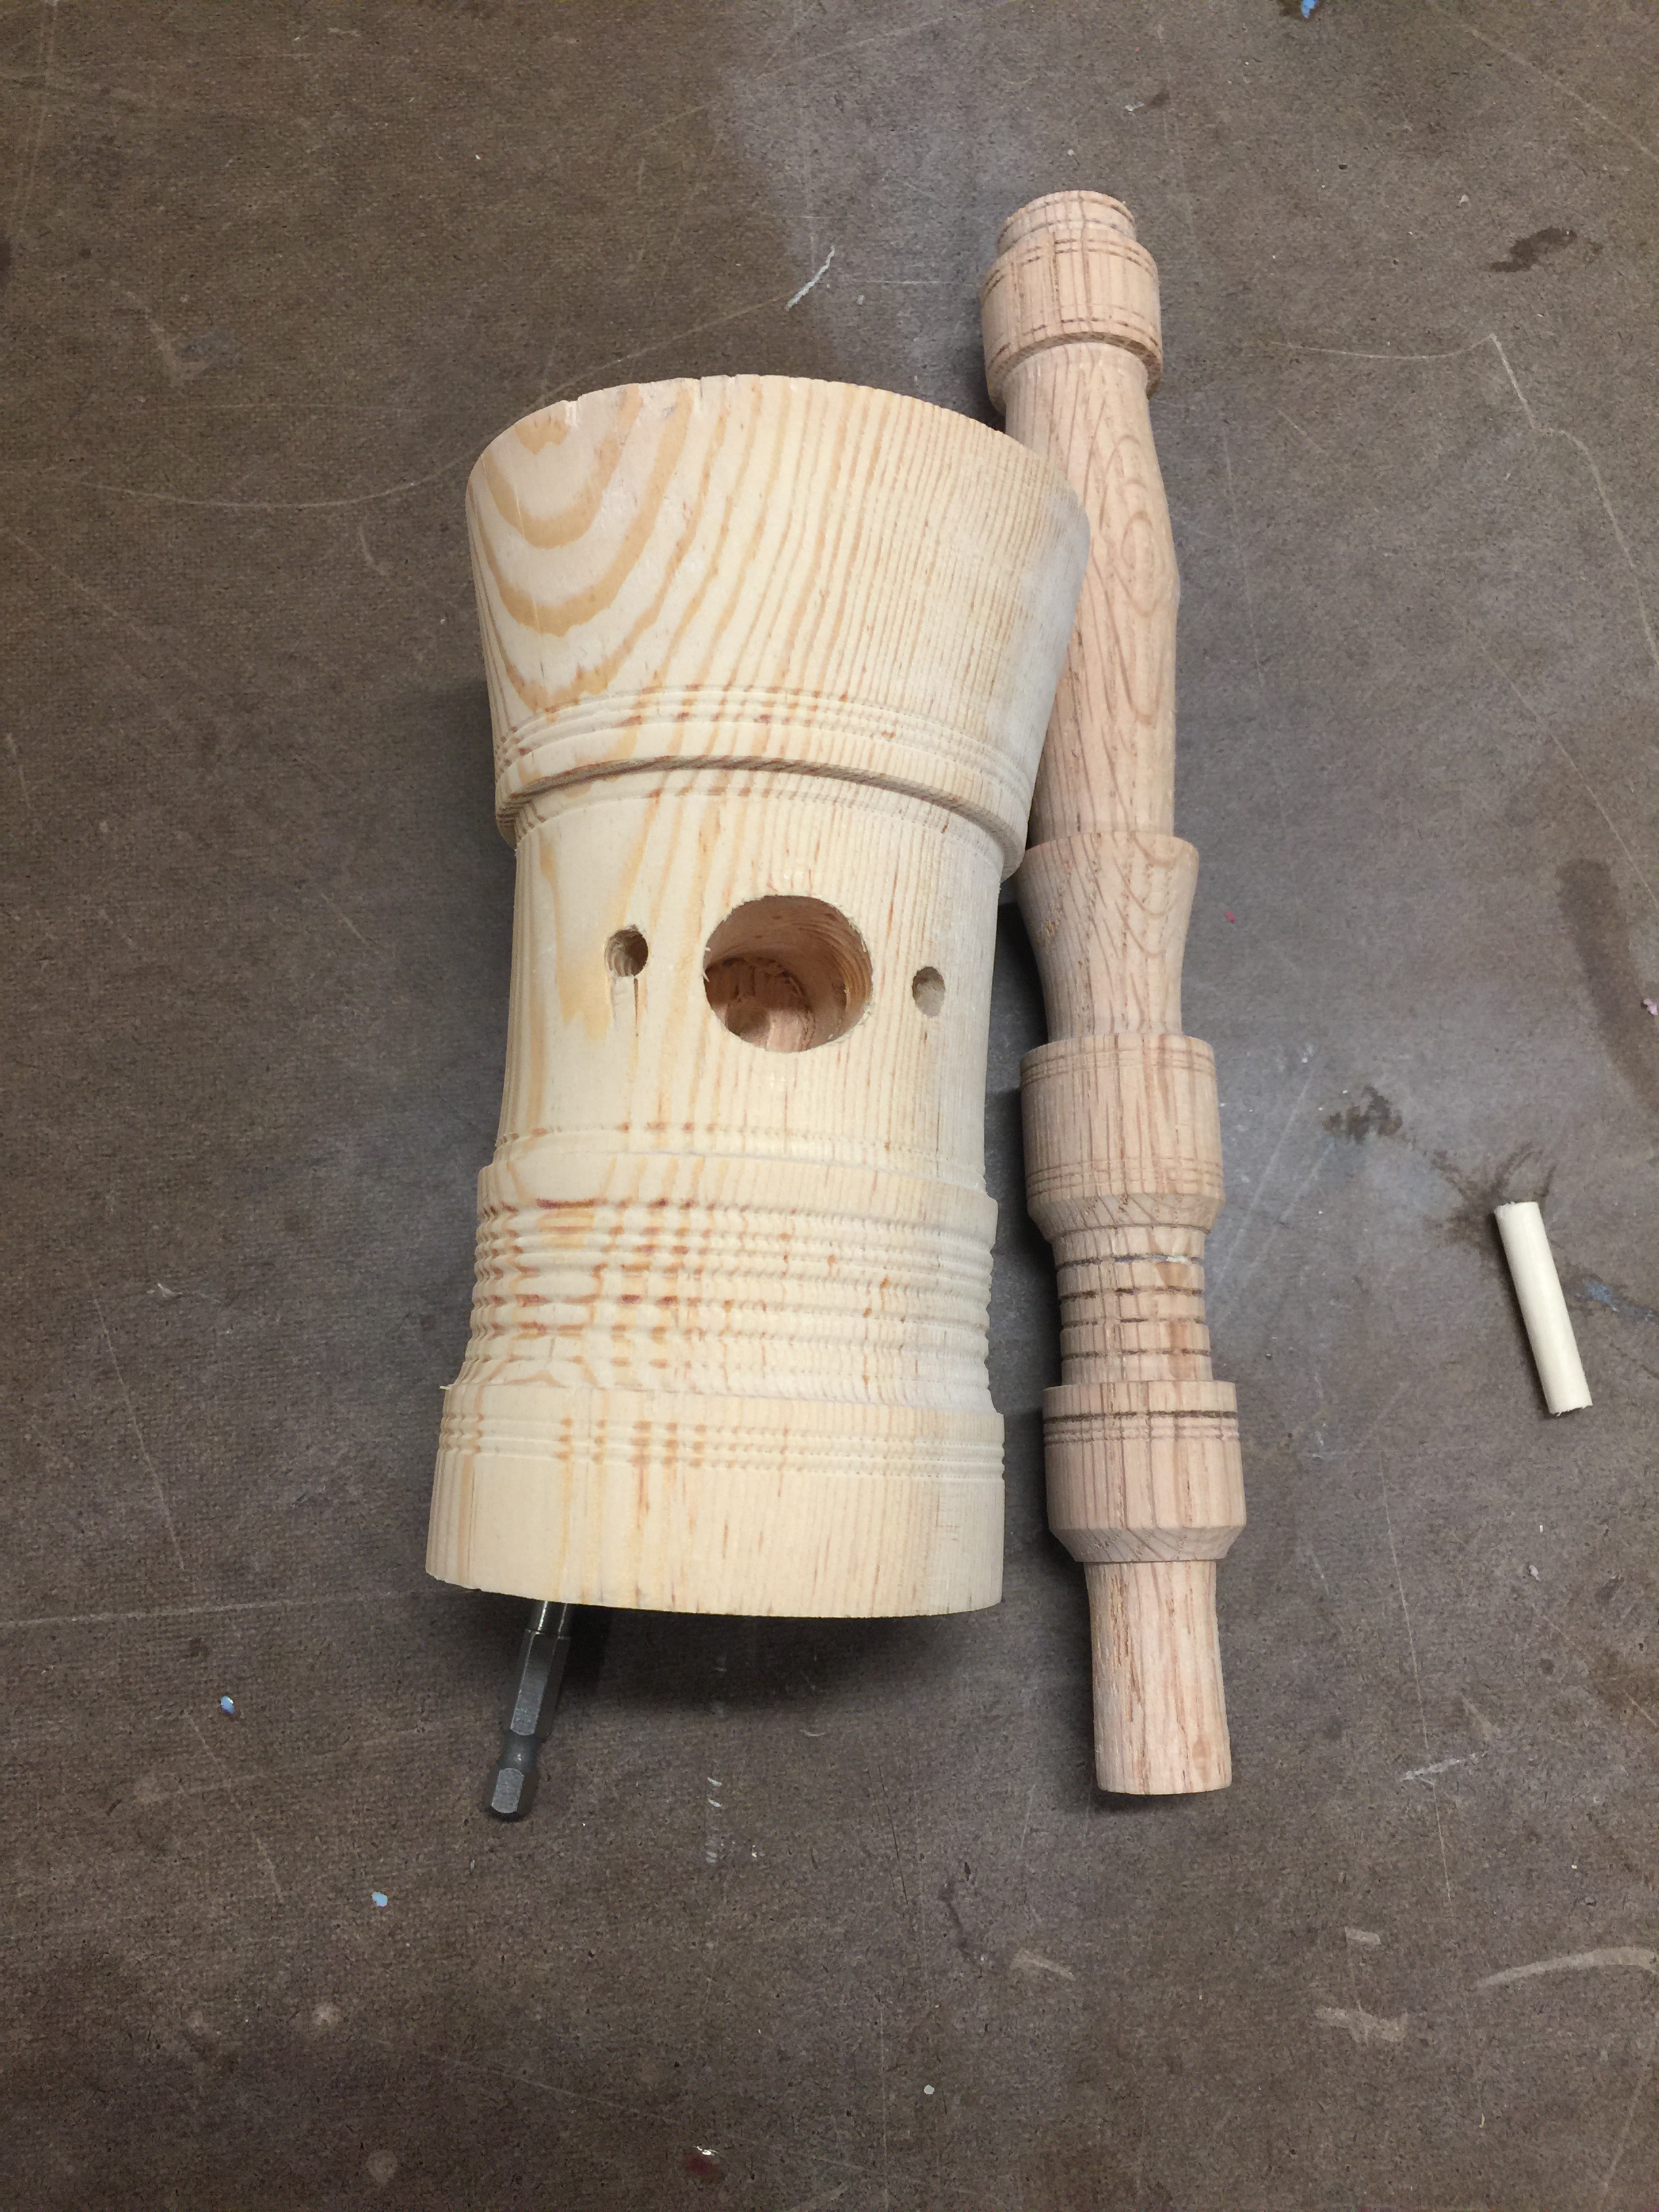
I added additional details and sanded it down. I notice that it was harder to get a refined look at the edges of the piece. I’ll have to experiment to find a solution to that.
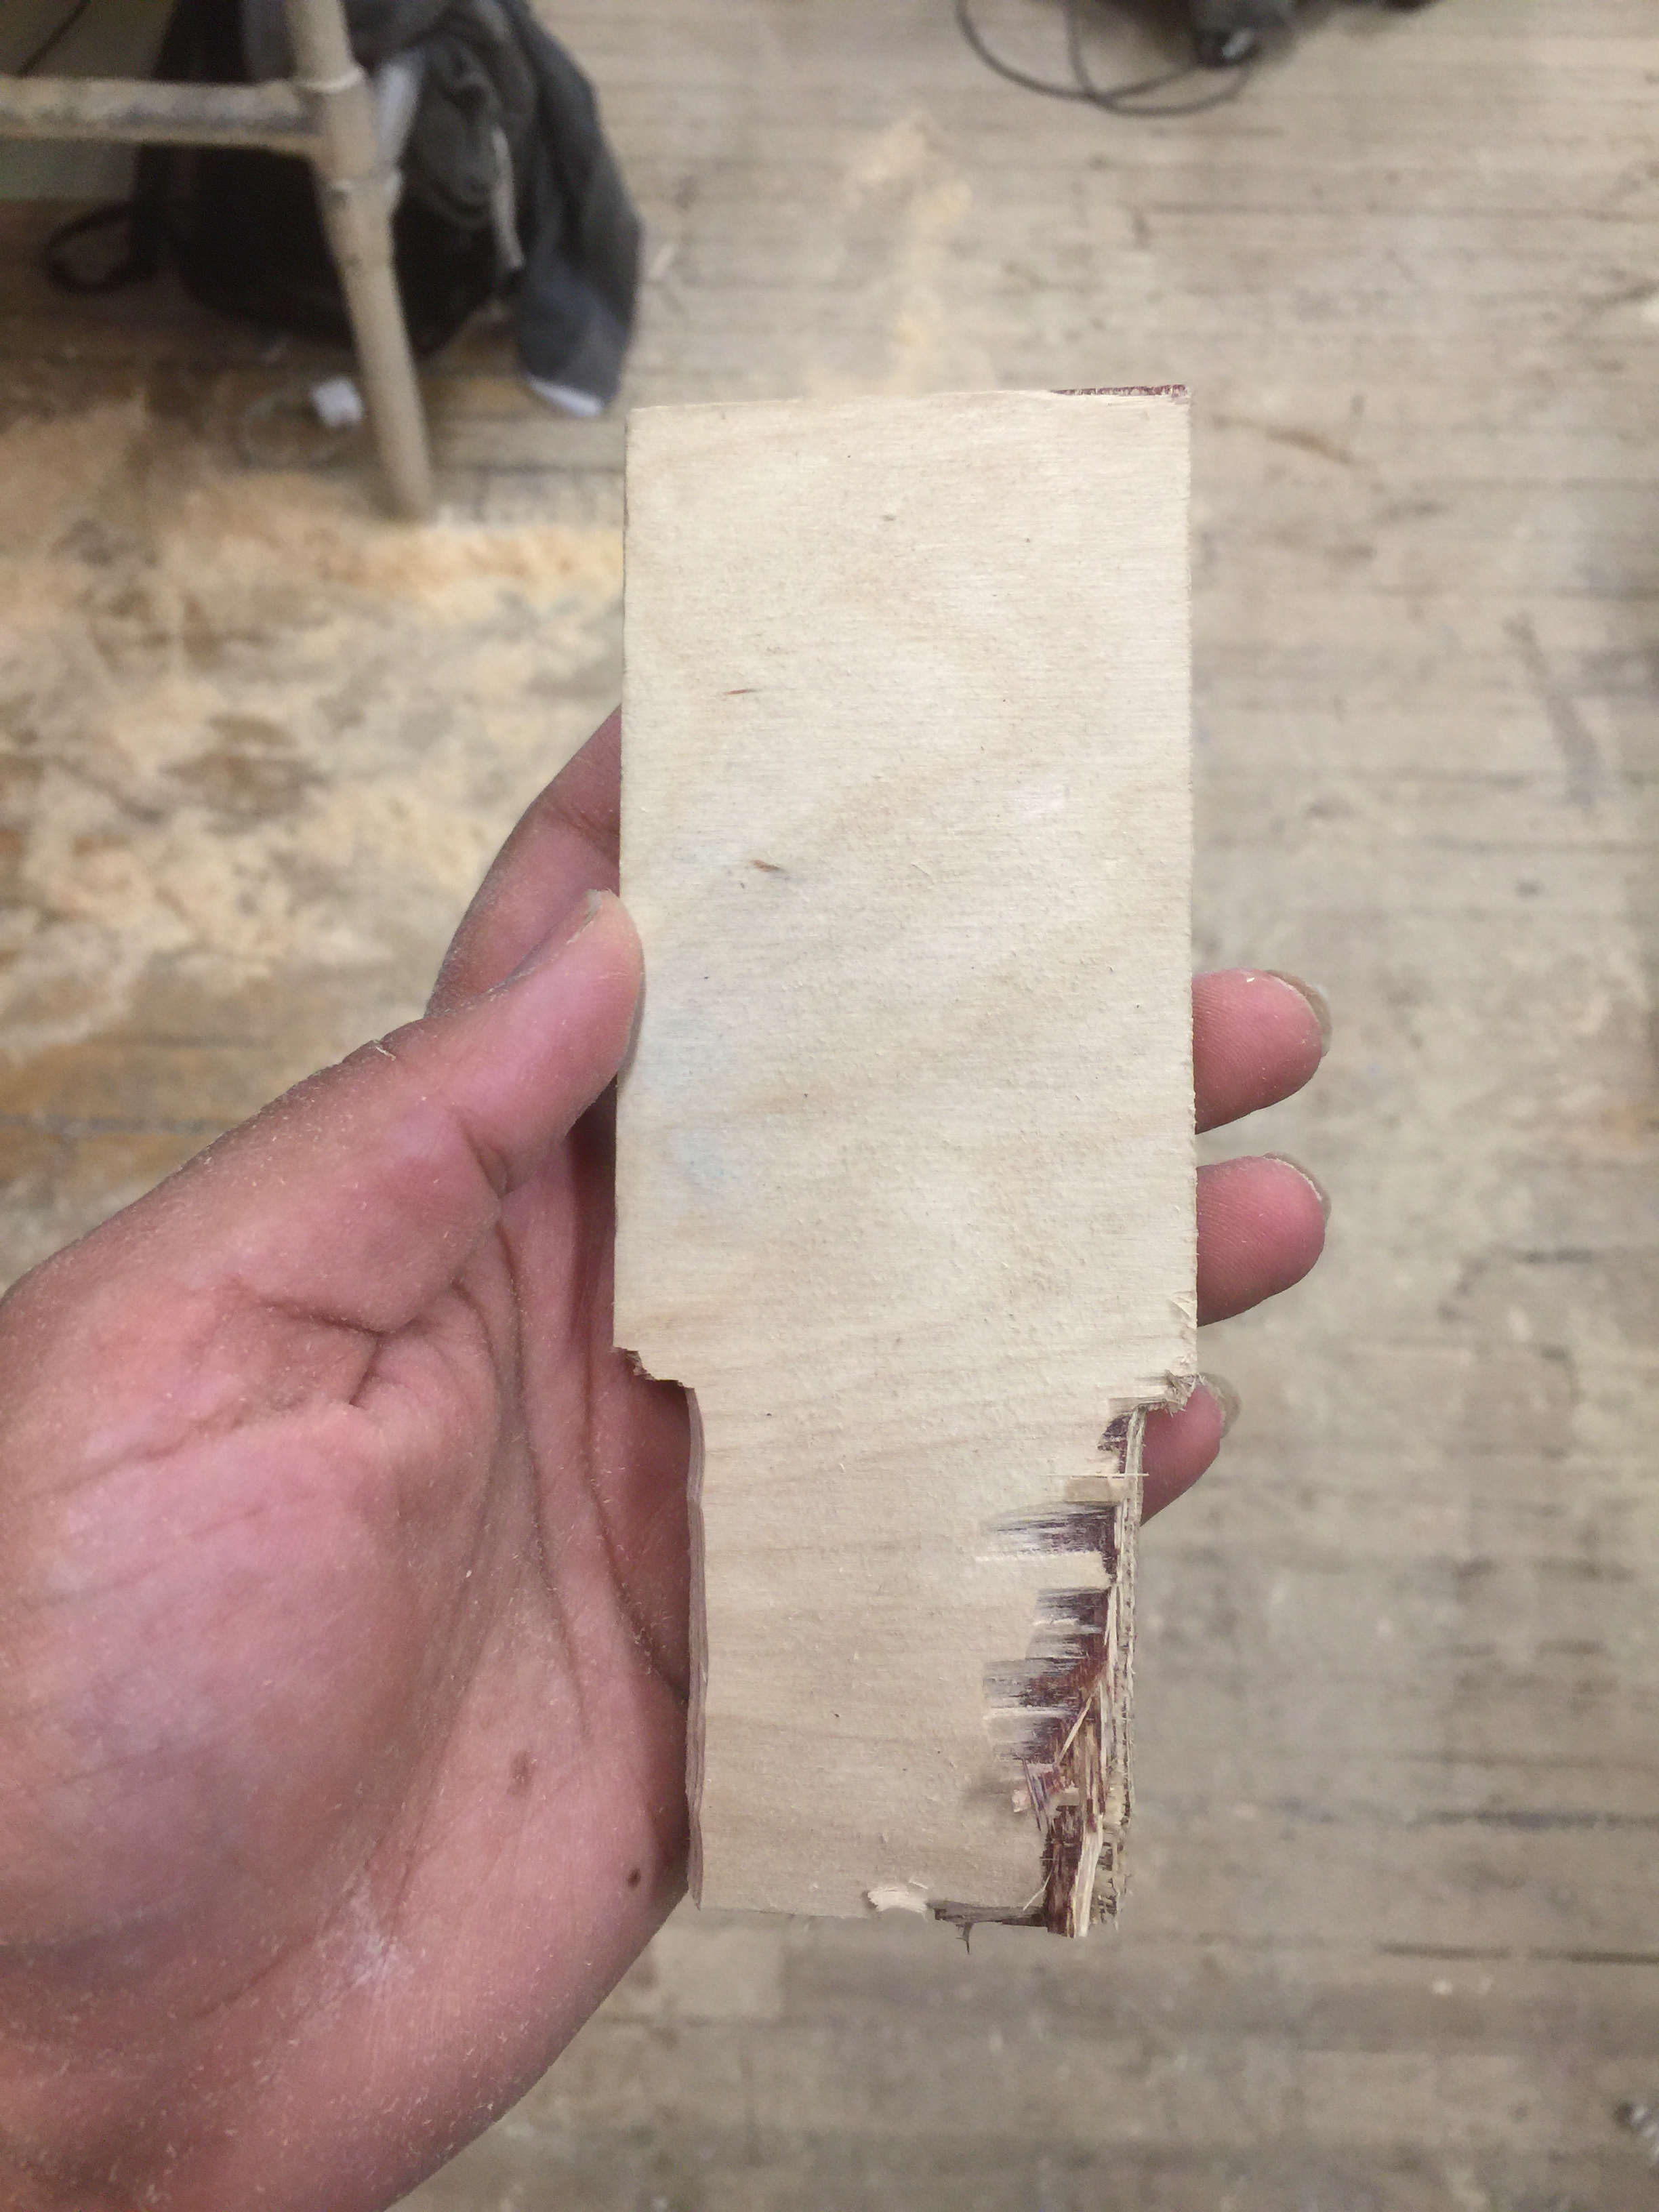
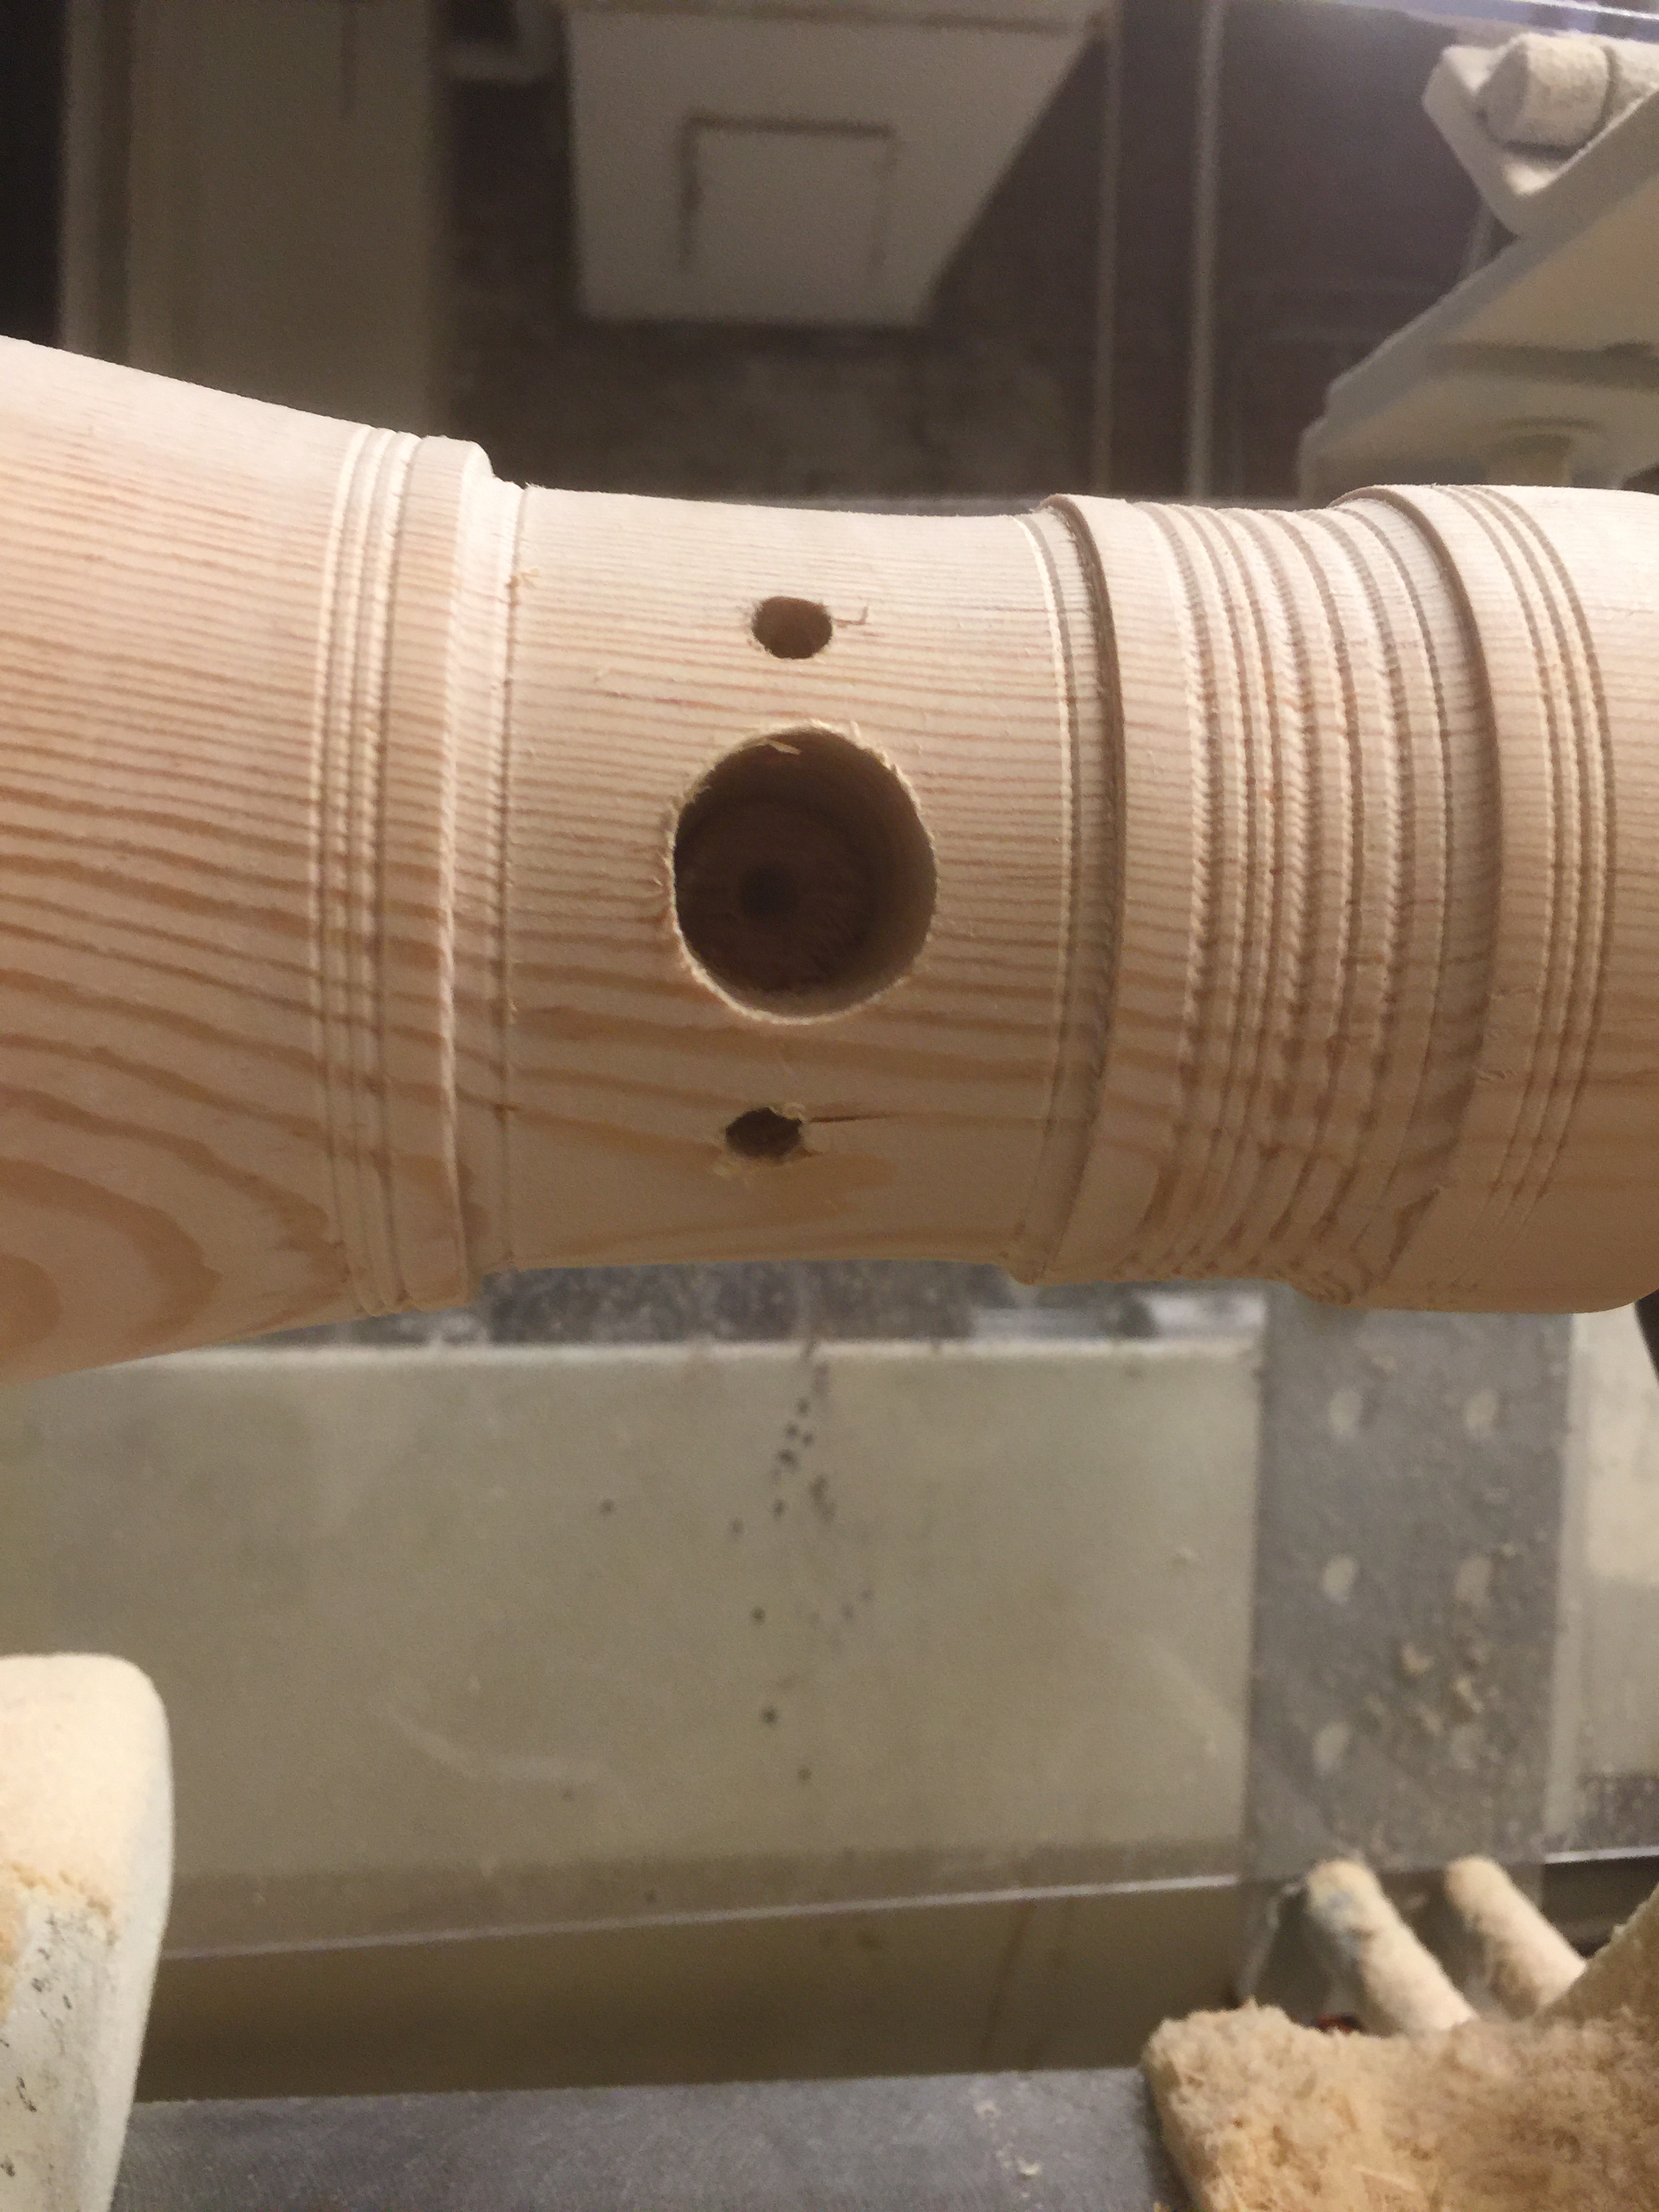
I found a piece of scrap that I could use as a jig to make the holes in the mallet. I took down the sides and found the centre point.
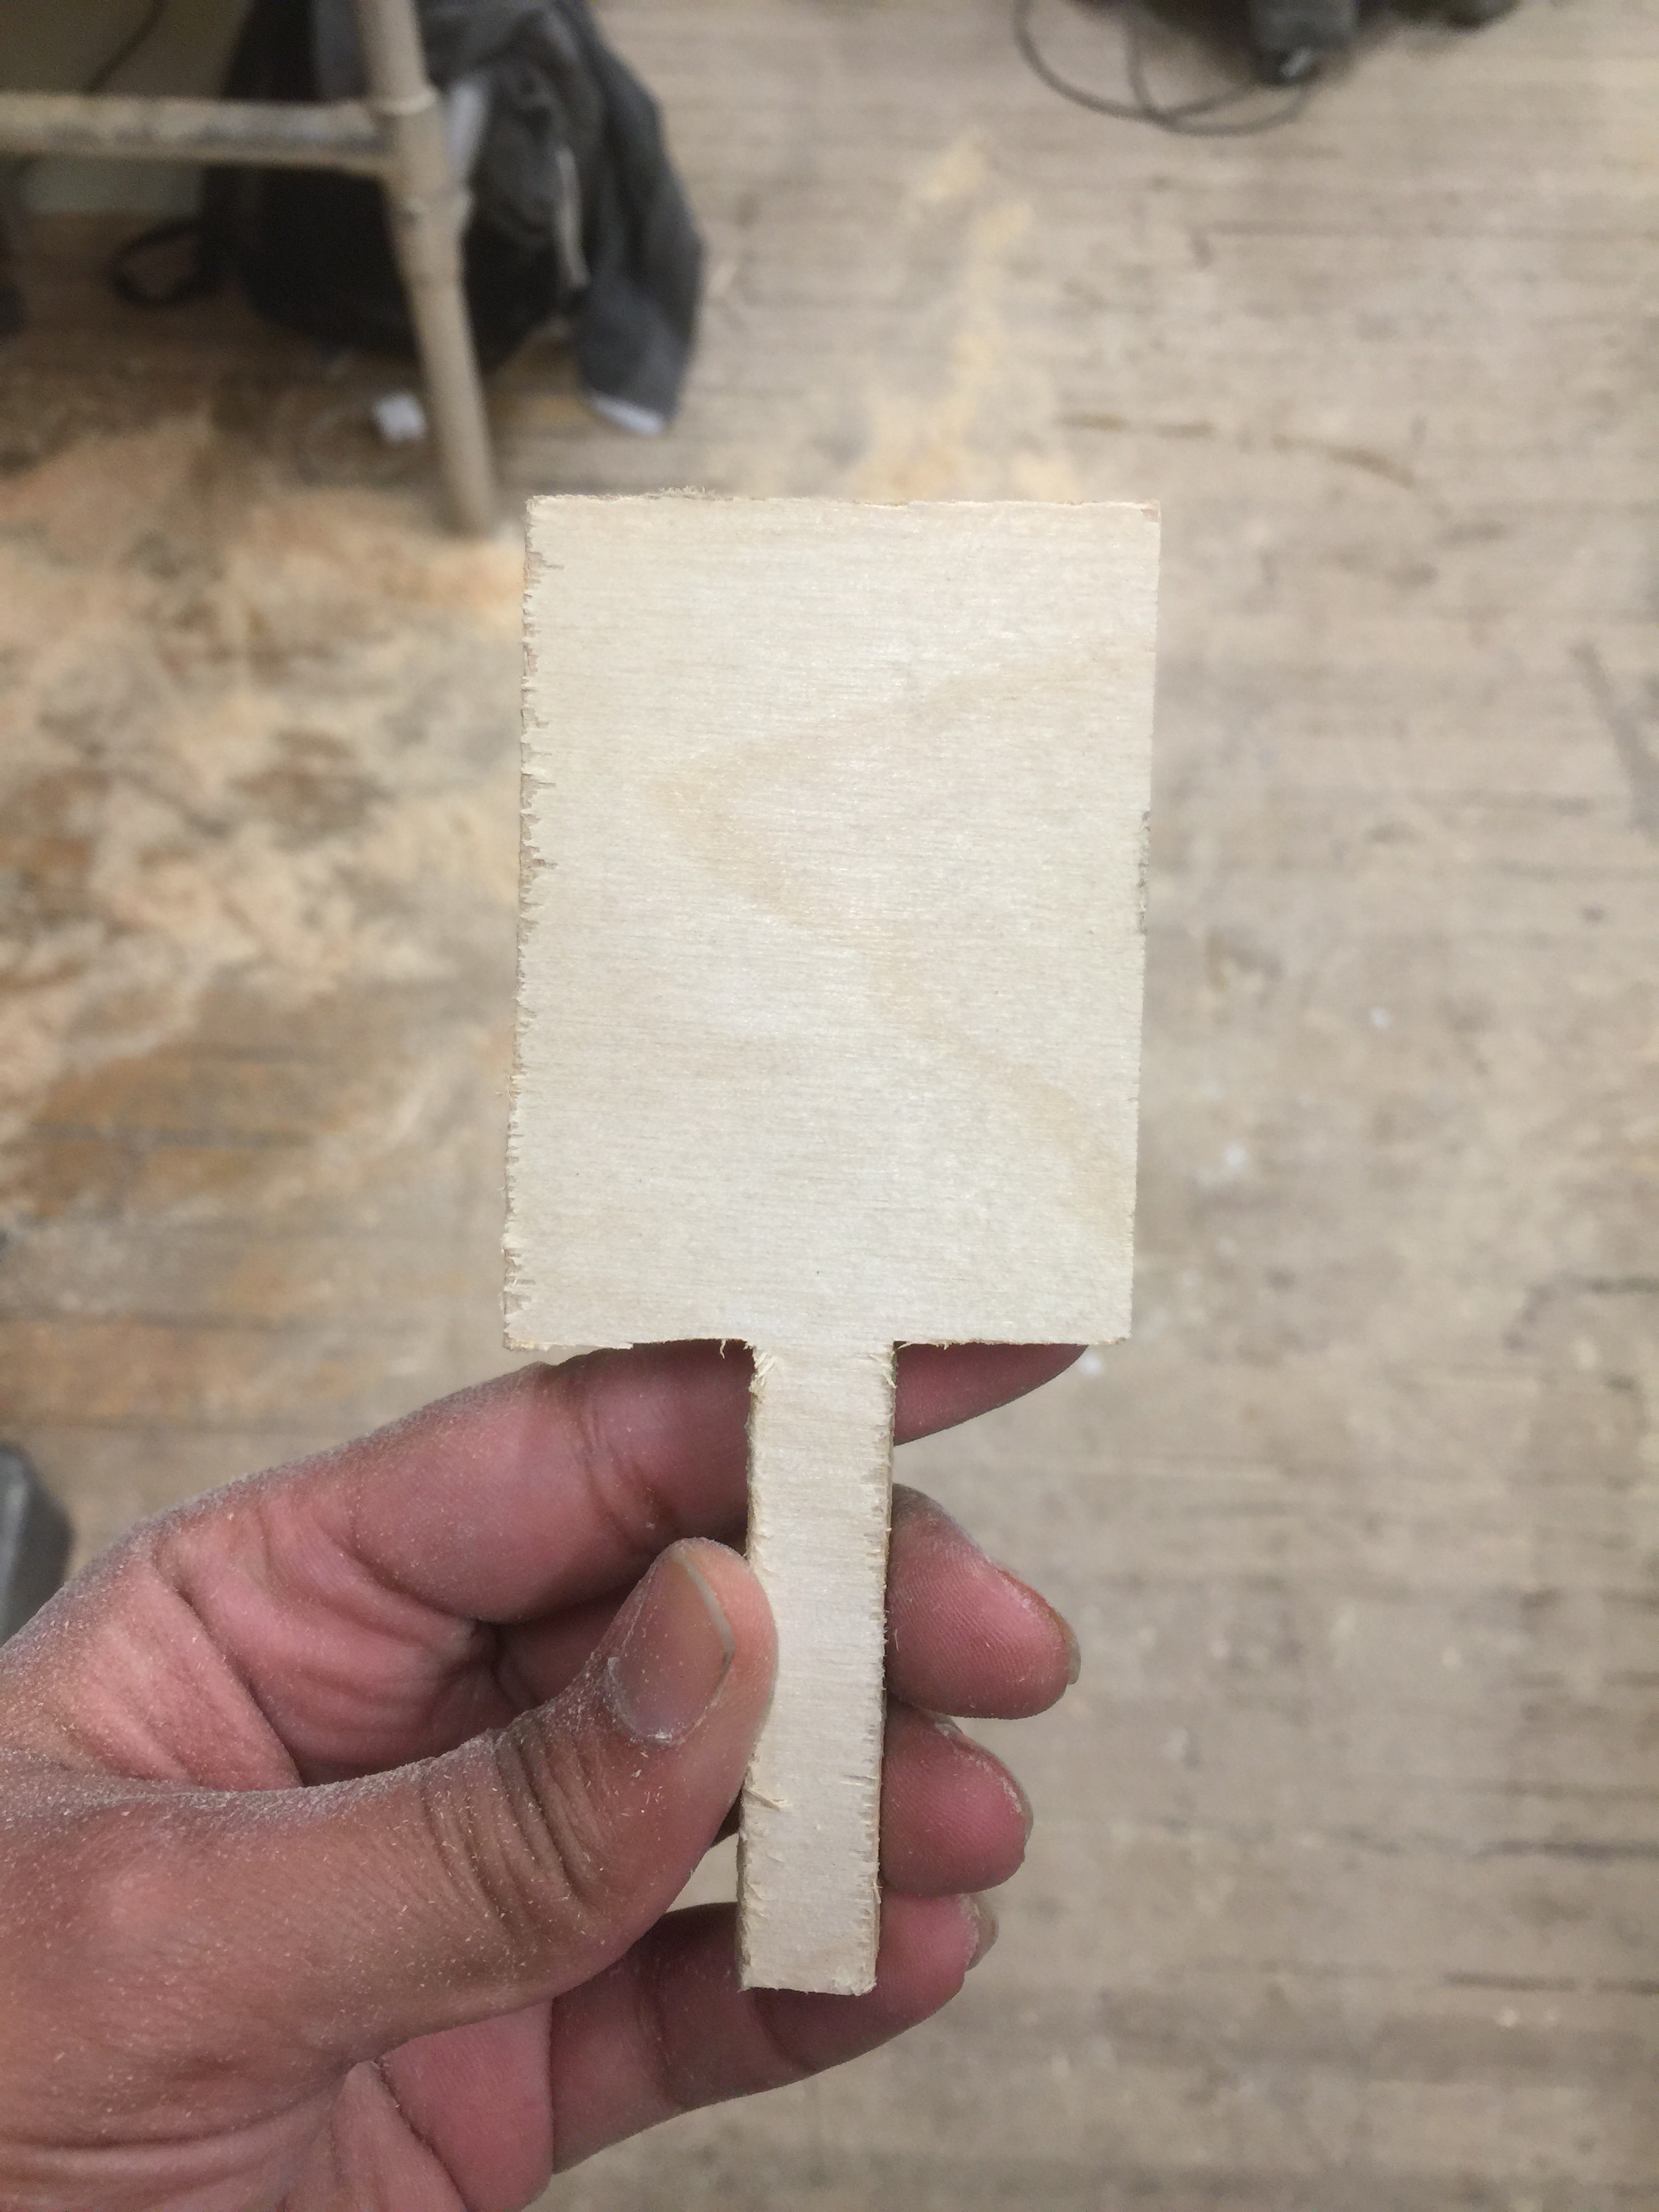
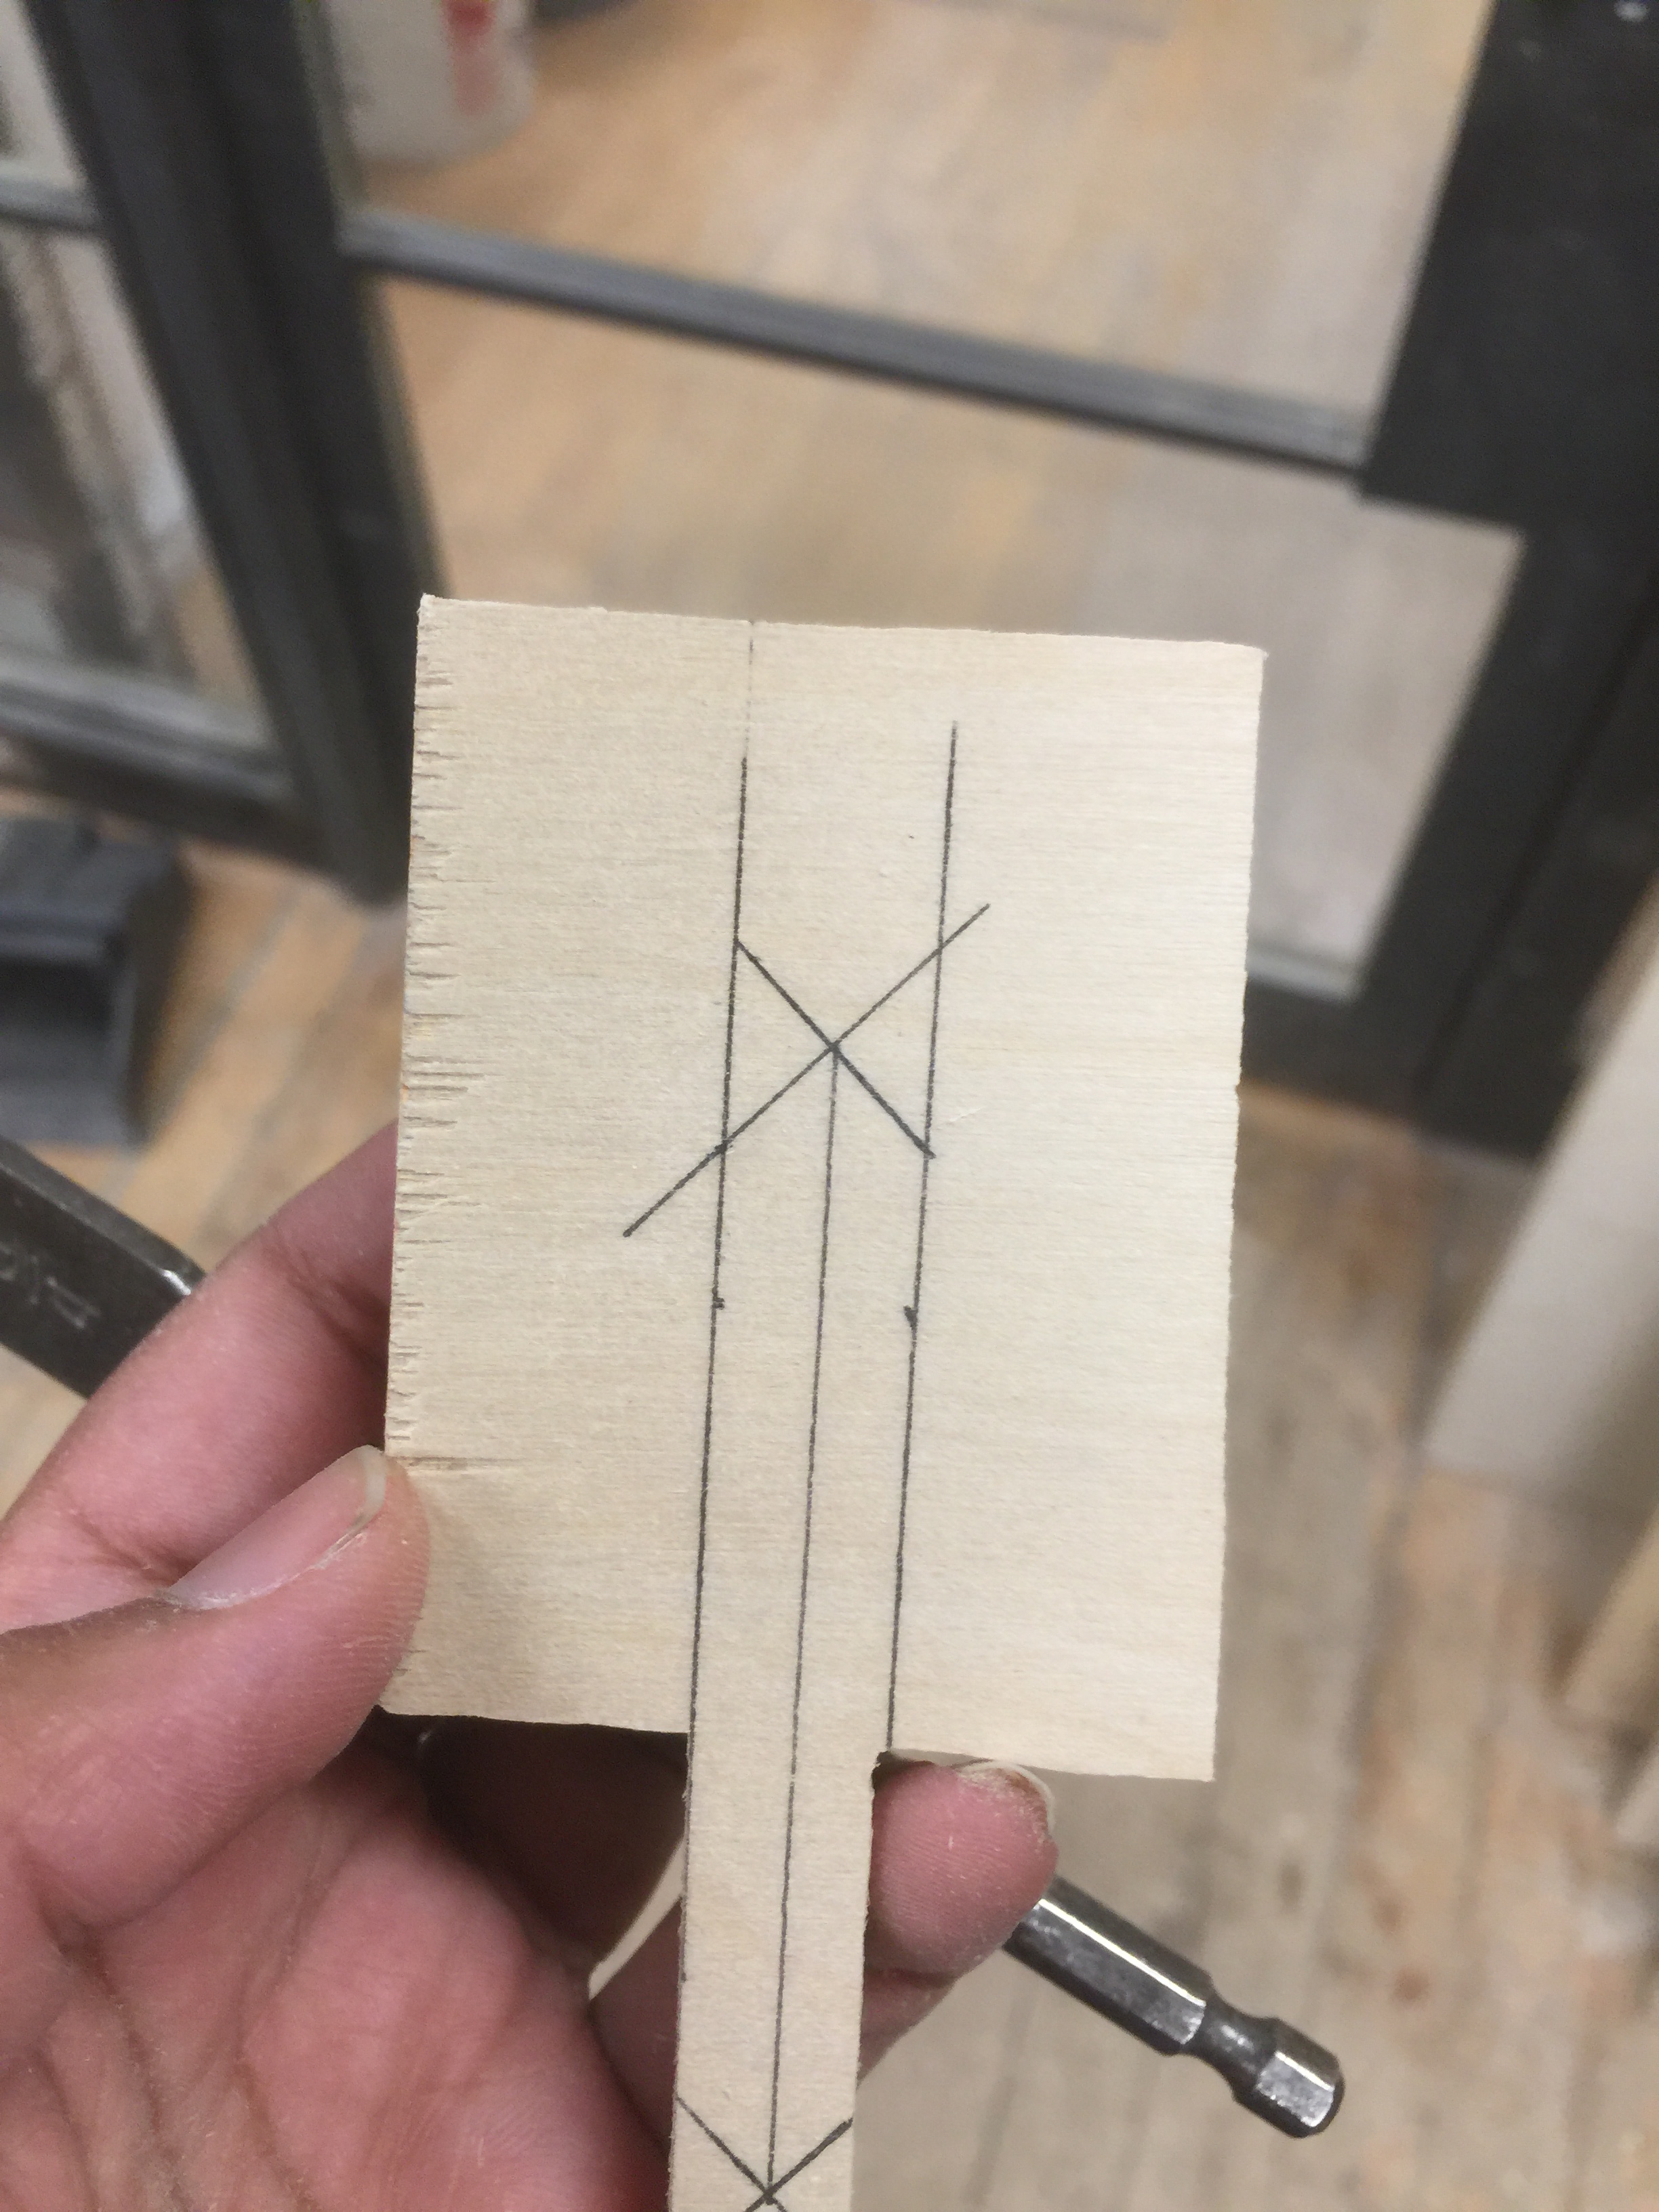
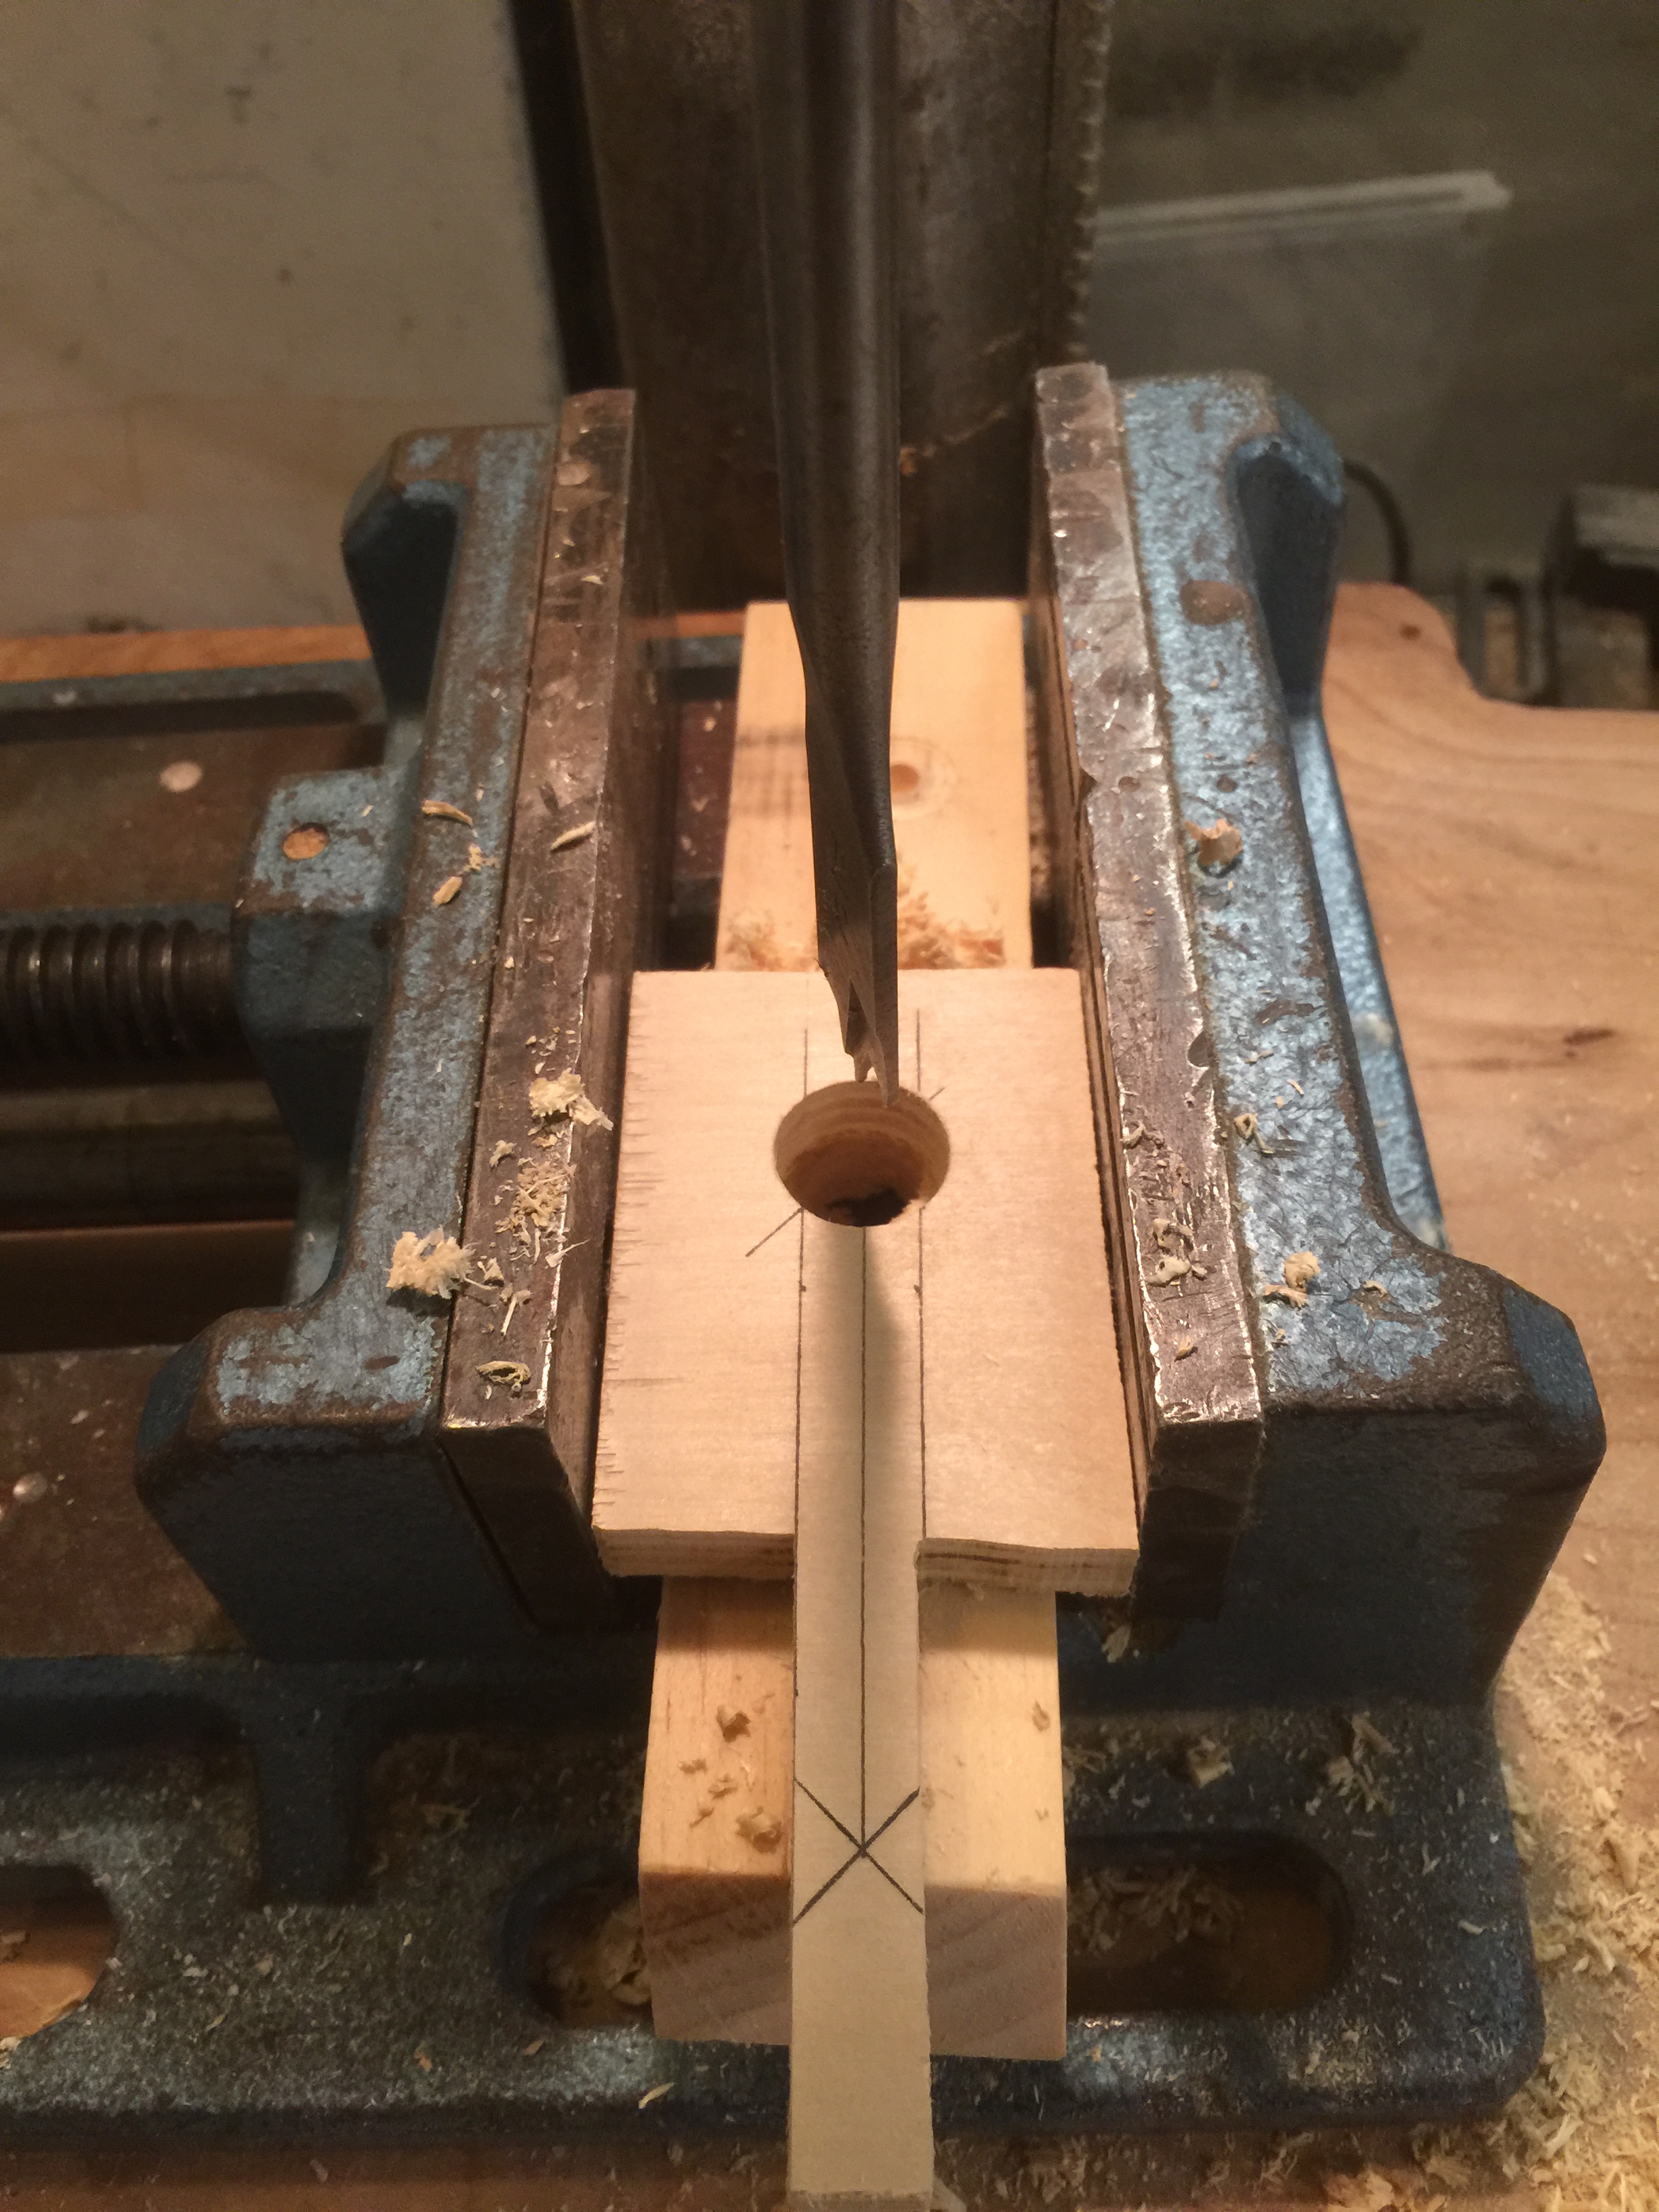
I made a hole the same size as the one I wanted in the mallet head. I lined it up against the mallet as best I could.
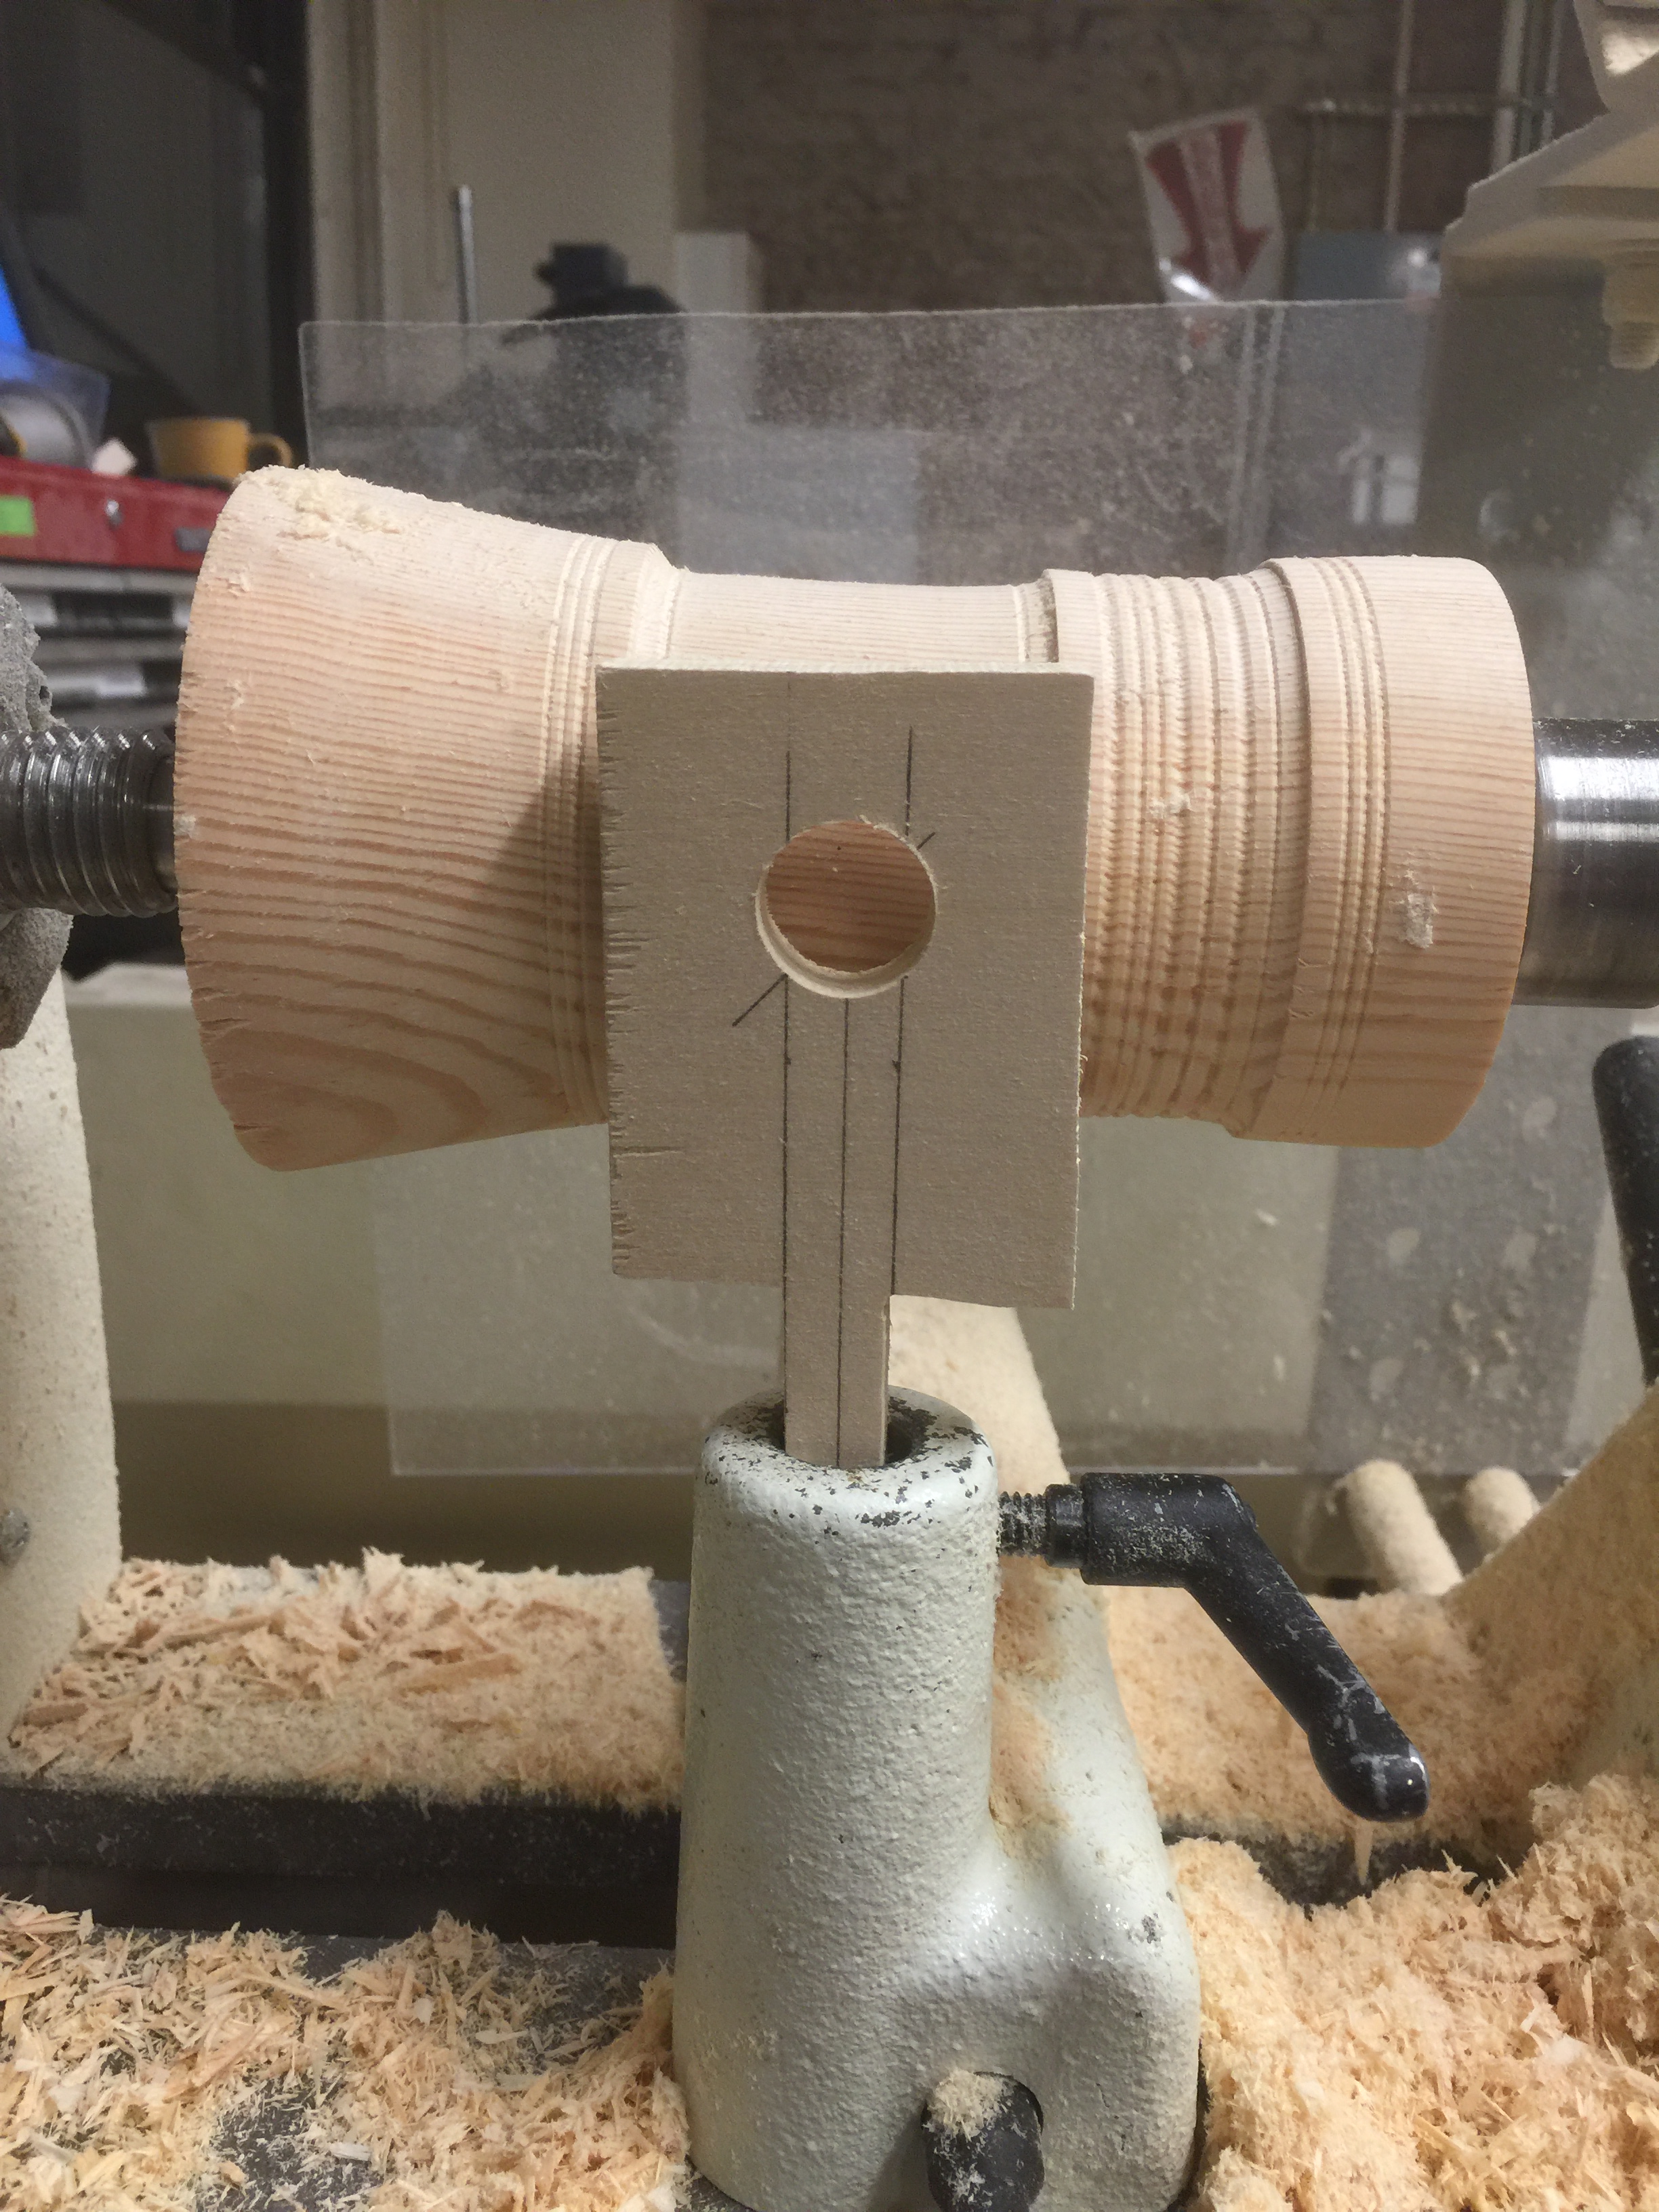
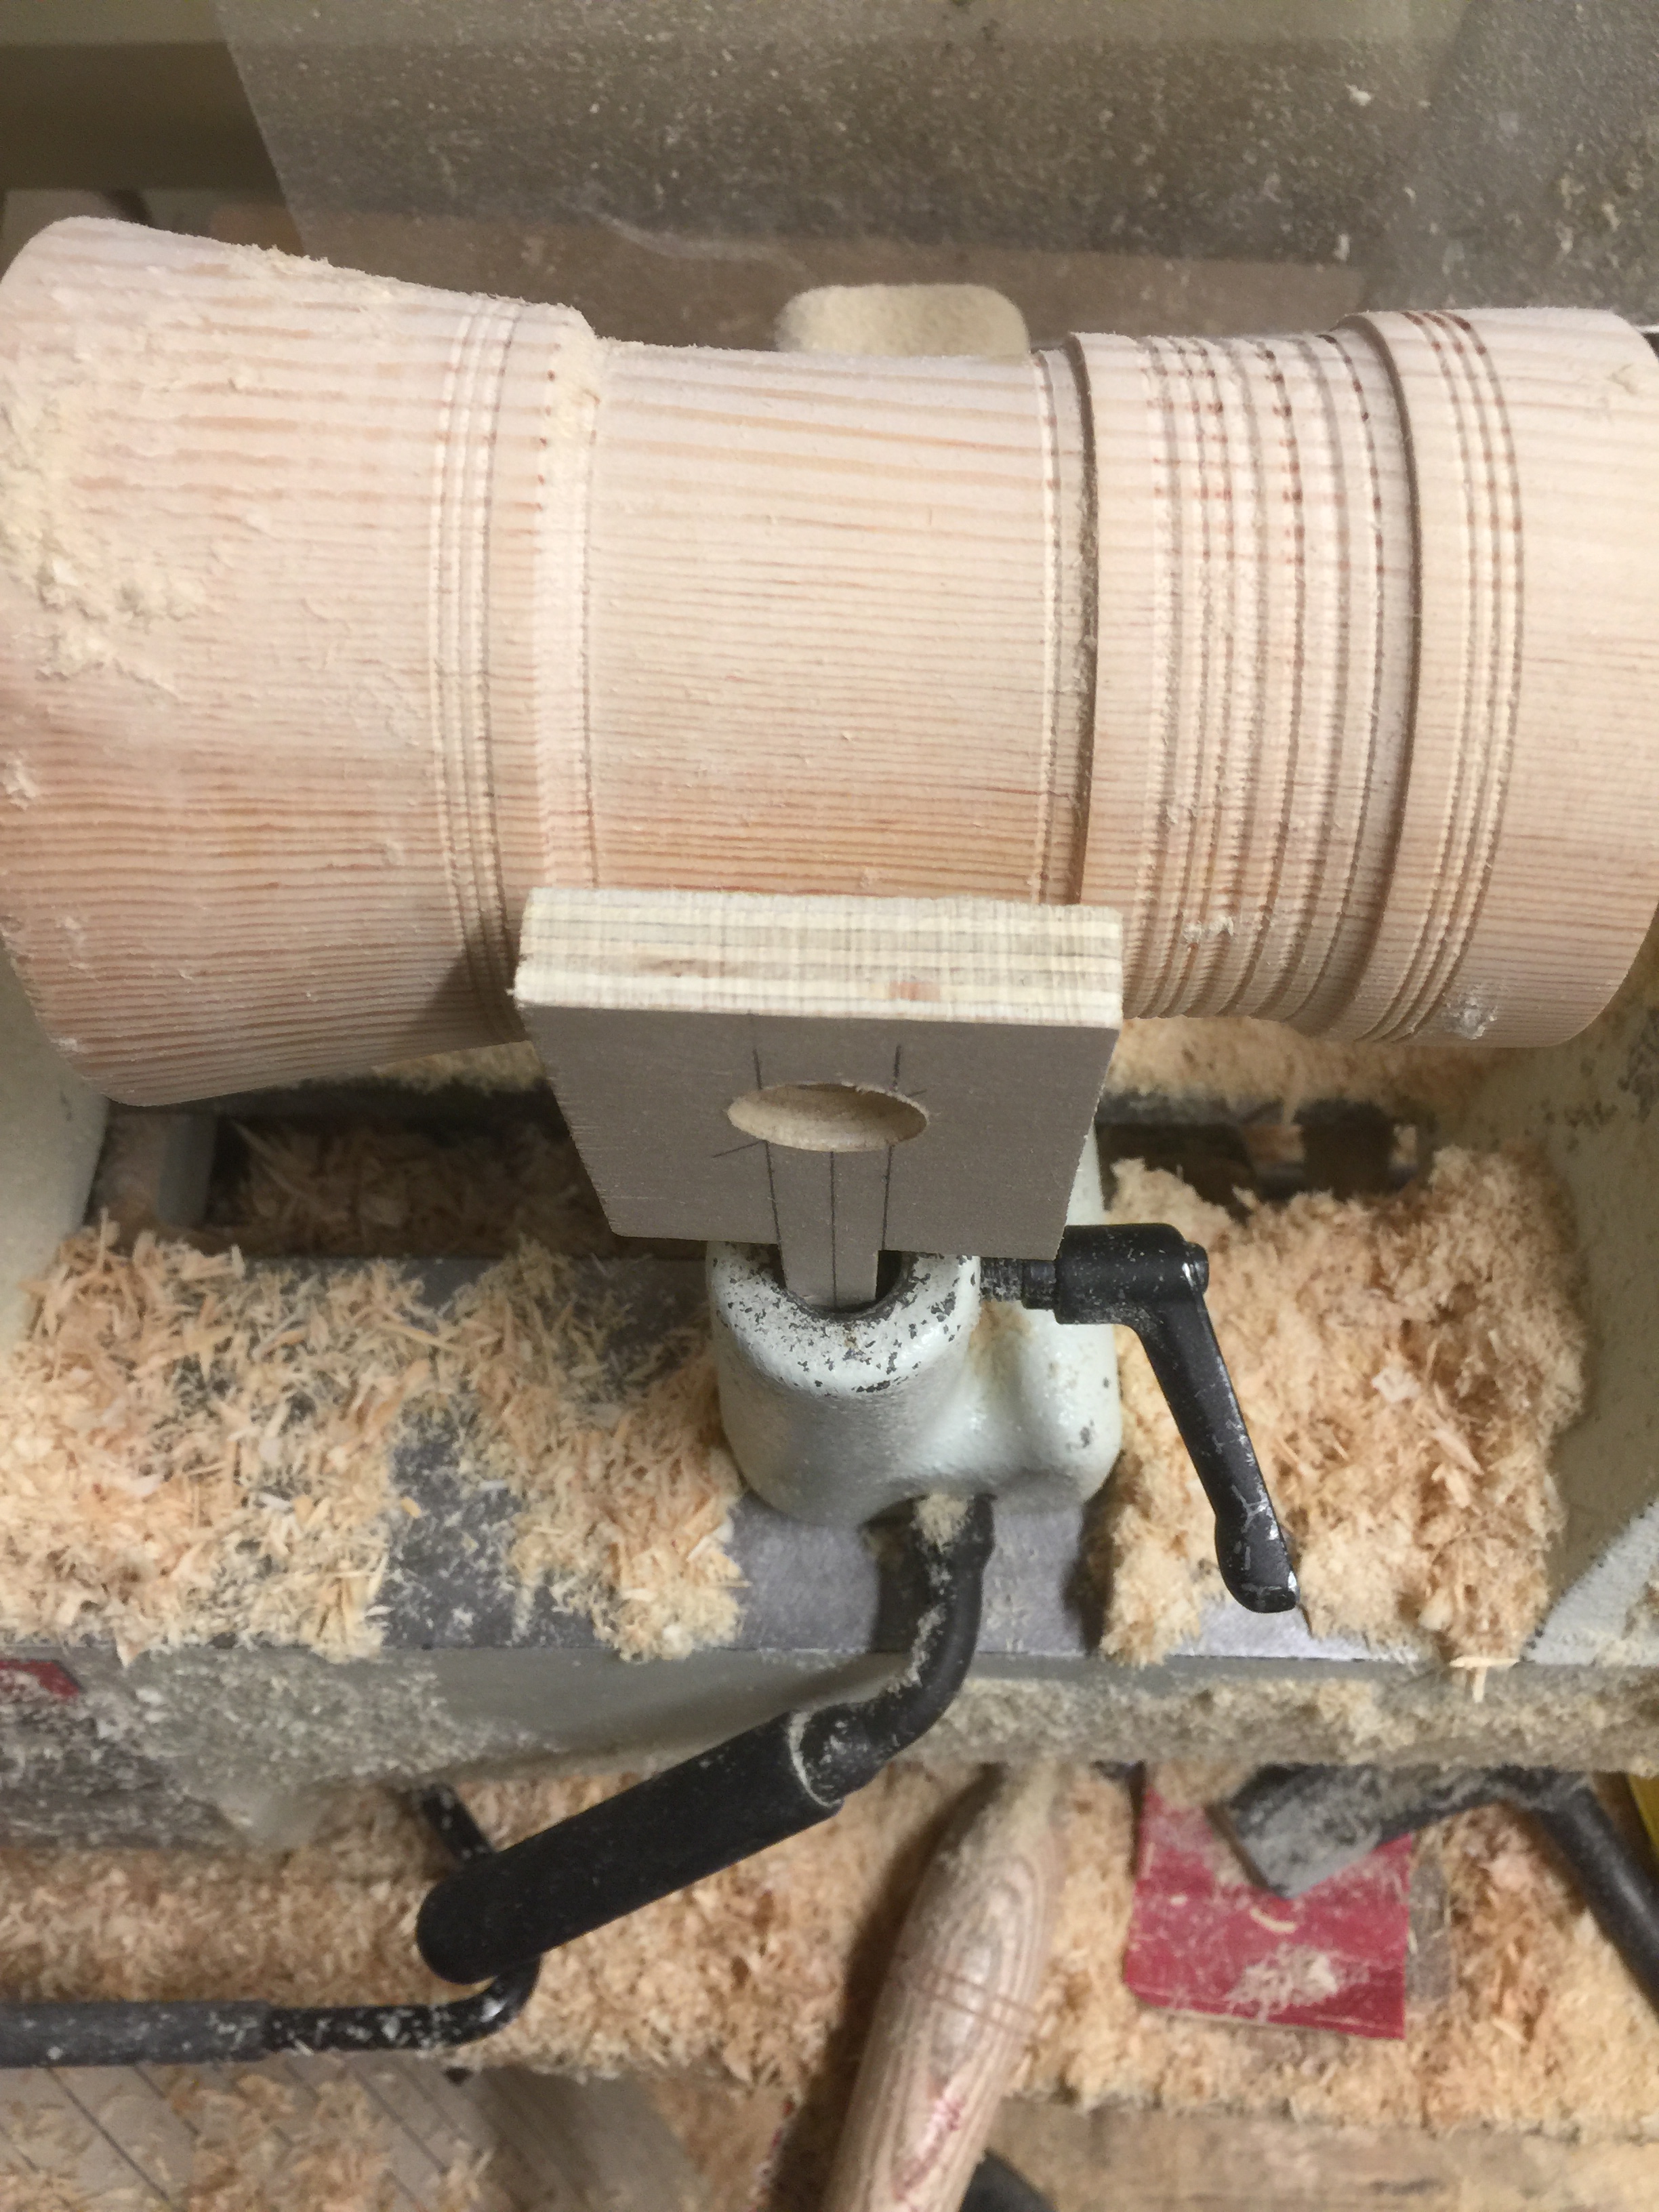
Then I rotated the mallet by 30 degrees in each direction and used the centre point of the jig to drill a hole.
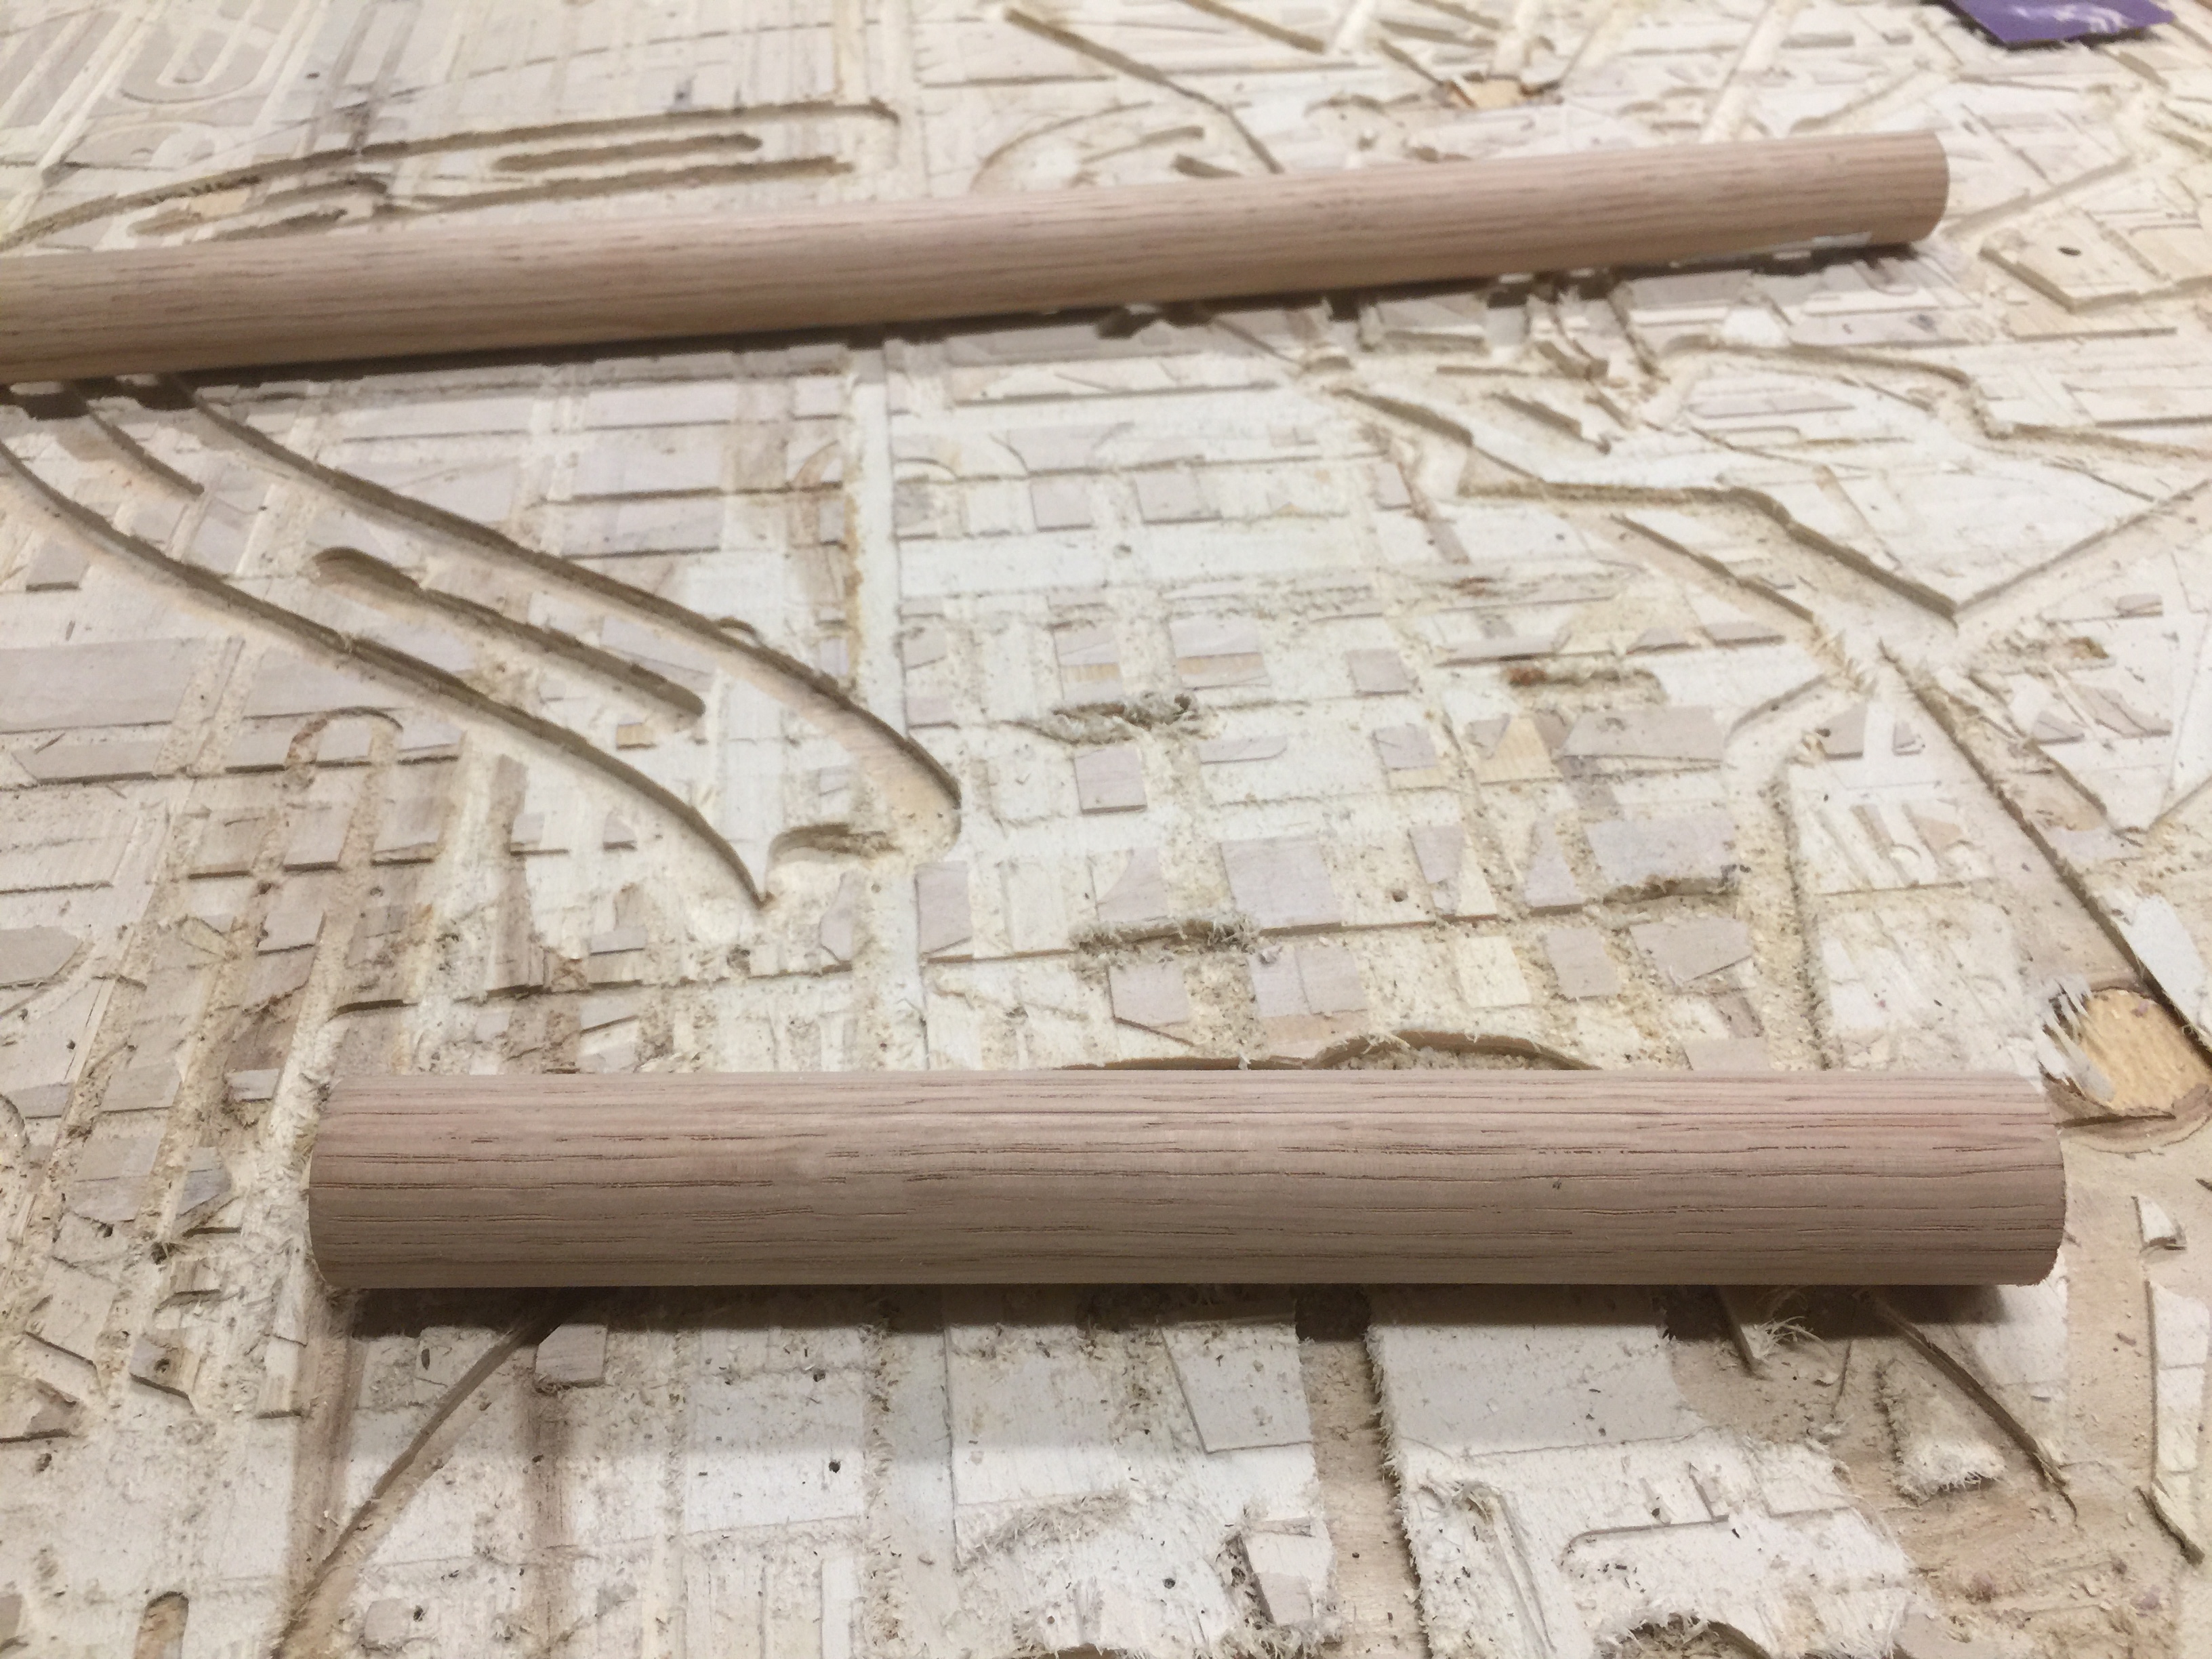
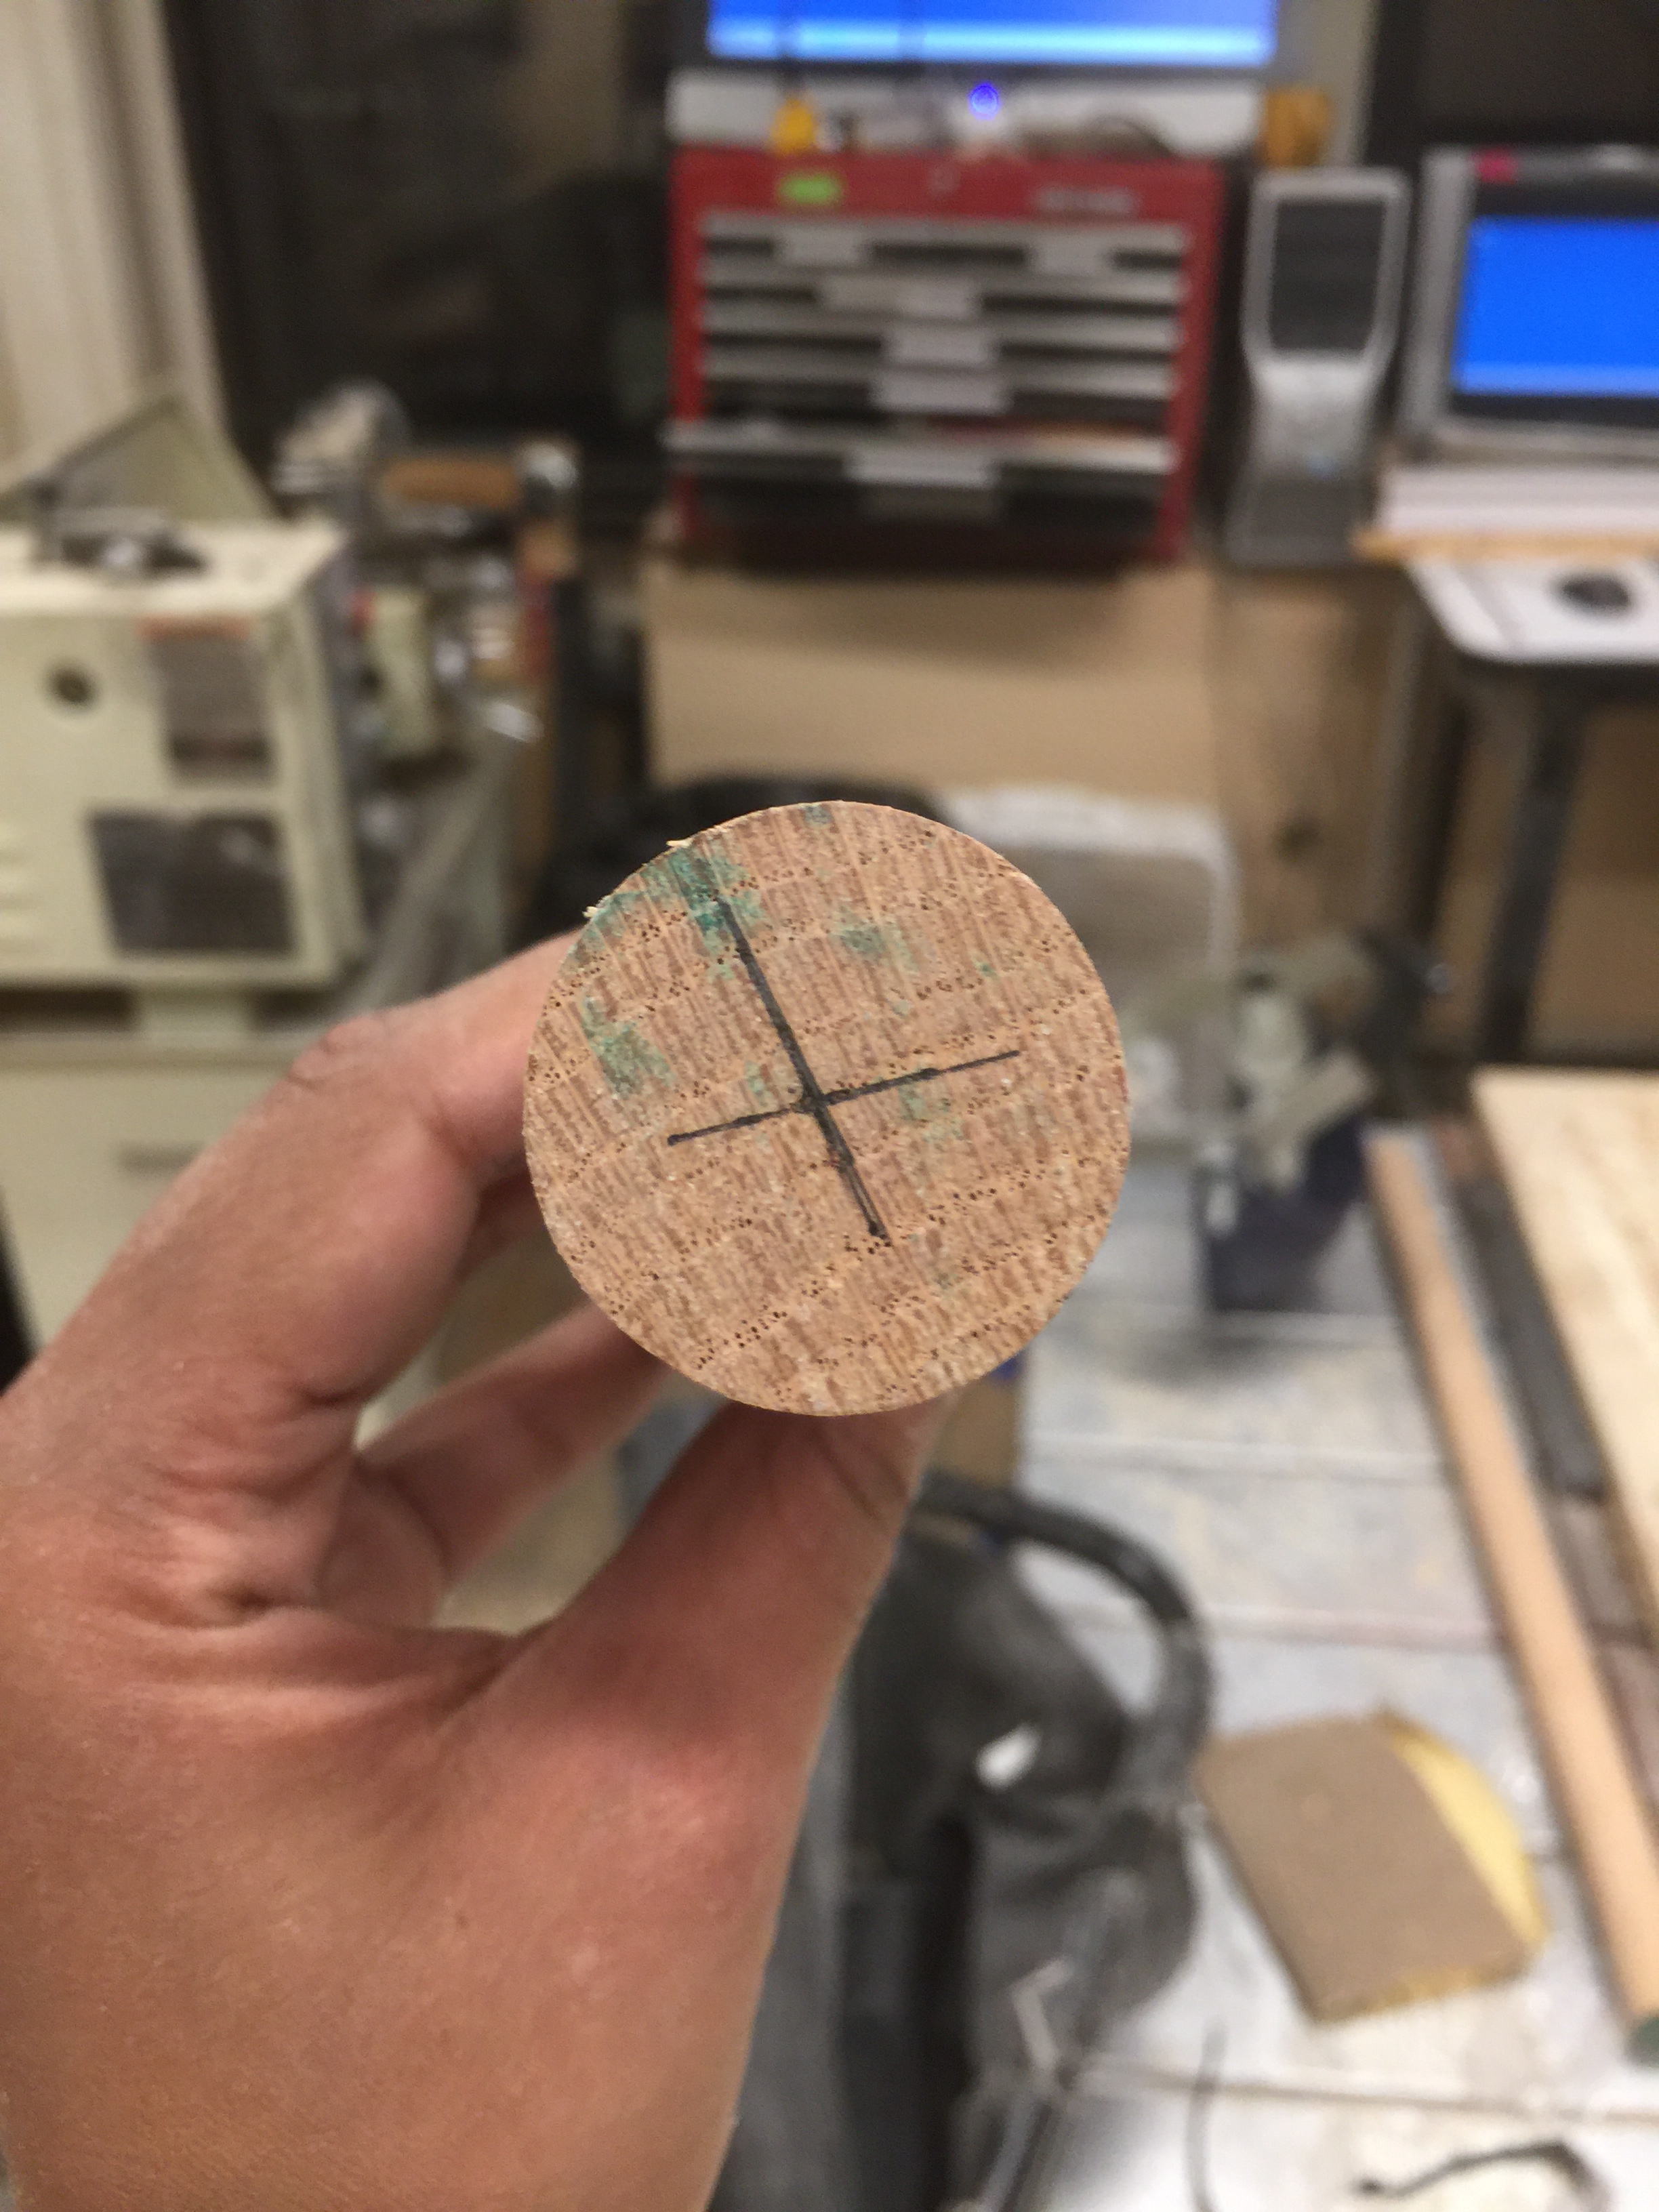
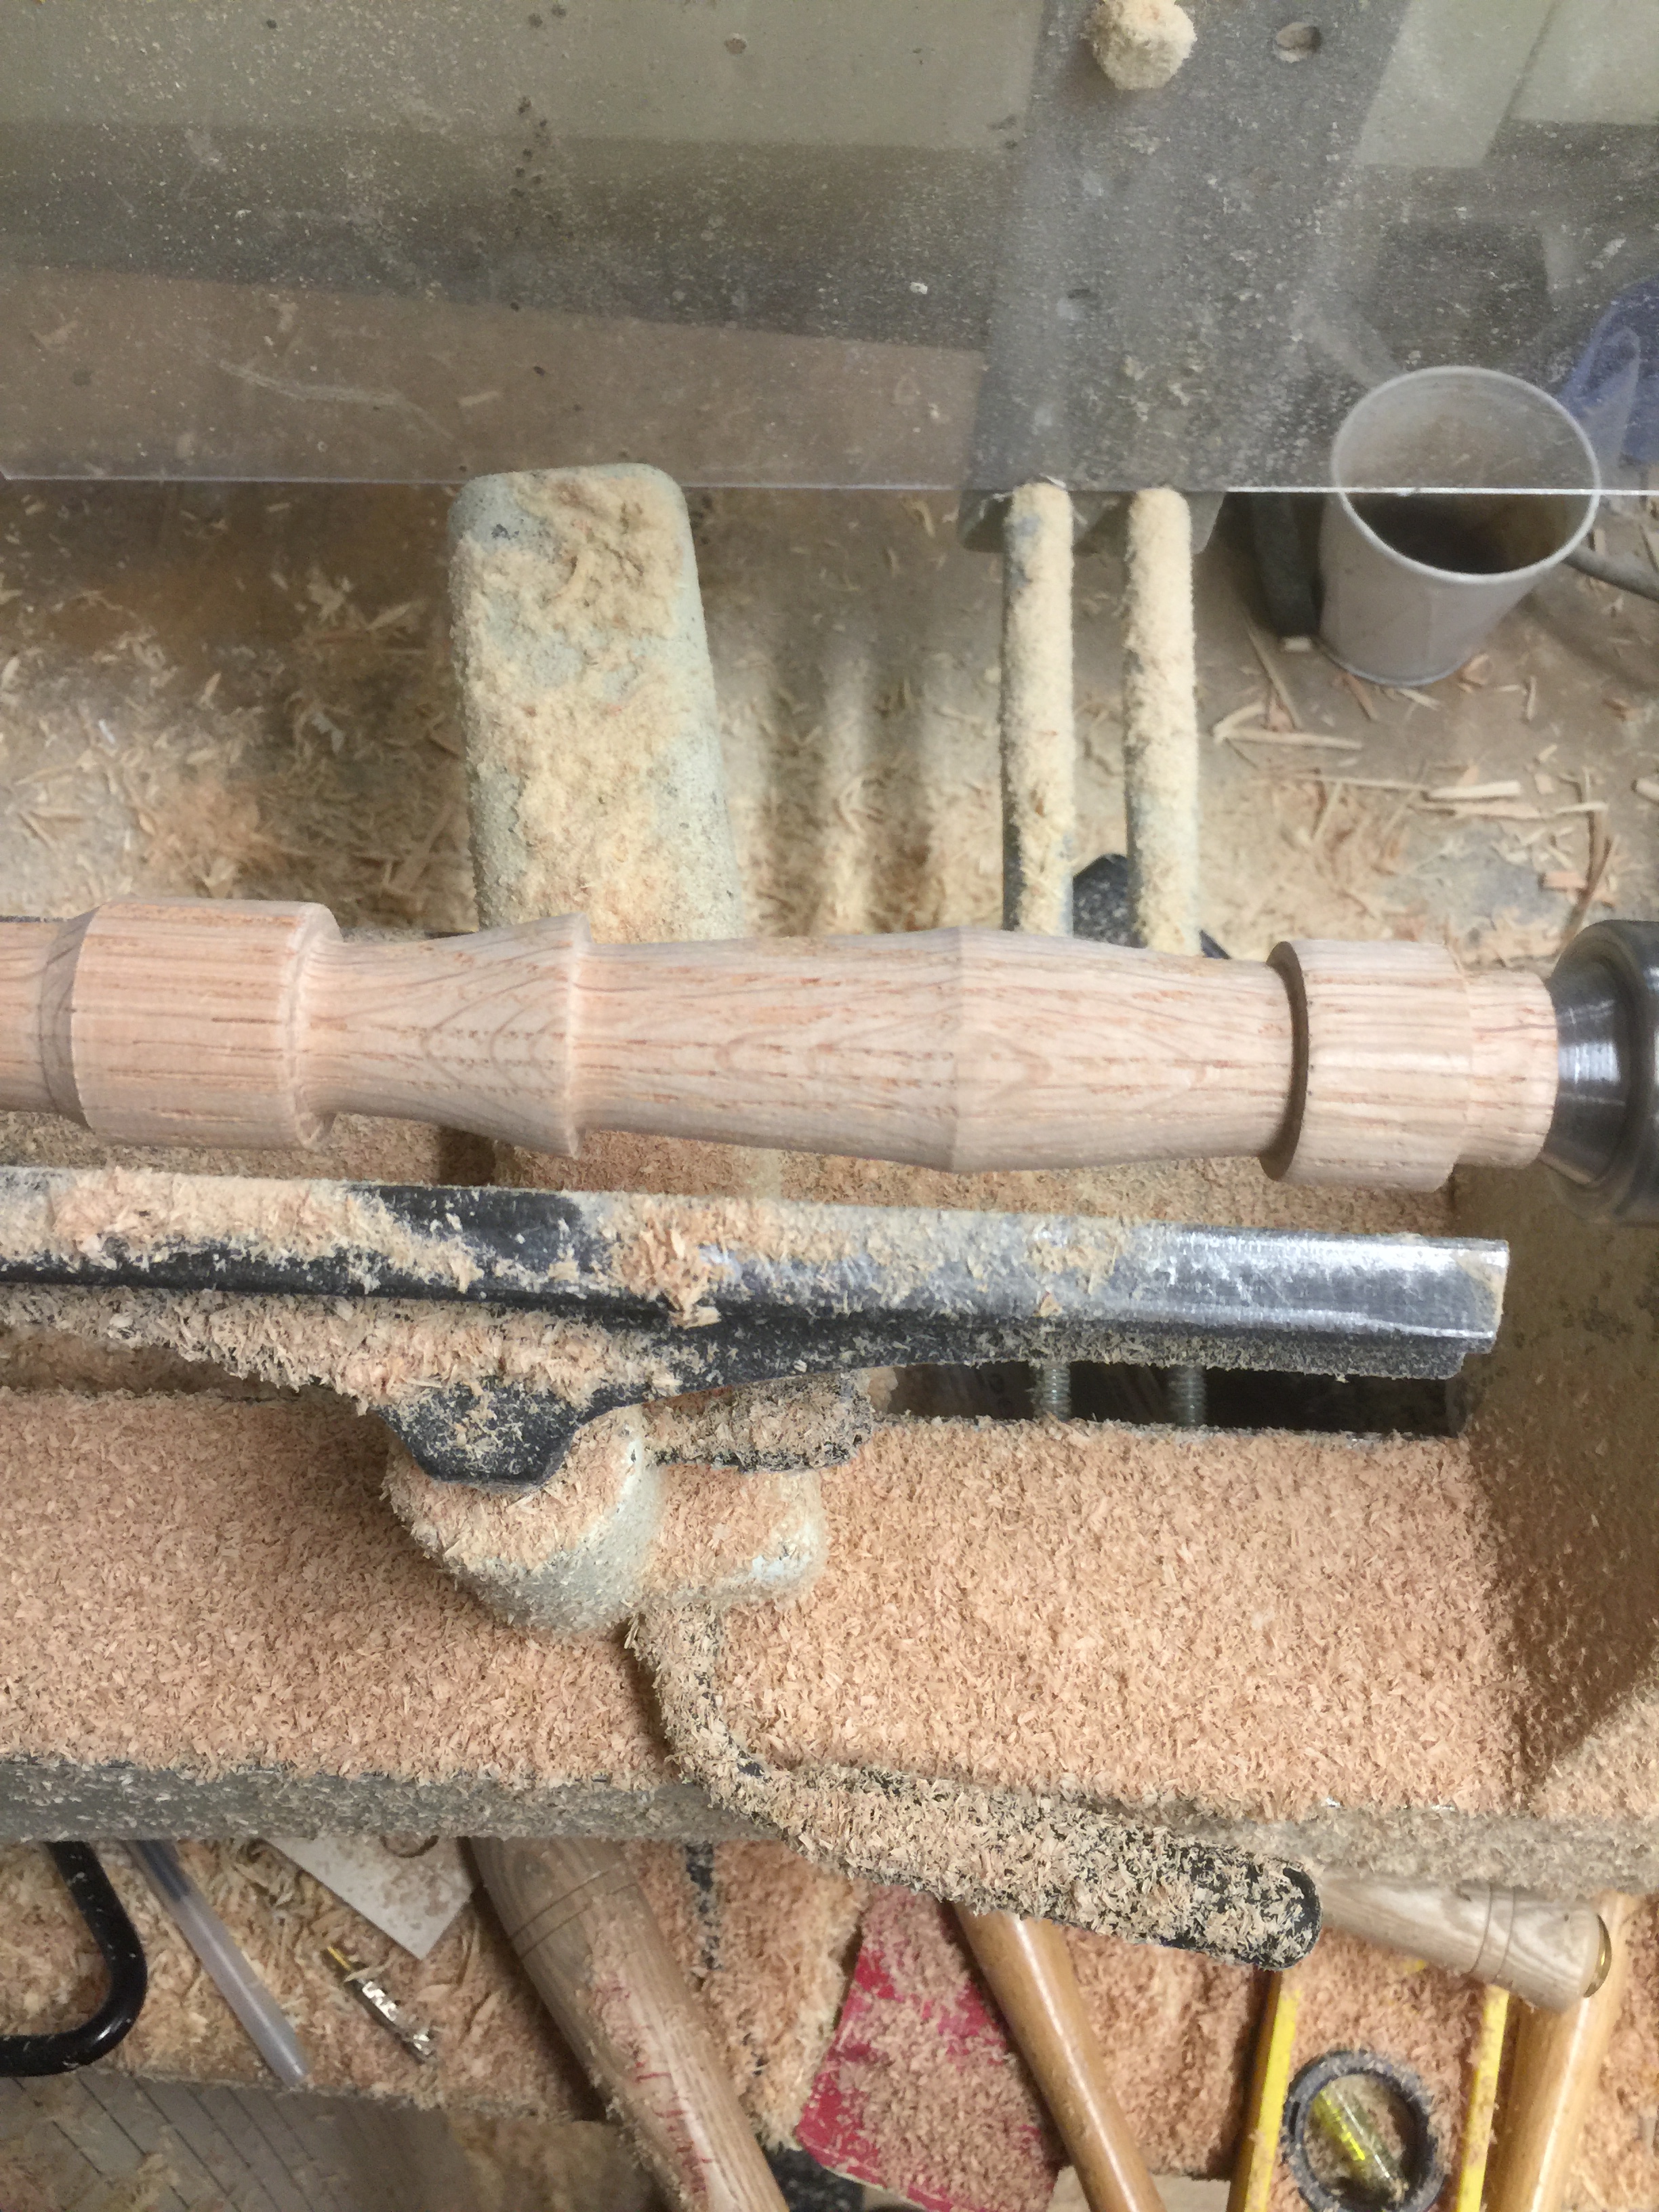
I then began turning the handle. I cute the handle down from a large piece of dowel that I got at home depot.
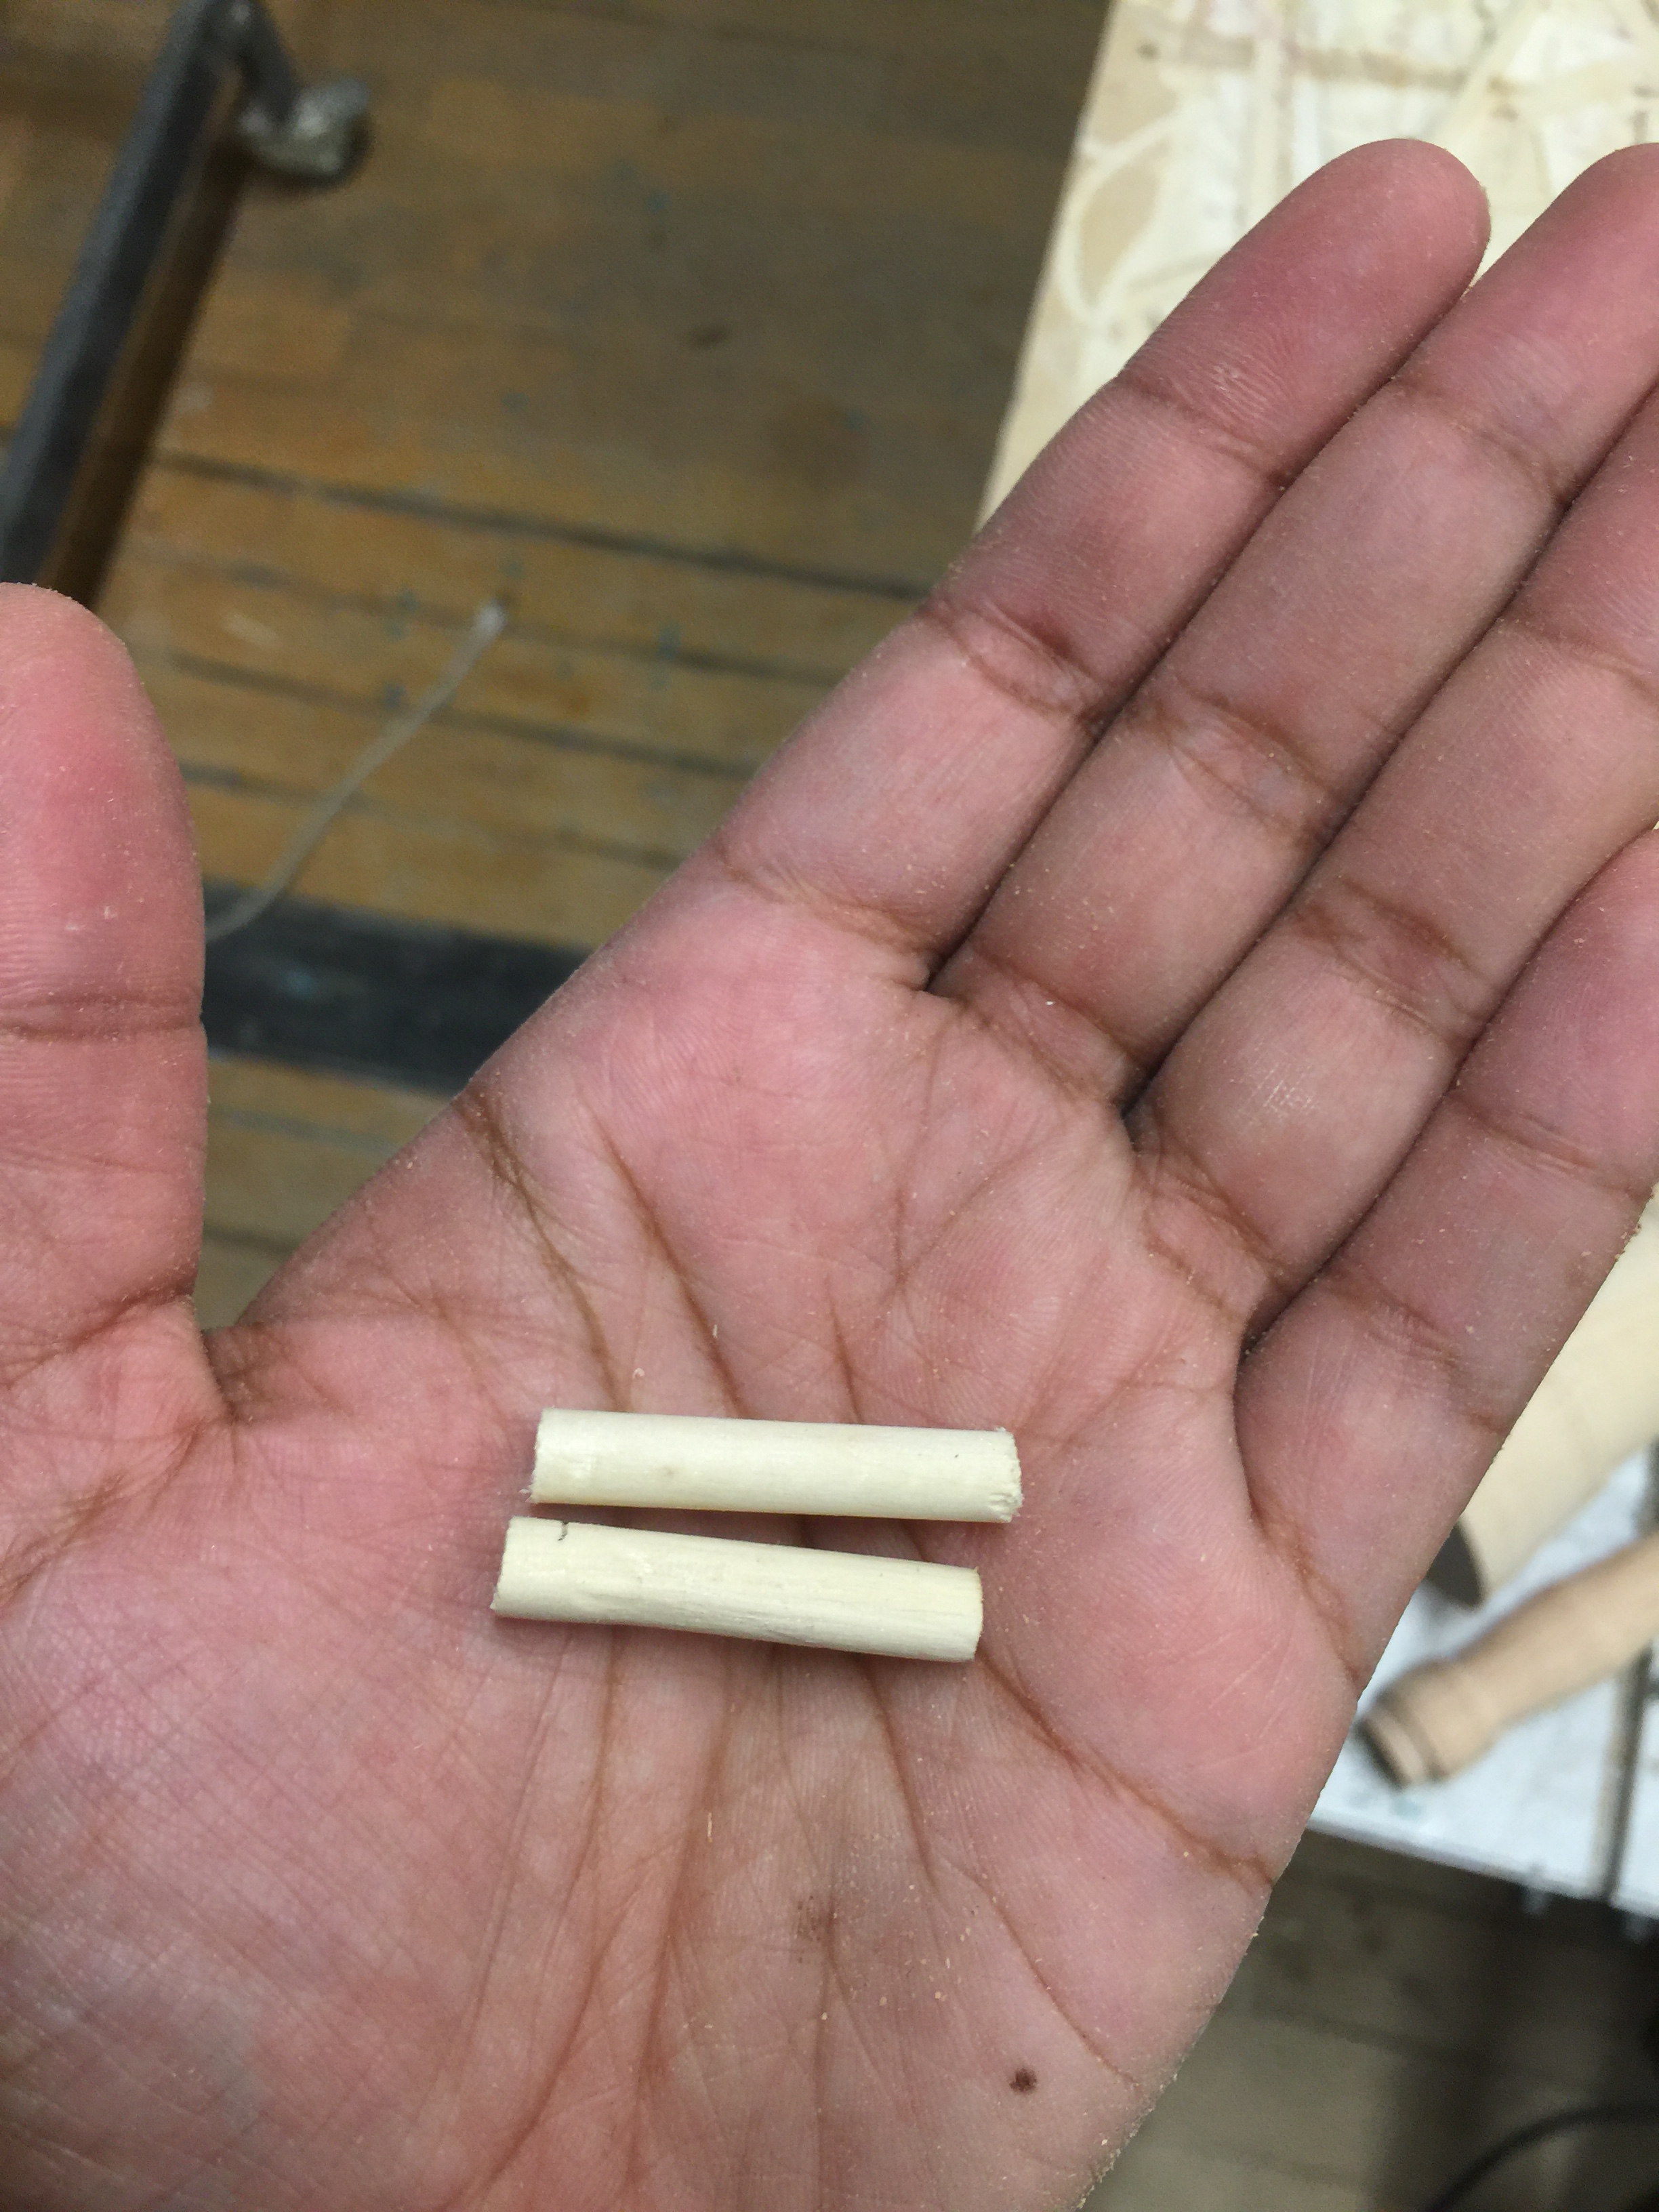
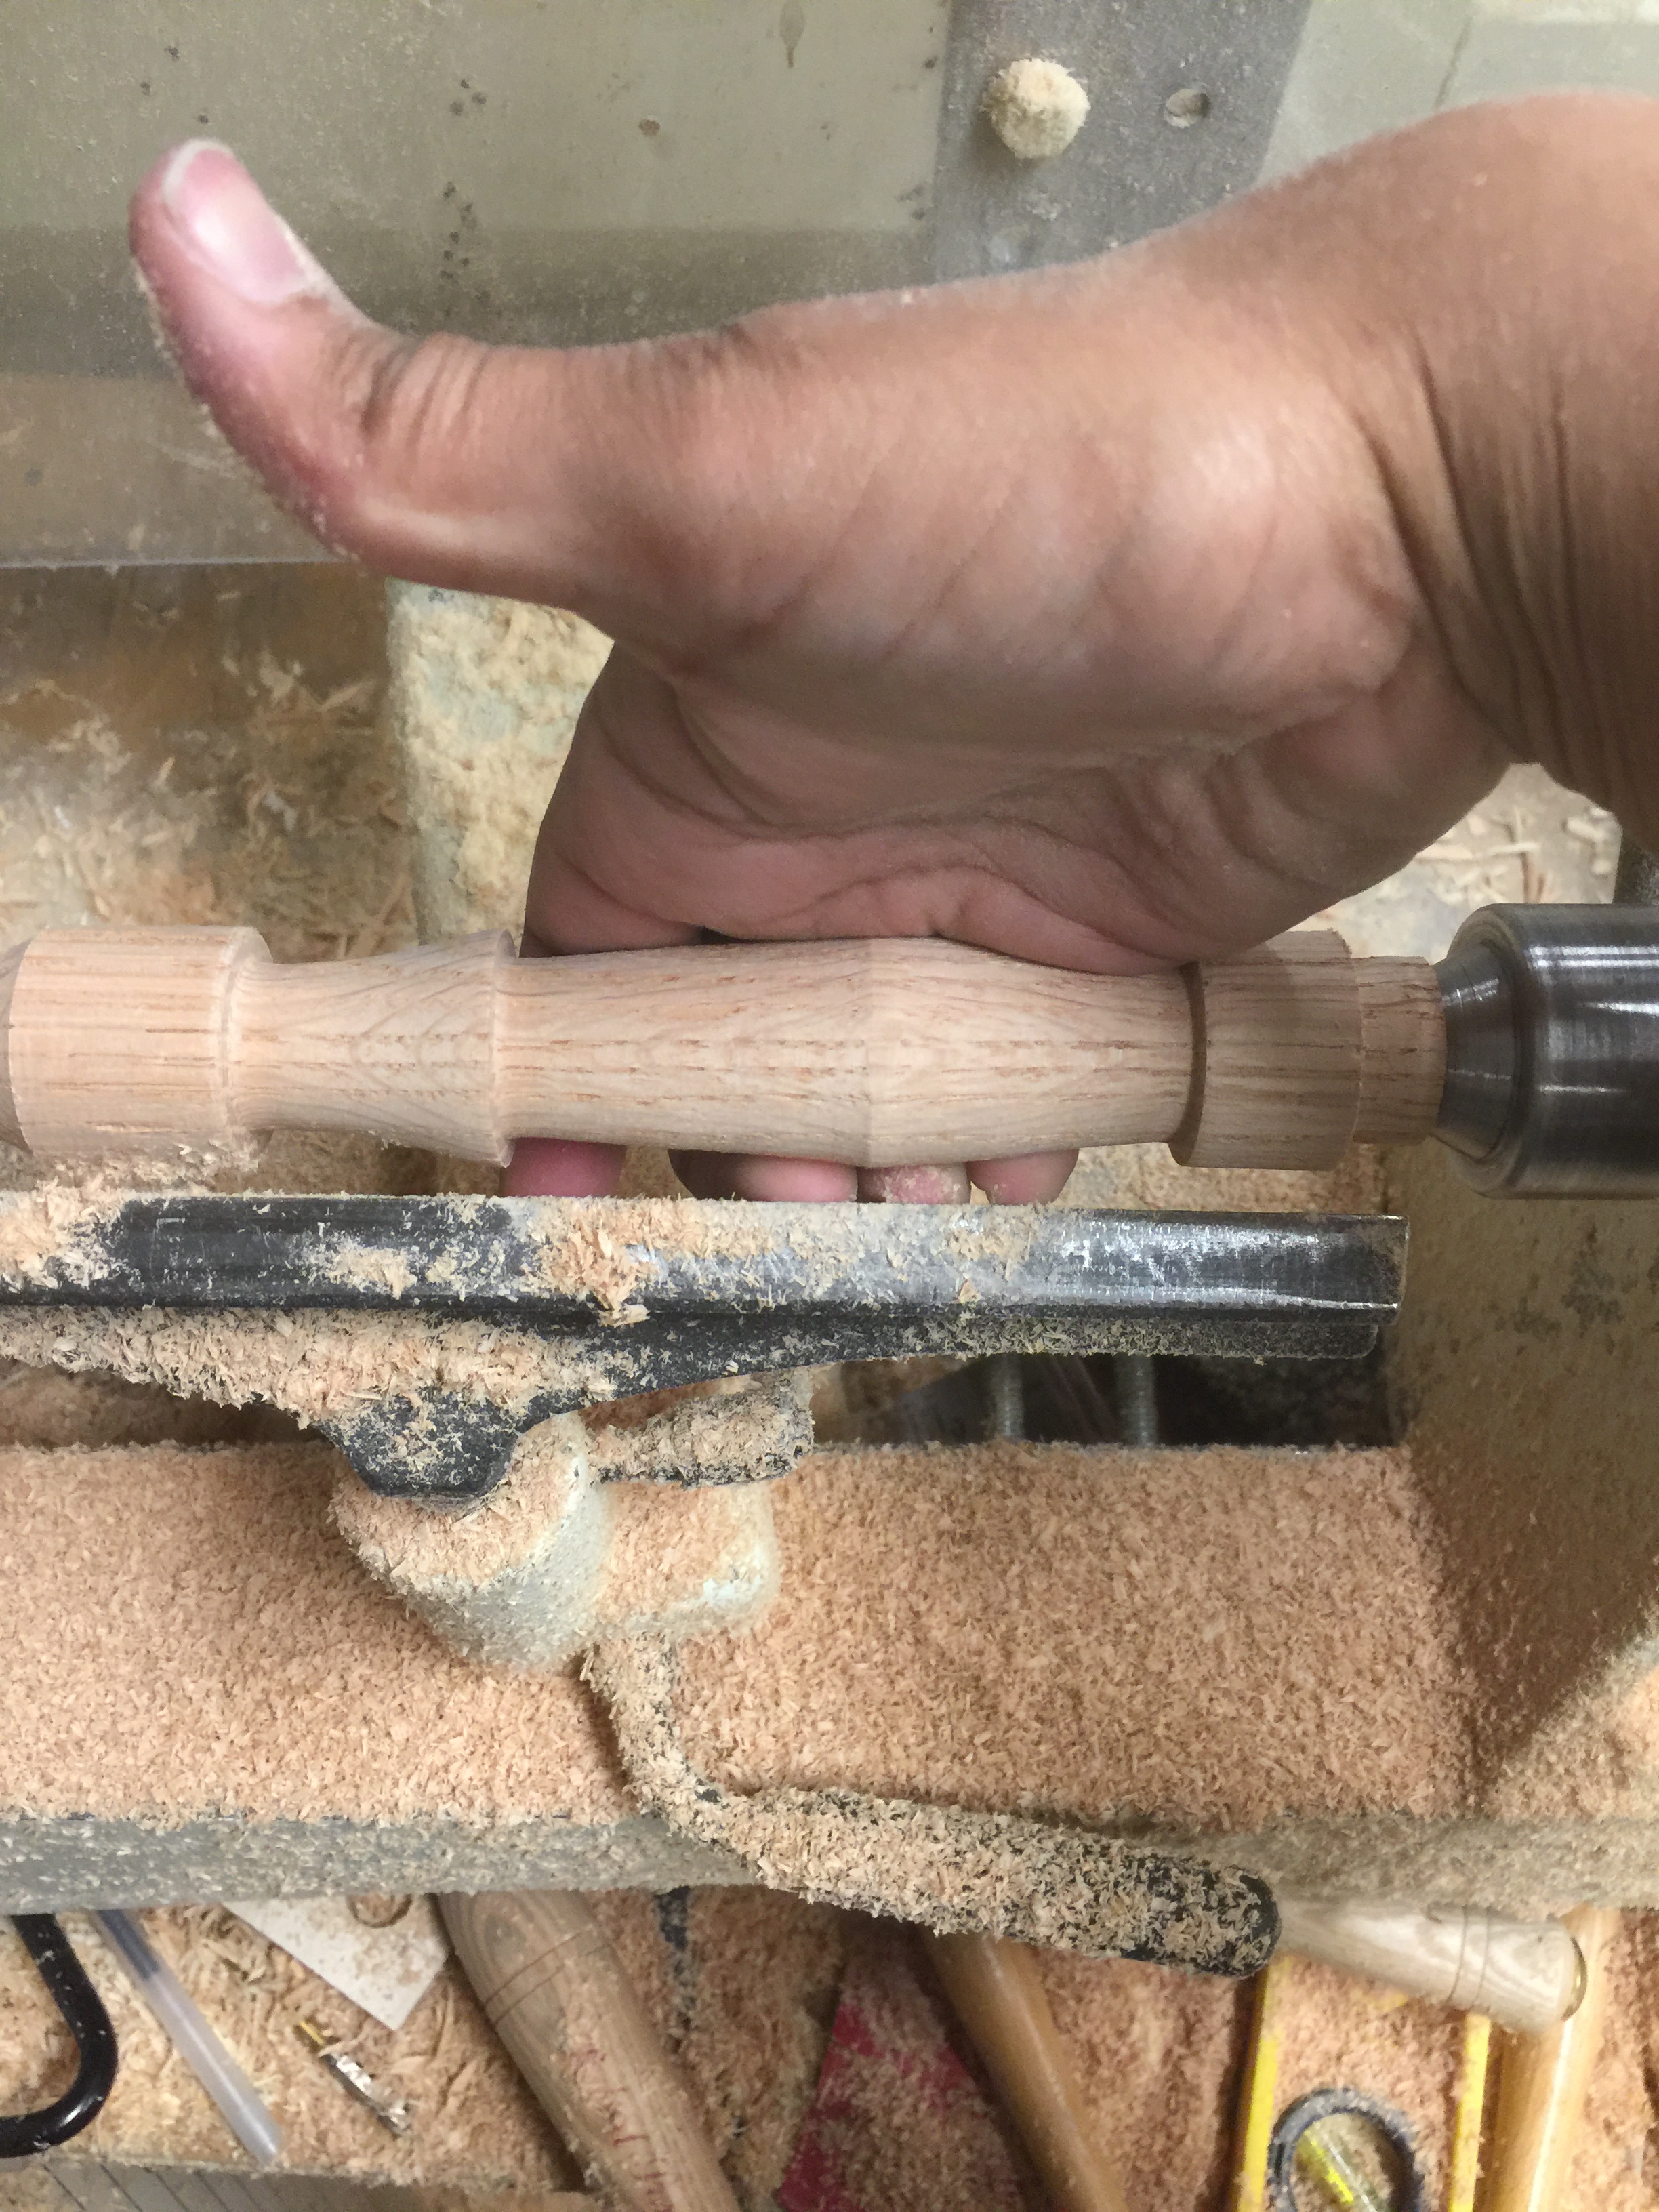
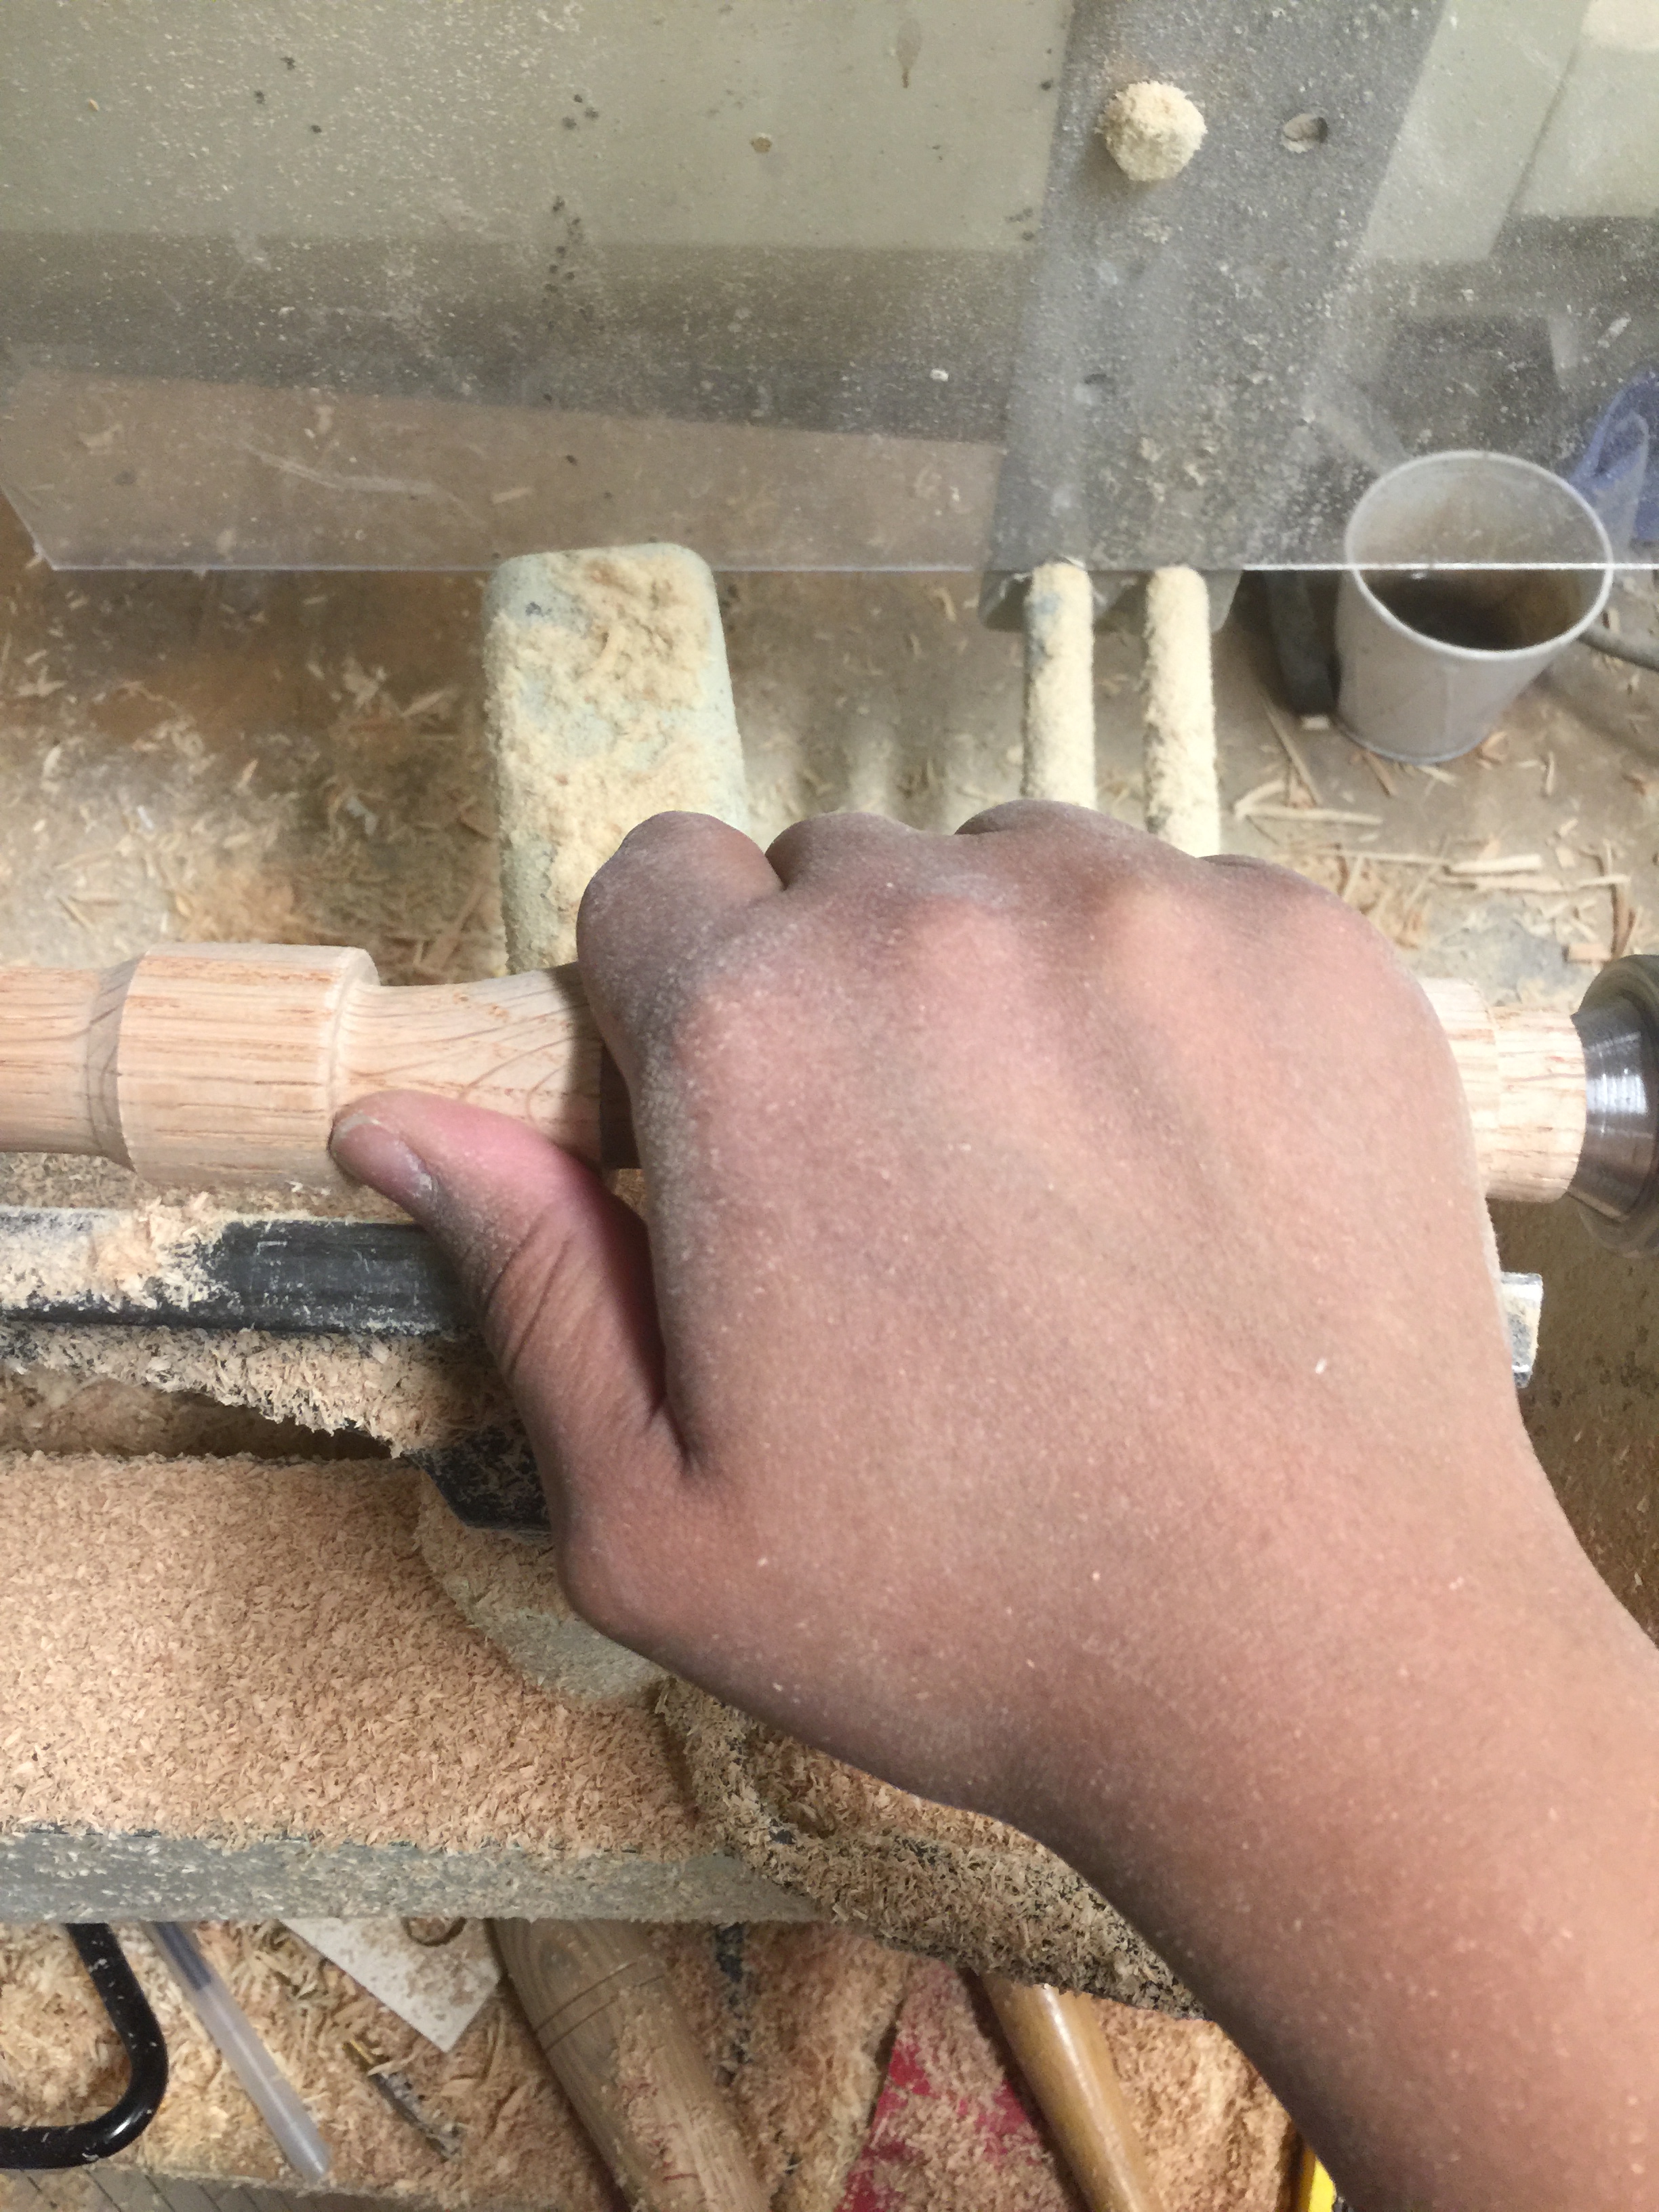
I used calipers to ensure that the notch at the end of the handle would fit into the hole in the mallet head.
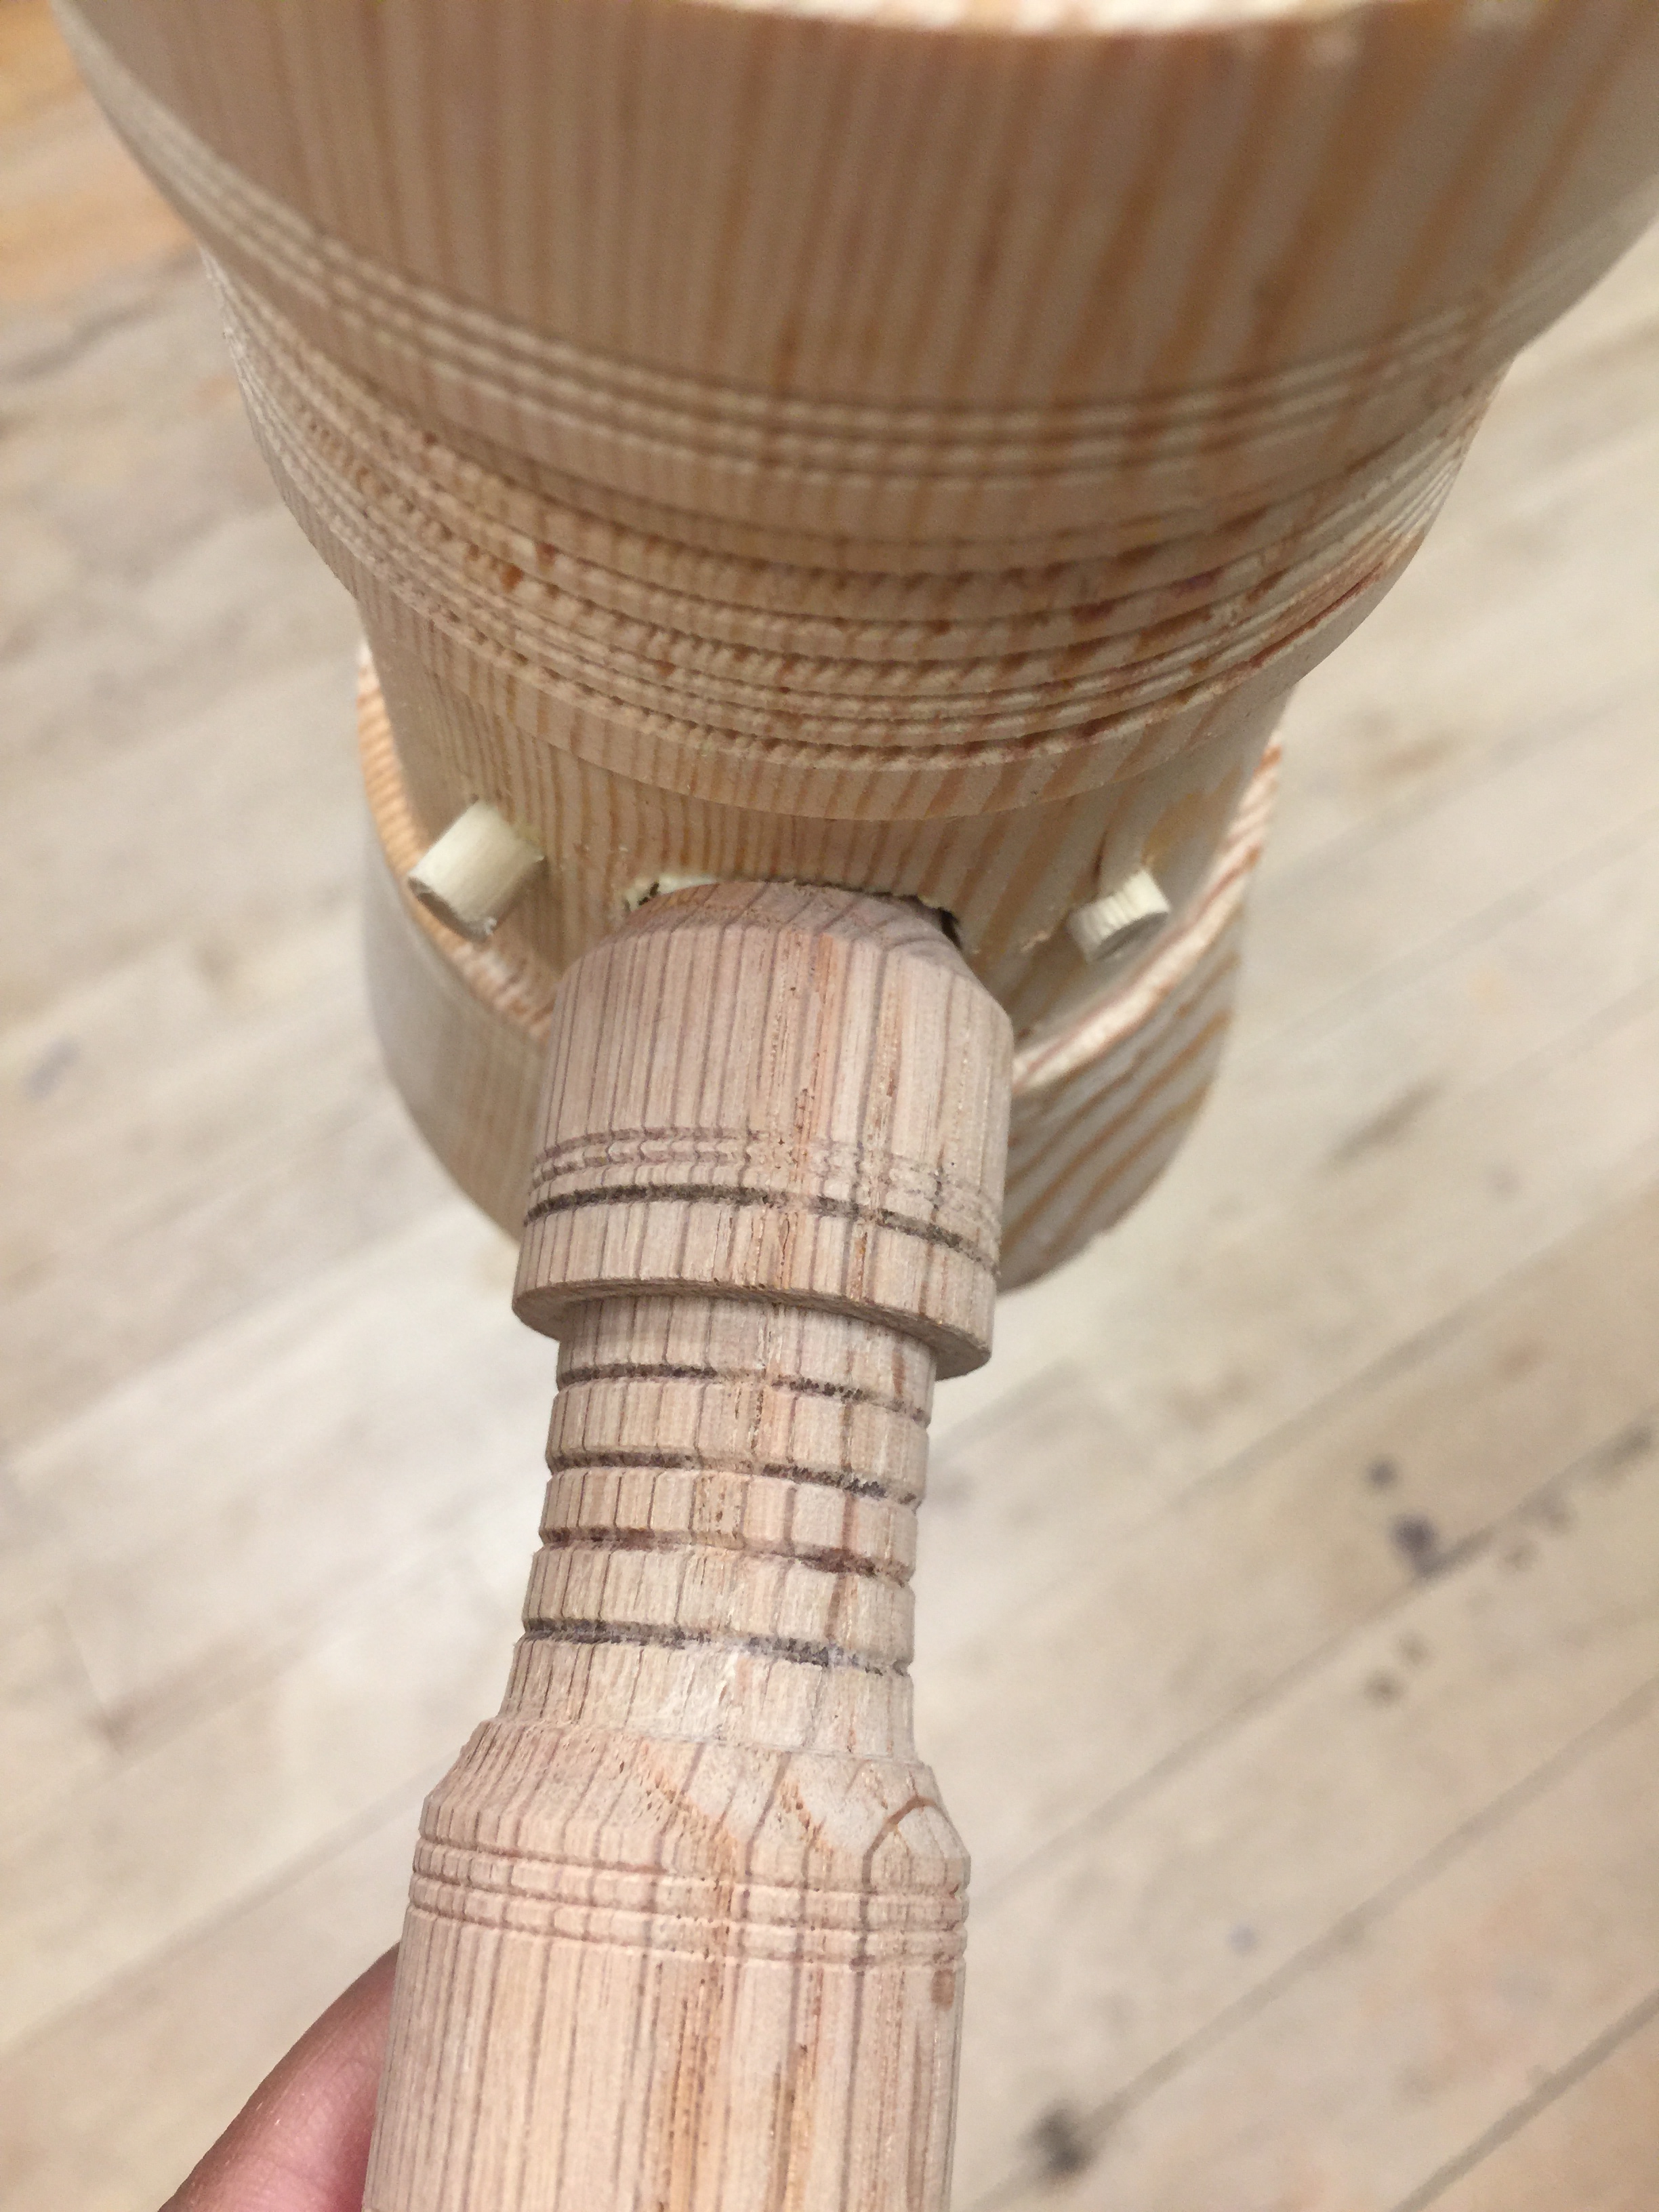
I took it off a couple of times to test how snug the fit was. Then I began the design of the handle. I really wanted a part of the handle to fit the dimension of my hand so that I could hold it comfortably. My favourite hammer has something similar in grip, though I didn’t turn it, obviously.
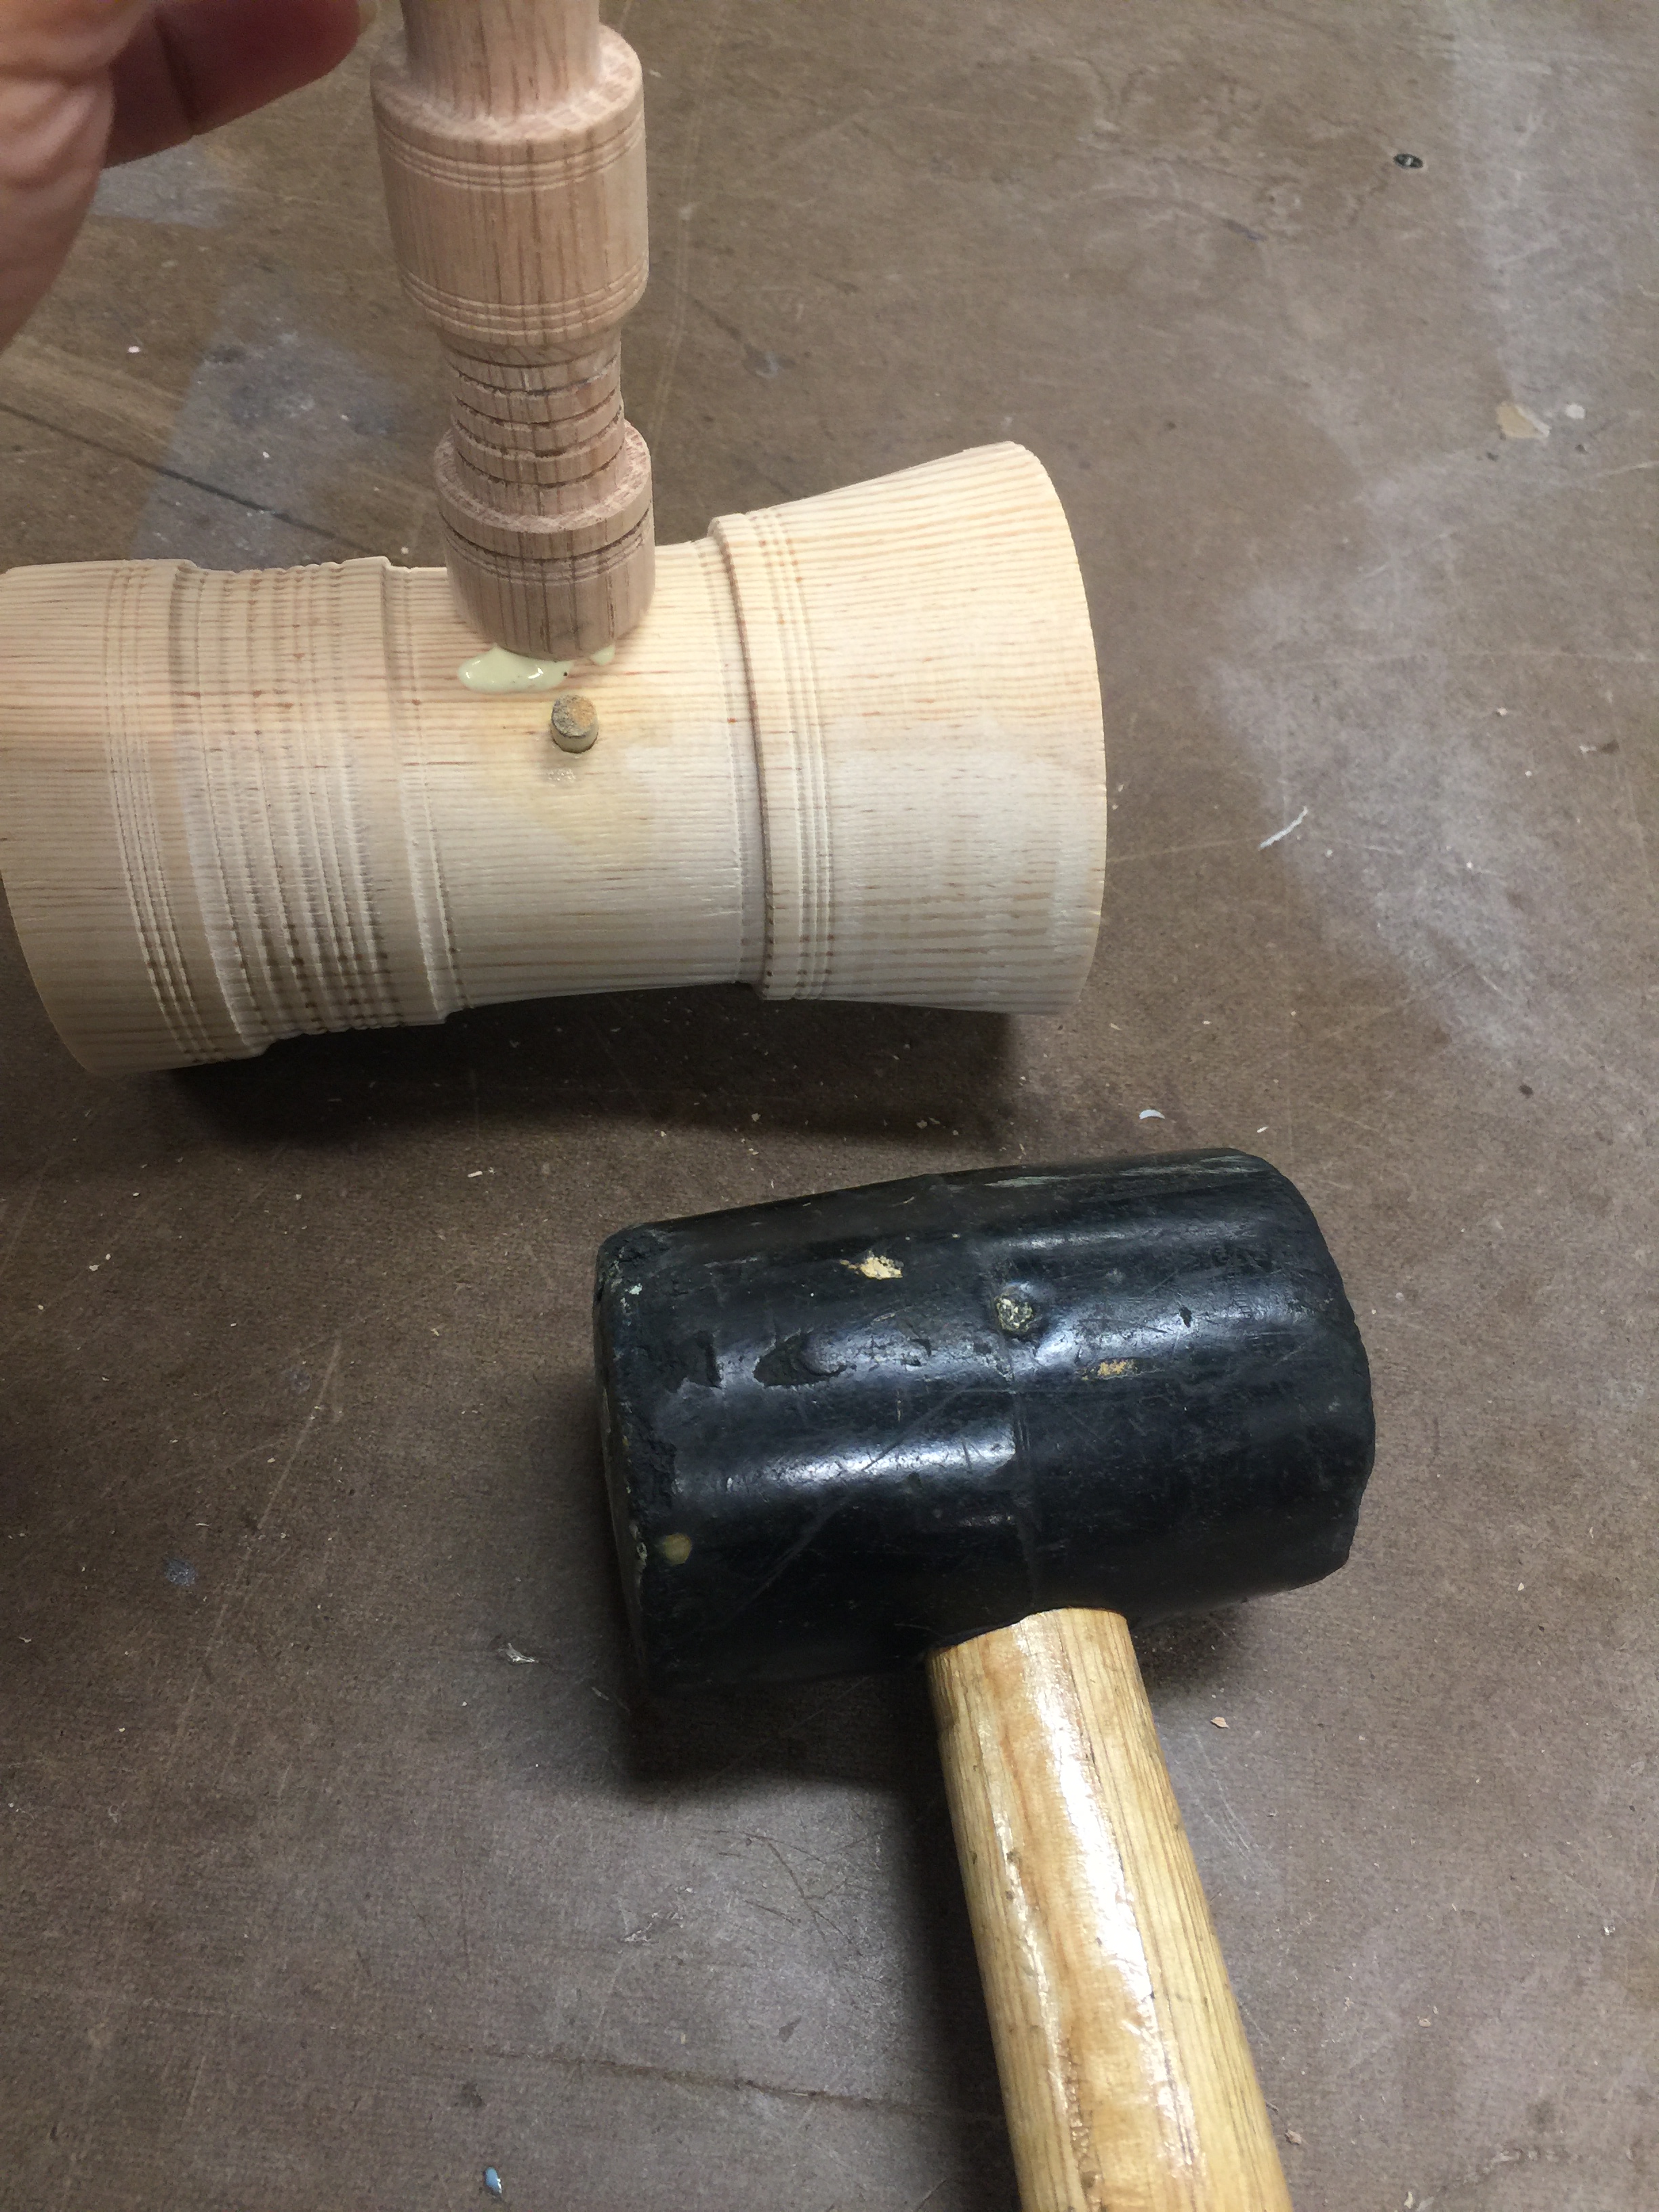
When I was finally happy with my handle, I cut down my dowel and glued all the joints together, using a mallet to create a snug fit. Mallet Inception. I let that dry overnight.