It’s the last Fab class. So sad! I’ve really enjoyed it. It was certainly worth waking up early!
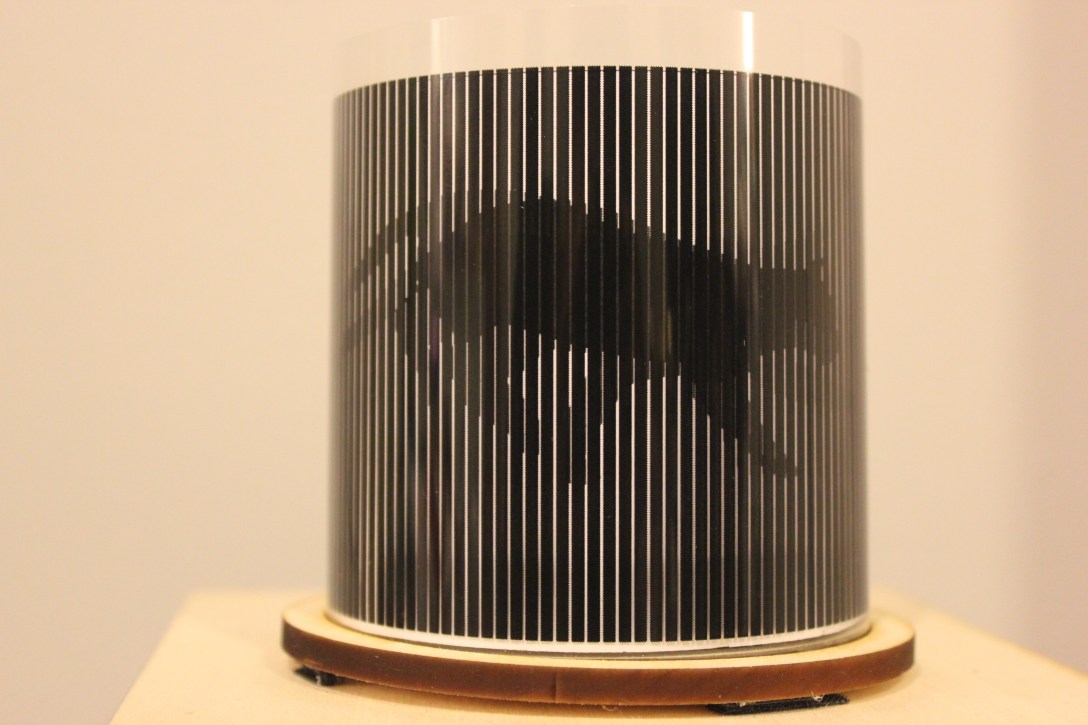
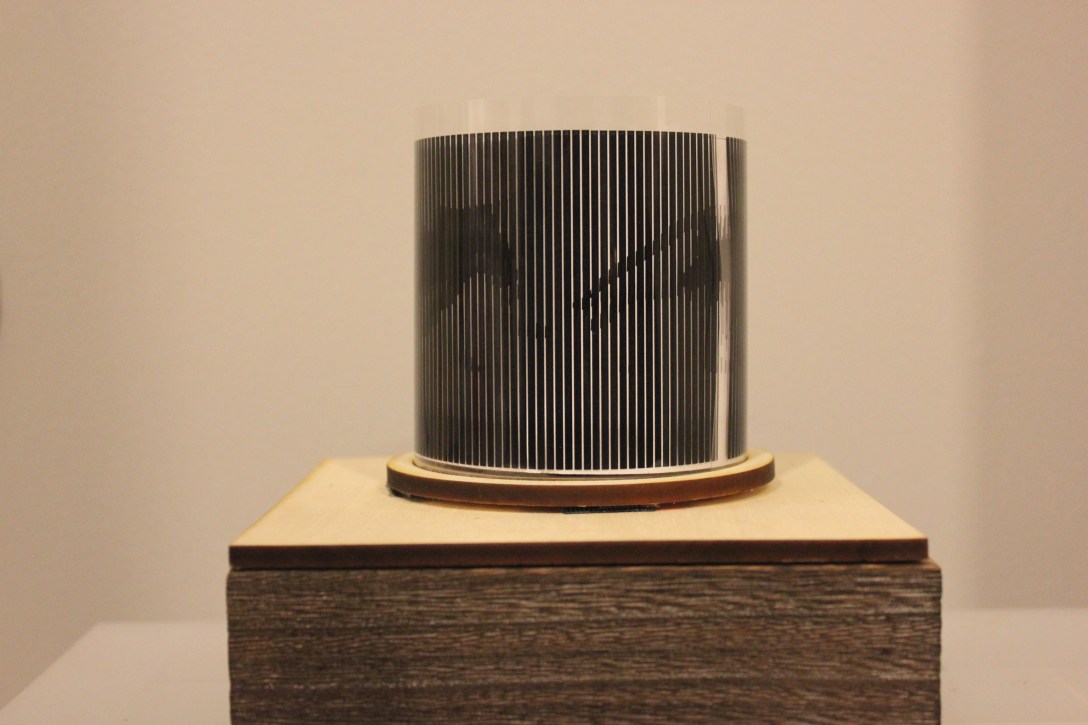
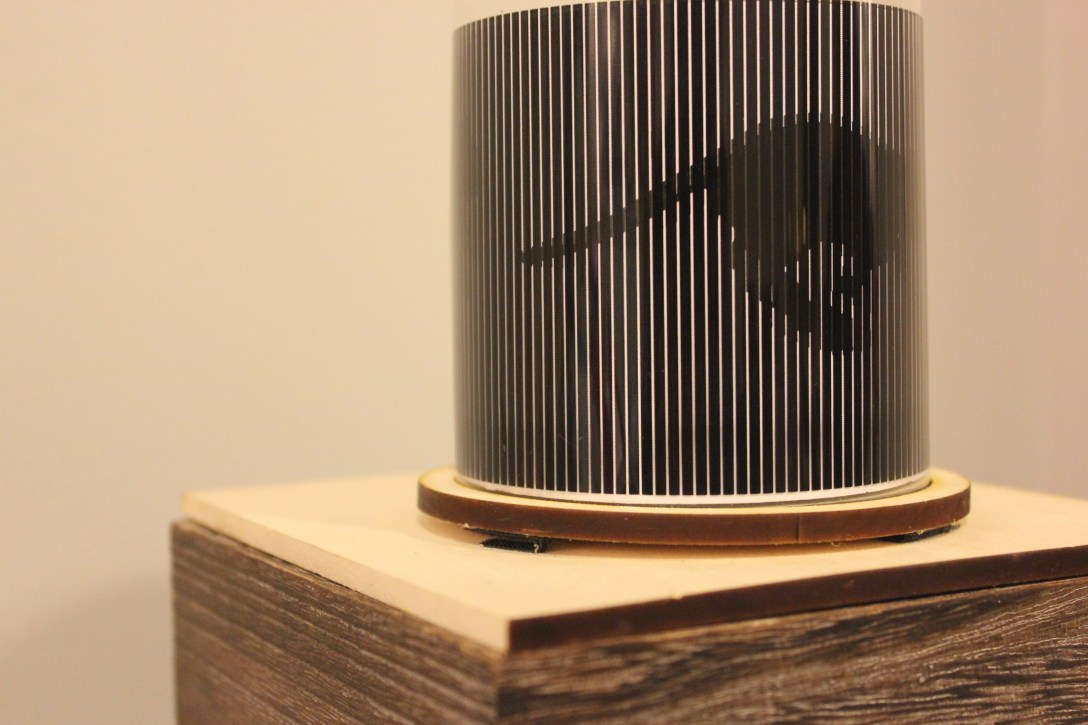
This week I made a moire animation box. Moire is a style of animation built on static line based images. The top layer is transparent and creates the optical illusion of animated frames when passed over the second layer. I’ve always found them interesting and thought that exploring them would be a fun way to end Fabrication.
I started out by buying my supplies. I had to go to three Staples stores before I found one that sold transparencies that you can put into your printer.
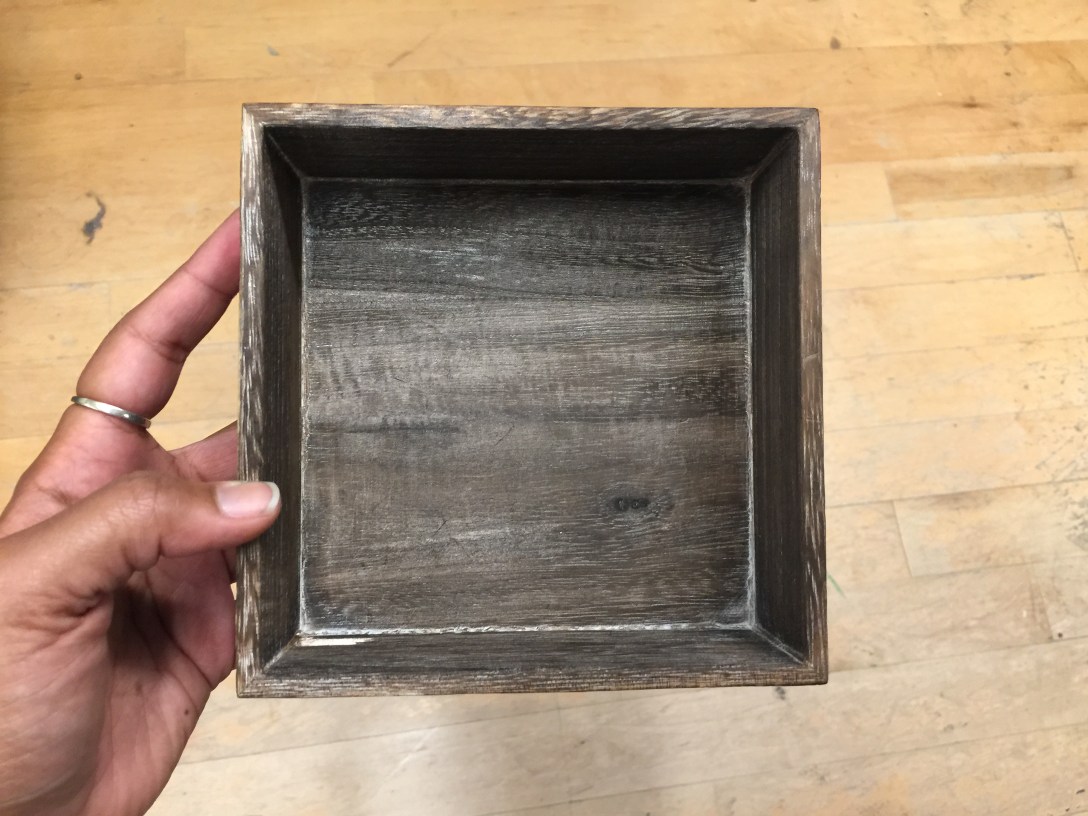
I also bought the bottom of my enclosure from the Container Store, opting for a cardboard, paper maché hybrid.
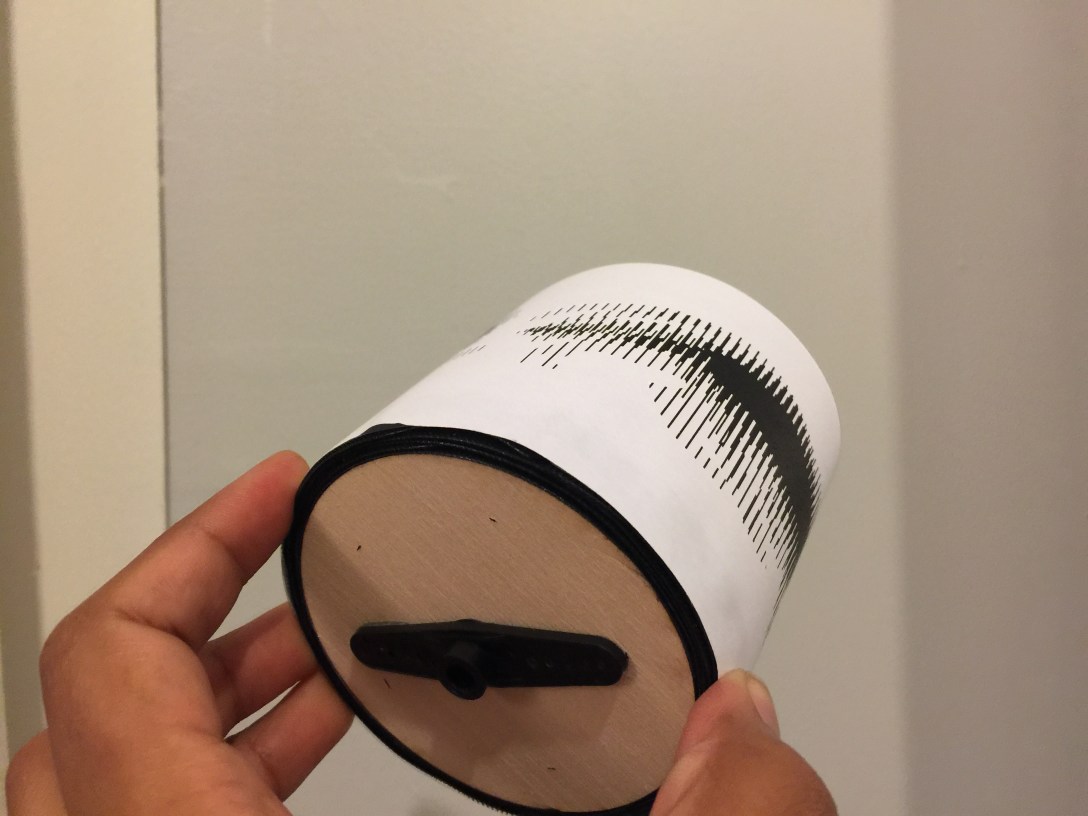
I didn’t think I had the skills to design my own Moire (that seems like magic) so I decided to opt for an open source version online. I came across this cat that looked cool. The source came with a foreground of lines to be printed on a transparent sheet and a background with the cat to be printed on a sheet of white paper.


I adjusted the scale, printed them out and tested them.
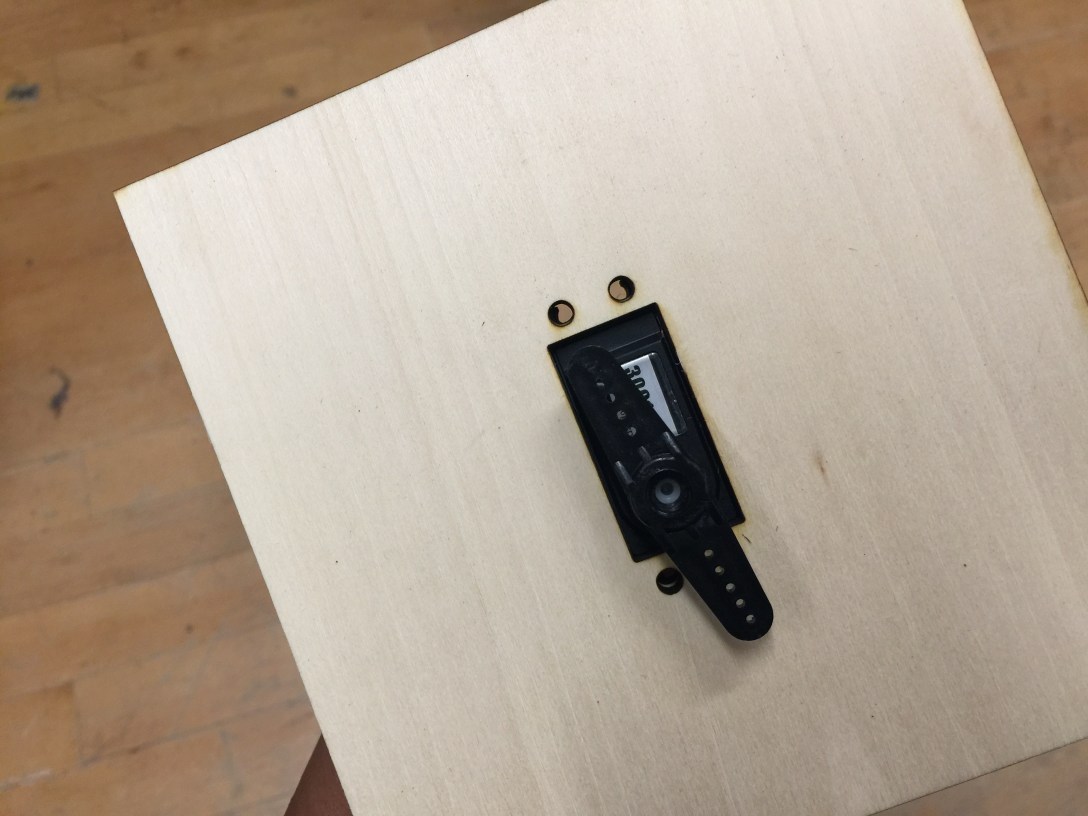
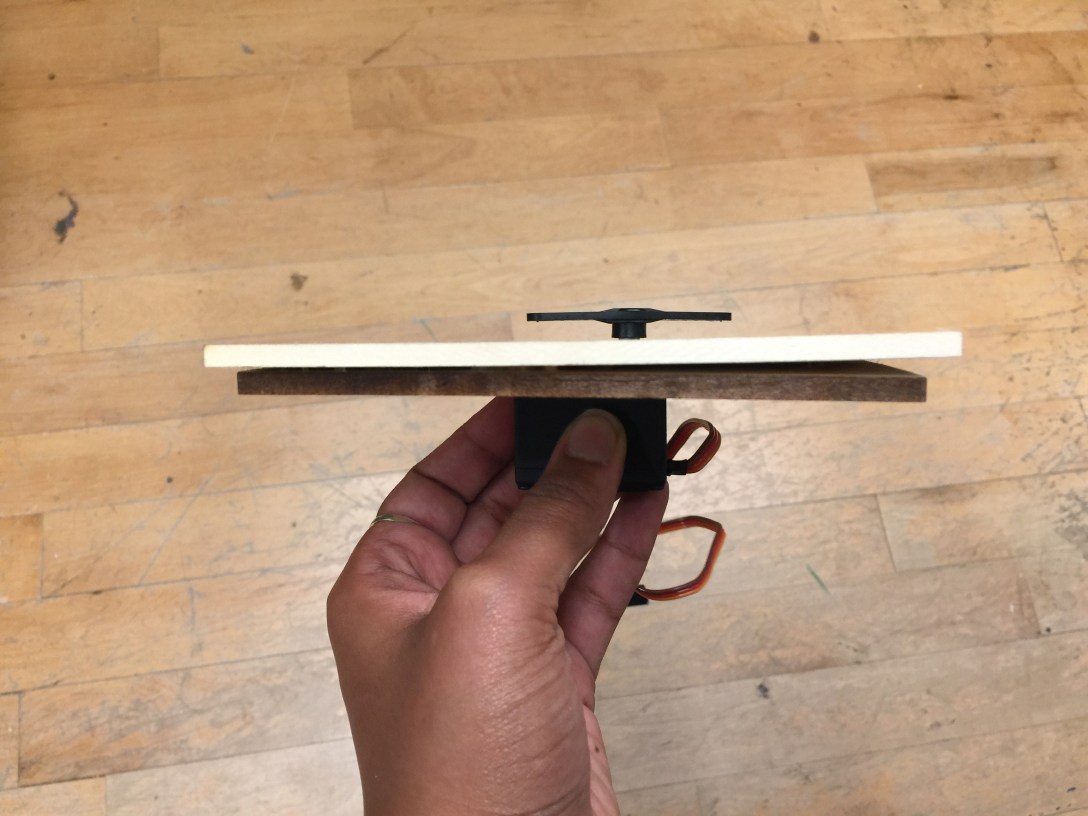
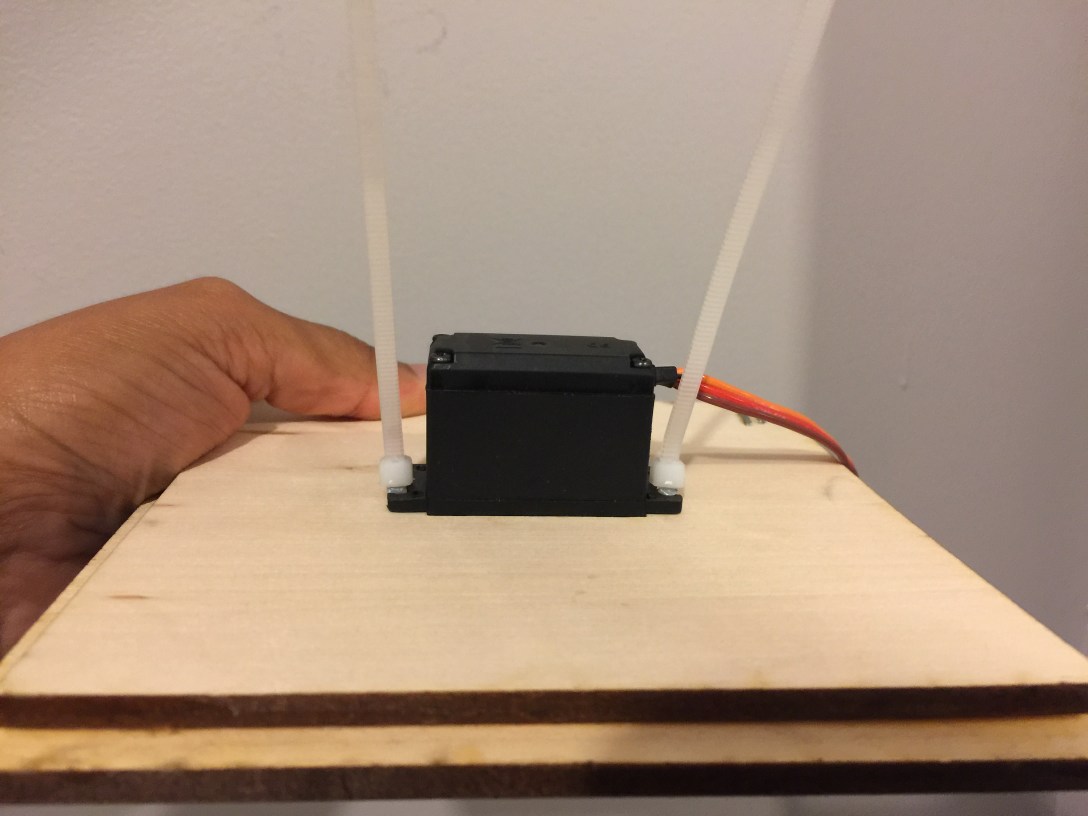
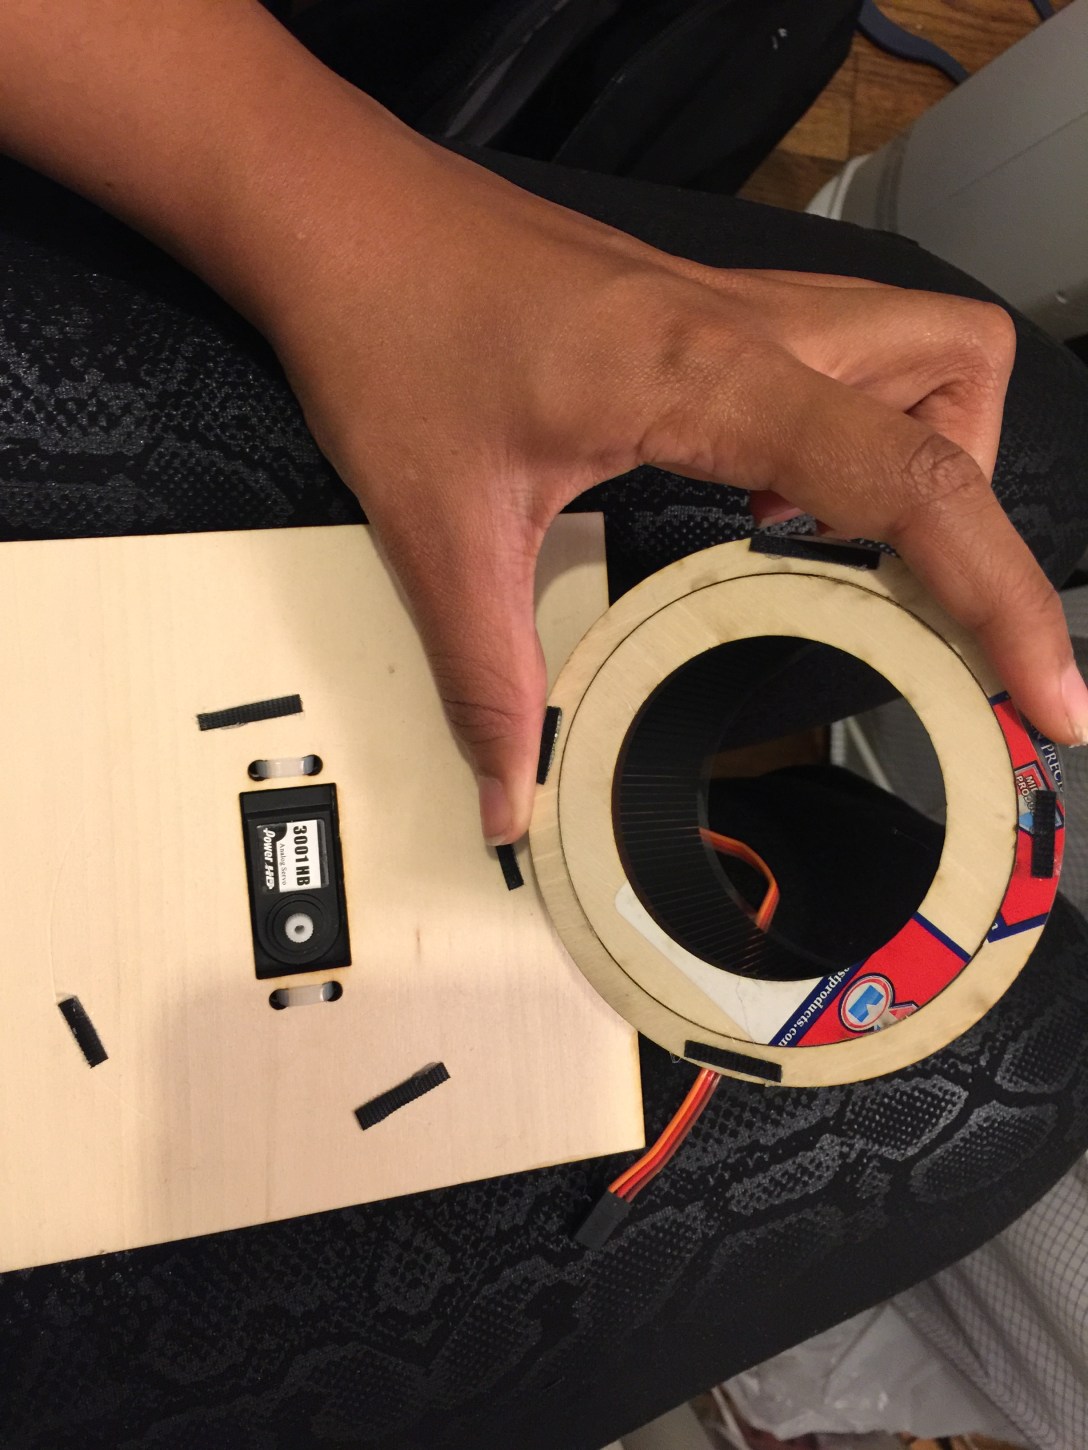
First I laser cut a top that would be a snug fit for the servo motor. It included two layers of birch wood, adhered together with wood glue. The lower layer is slightly smaller than the top layer so that it fits inside the lip of the box. Both layers have a square hole for the servo and four holes that match the servos screw holes.
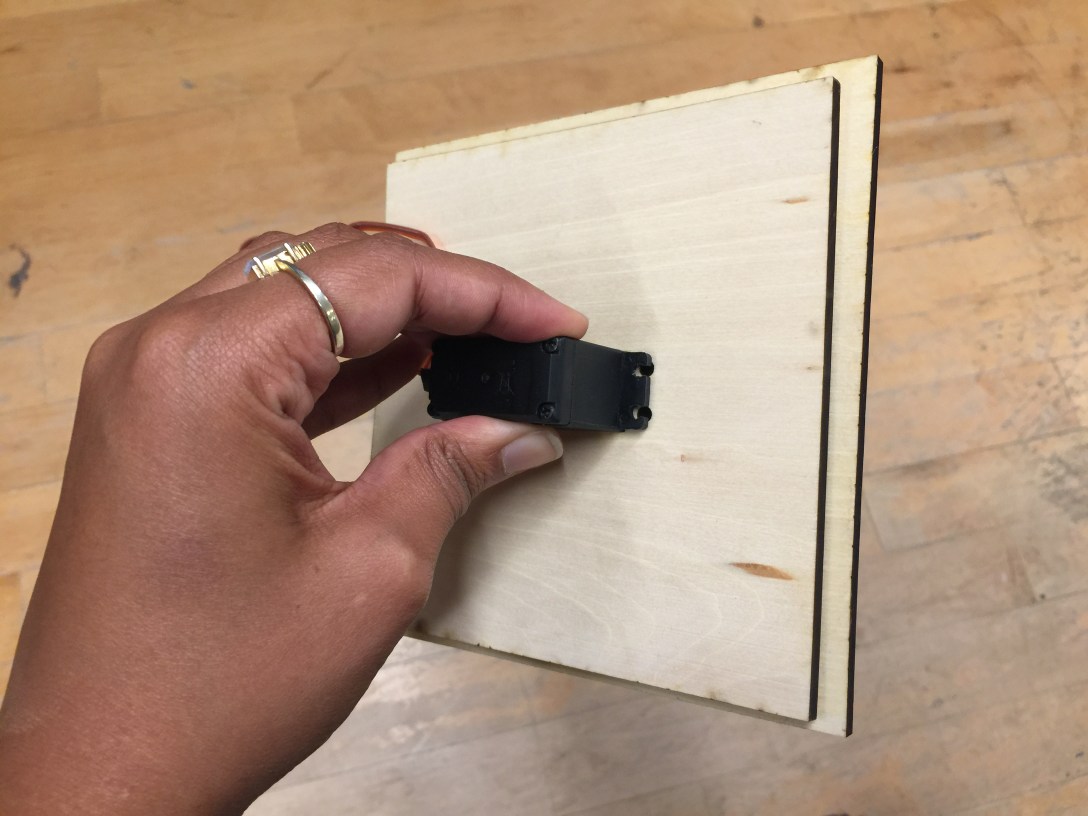
After friction fitting the servo into the hole, I secured it with zip ties through the screw holes.


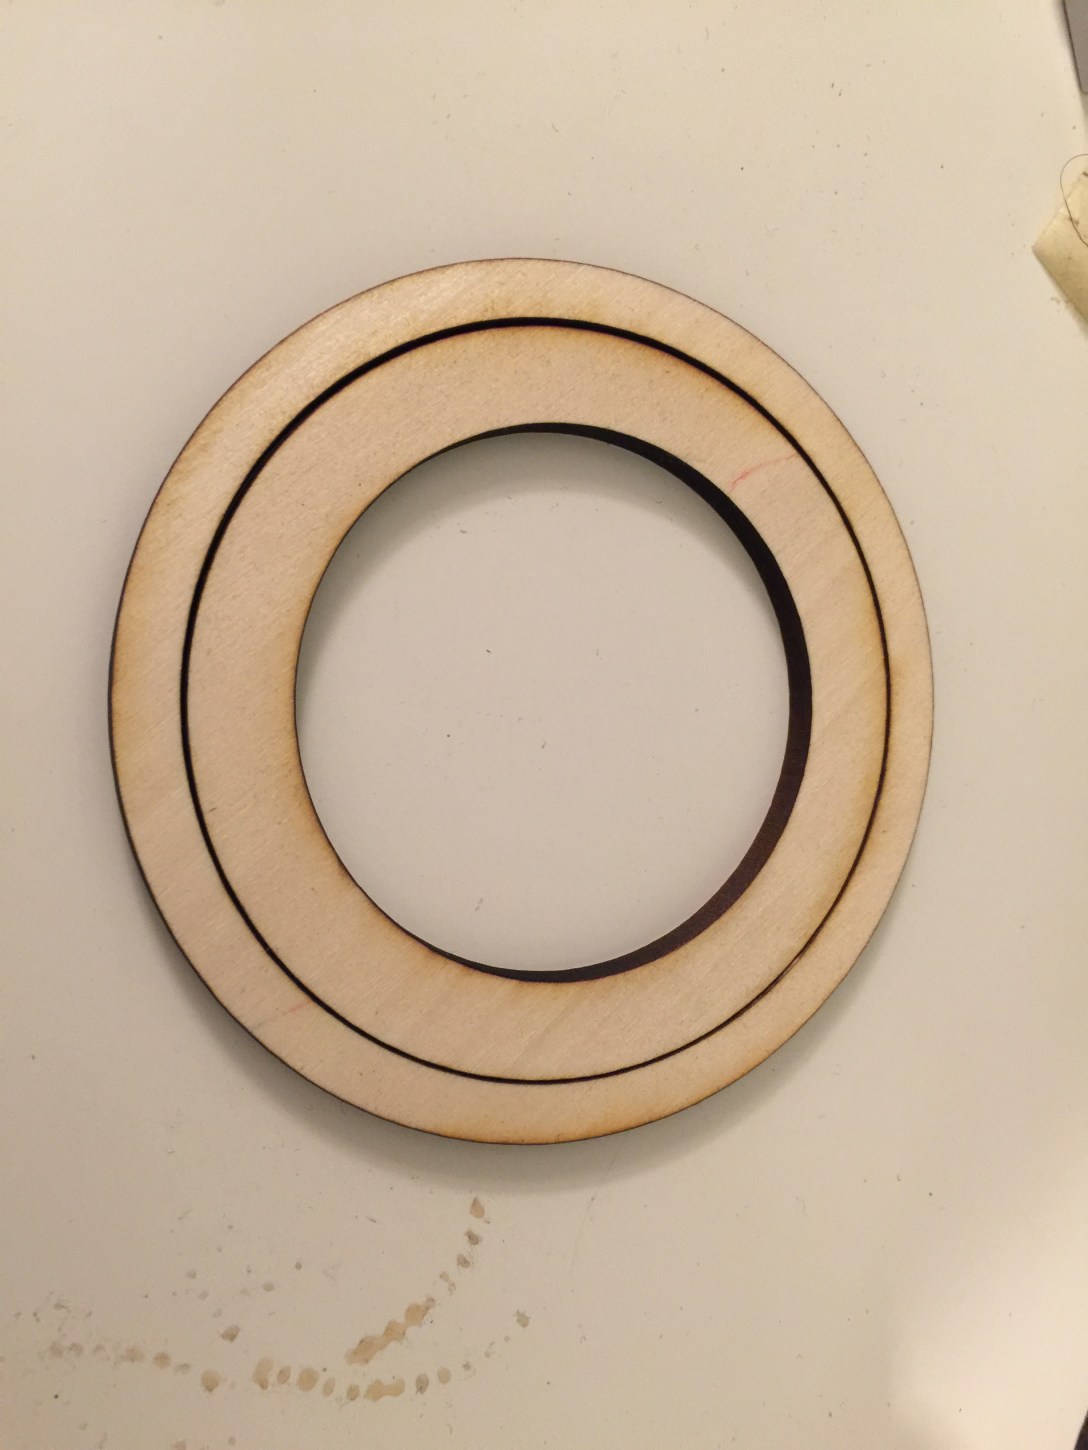
Then I designed a series of concentric circles that could hold the lined transparent layer static and allow a servo motor to rotate the opaque cat layer inside.

It took me a while to remember how to calculate the diameter of a circle when you know the circumference. It’s pi something.. I’ve already forgotten.
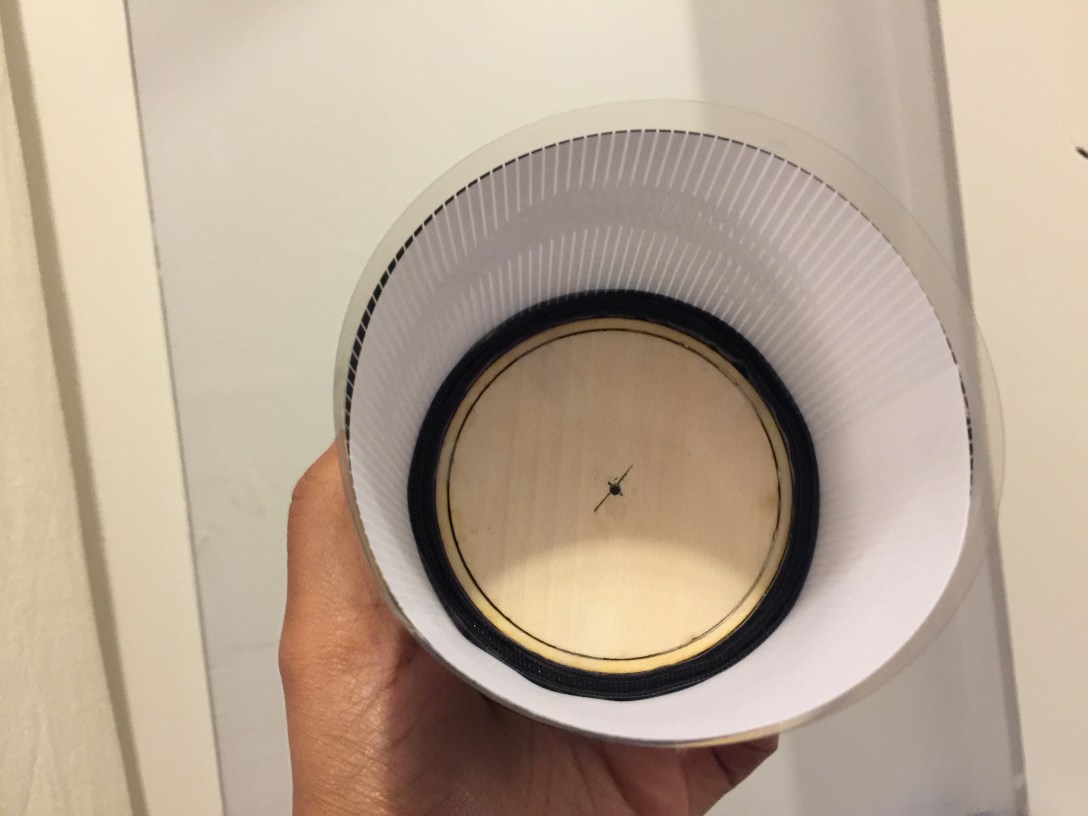
Then I wrapped the transparent layer around the outer disk, adhering it with double sided tape. I made a ring to fit around it so that it was less likely to come apart.


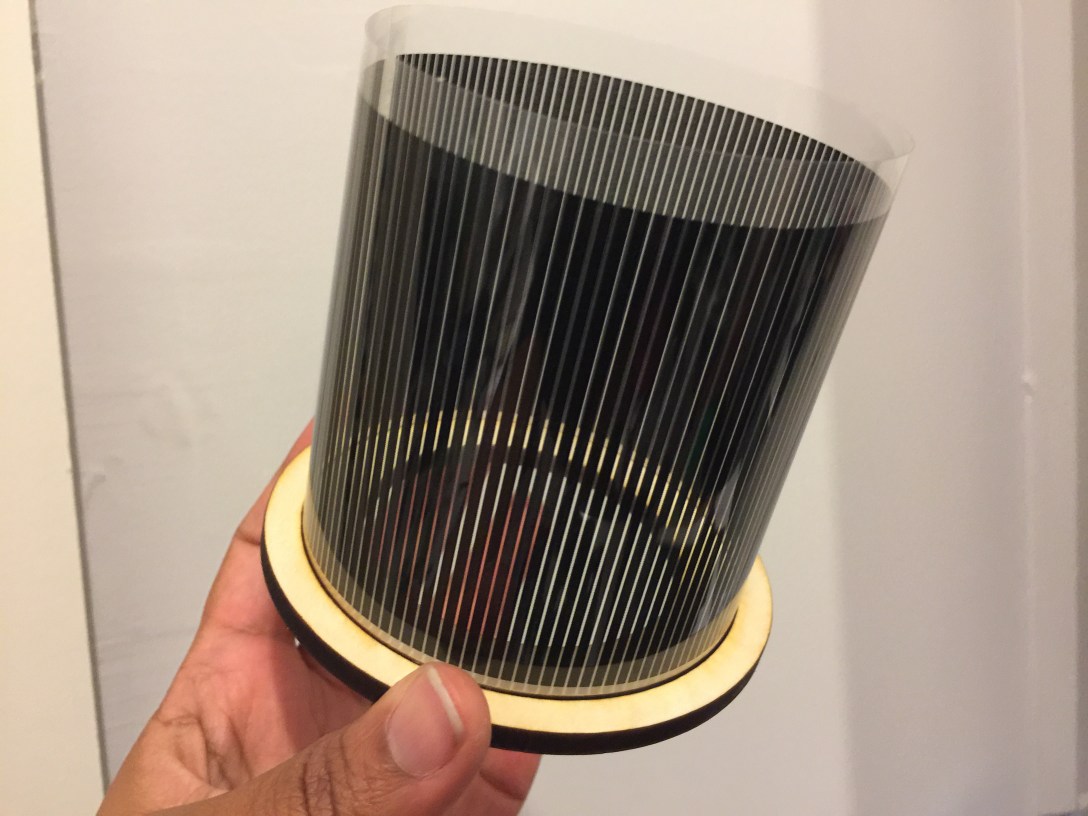
Then I did the same for the cat layer. This was trickier because I realized that my original design was flawed. It left too much space between the layers, making it hard for the animation to be perceived. I had to widen my inner disk with a buffer layer of velcro to create a larger circumference, allowing for the cat layer to lay snuggly against the inside of the transparent layer.

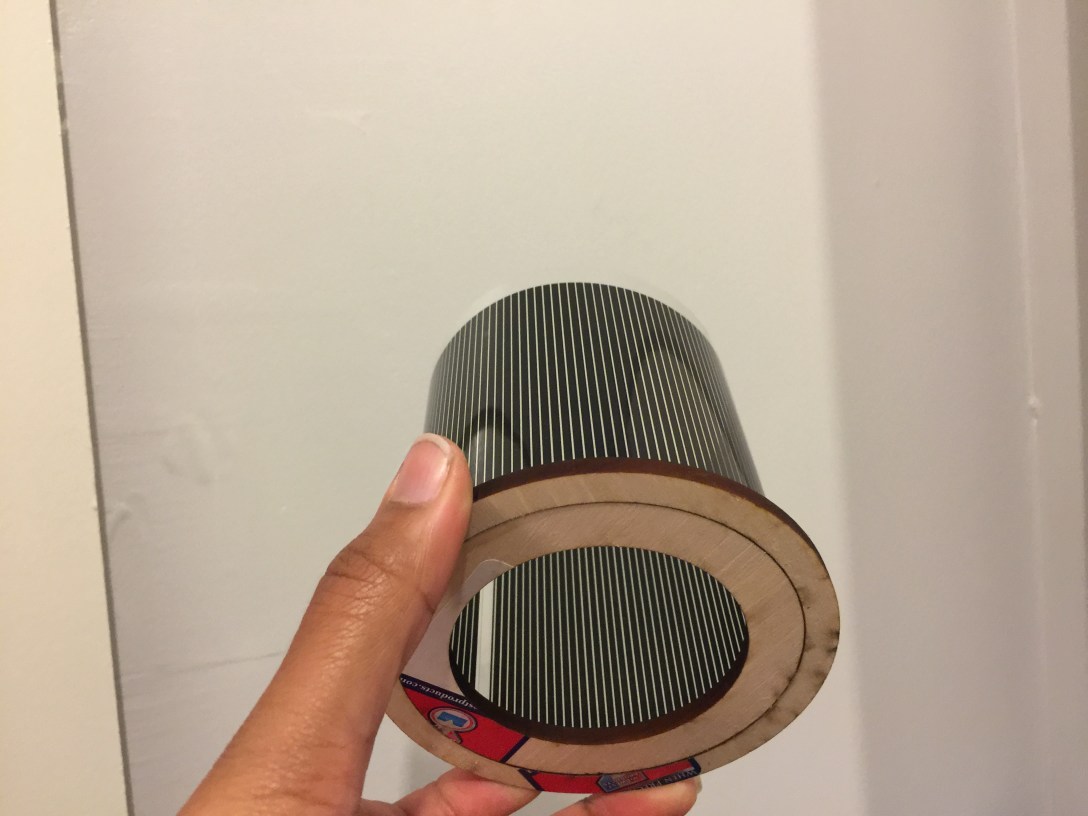
Then I nested the inner layer inside the outer layer and mounted it to the servo.
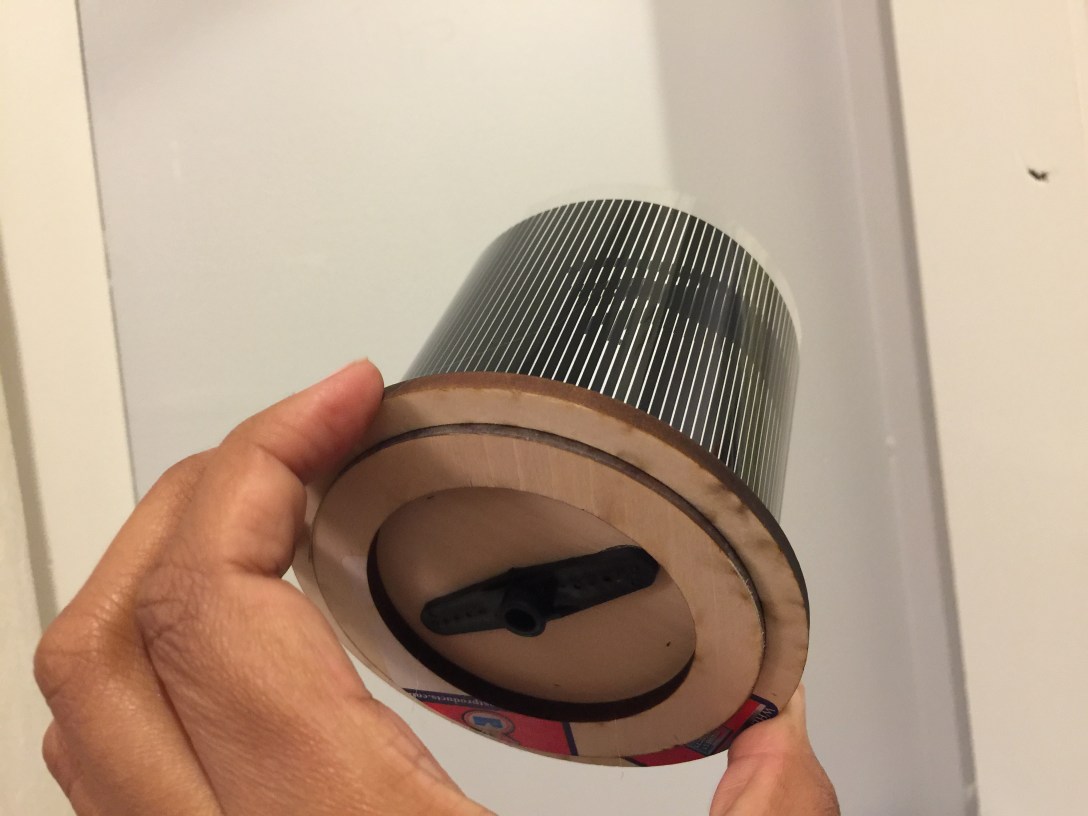
As you can see above, I attached the outer layer to the base with some velcro so that I could adjust the positioning if the inner layer rubbed against it too hard in certain areas.
I just used the sweep example in Arduino. I did a couple of tests to get the right speed in my code.
And that’s it! Here are some beauty shots.