


Link to Serial Software and Arduino Demo Code
INSTRUCTIONS
Hi everyone! First of all here are some things to download:
The PC version of the serial control software is available here! You should get an exe file.
Here’s a copy of the complete Arduino code.
All of these files are in the Google Drive folder for the workshop.
First, ensure that your circuit is correct. Plug your resistor into the Arduino. The side of the resistor with the sensor (the wire soldered to it) should go into pin 8 and the other leg of the resistor goes into pin 4. The LED helps us get an indication for what the Arduino understands. If it’s lit then the Arduino believes that the wire has been touched. If the LED is off then the Arduino believes that nothing is touching the sensor. The long leg of the LED (the positive leg) should be plugged into pin 13. The short let of the LED (the negative leg) should be plugged into GND. This is the GROUND pin.
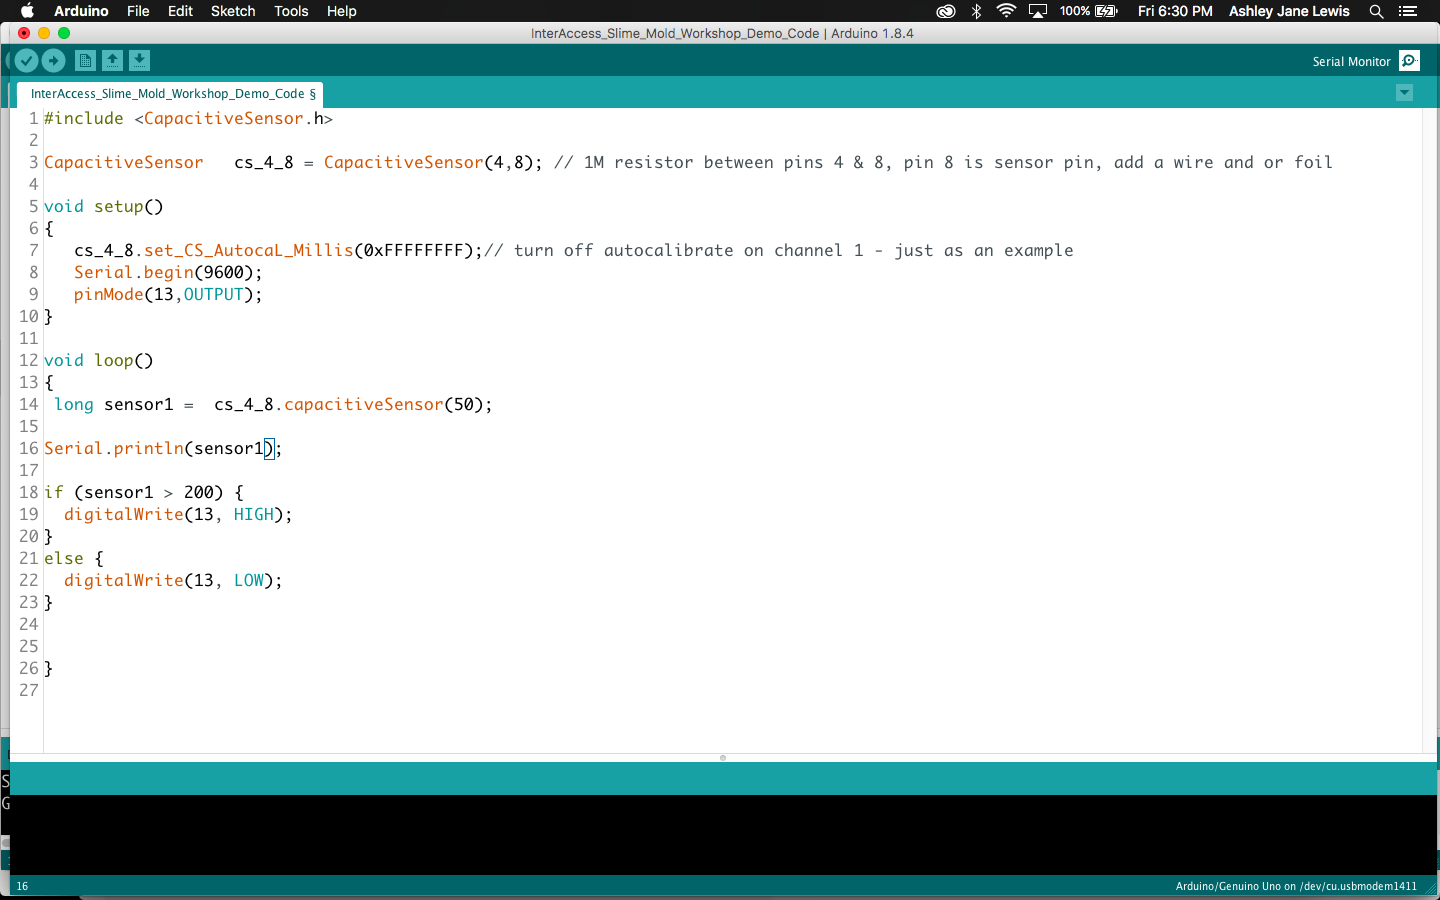
Now, plug your Arduino into your laptop. Open the Arduino software and run the code. Running the code means hitting the upload arrow located in the top left hand side of the window. Again, that can be found here in our Google Drive Folder.
You’ll have a window open that looks like this.
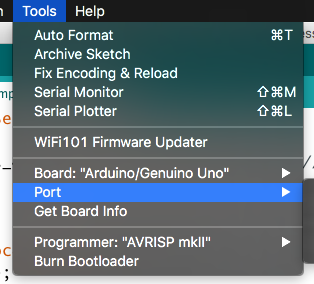
If you get an orange error on the bottom of the screen, it’s likely because you need to remind the Arduino which port you’re plugged in to. Go to “Tools” at the top of the window. Hover over the “Port” option and select the port the starts will “usbmodem…” That’s literally the name of the USB port that your Arduino is plugged into on your laptop.
Line 18 of this code is very important. That line reads as
if (sensor1 > 200) {
digitalWrite(13, HIGH);
For my circuit, this turns the LED on when the sensor experiences a resistance higher than 200. Each circuit may have a slightly different number because our bodies all have slightly different levels of conductivity.
I got this number by opening the Serial Monitor and looking at the numbers I was receiving when I touched the sensor. The button to open the serial monitor is in the top right hand corner. It looks a little like a magnifying glass.

While this Serial Monitor window is open, touch the sensor. Note that the numbers change quite dramatically. I noticed that, while touching the sensor, all my values were above 200. Pick a number that makes sense for your results and add that number to line 18 of the code, replacing the bolded number in the code below.
if (sensor1 > 200) {
digitalWrite(13, HIGH);
Okay! Great! Now close that Serial Monitor window. We can’t have it open to do the next step.
The Arduino software and the Serial Control software speak a slightly different language so we have to make a small change in the code to translate our results to a language that can be read by the software that will play our sound file.
Make the following adjustment to line 16 of your code.
Change line 16 from this…
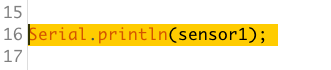
To this…
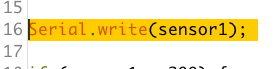
Run this code. Do not open the Serial Monitor window.
Let’s open the p5.Serial Control software now!

Click List Ports. From the drop down selection list, select the name of the port that your Arduino is connected to. It should start with the words “usbmodem…”. That’s literally the name of the USB port that your Arduino is connect to on your laptop.
Then click the check box next to “Serial Console Enabled”. Then click “Open”. You should now see numbers streaming in the box below these options. If you touch your sensor you should see those numbers shift the same way they shifted in the Arduino software!
OKAY! Nearly done!
Open this link to get to the p5 code.

You will have to make a quick account to made edits to this code. It’s pretty low maintenance as far as required info goes.
On the left hand side of the screen you will see the options marked “Sketch Files”.
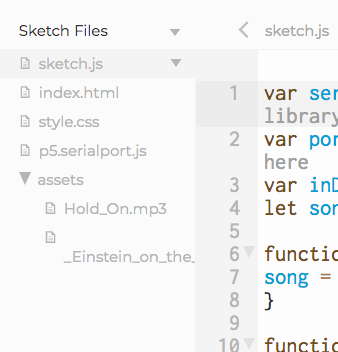
If you don’t see this right away, you’ll have to click the small arrow to reveal these files.
You’ll see a small folder called “assets”. If you click the arrow to uncurl the folder, you’ll see my sample song “Hold_On.mp3”. Upload your audio file here!
To upload your file, right click on the word “assets” and then hit “add file”.
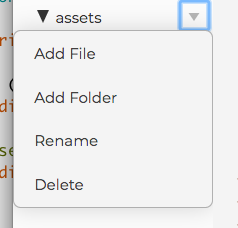
Add your audio file! Name is something clean and simple.
Now, in the code, scroll to line 7 in p5. Replace the name of my sample file with the name of your audio file.

Make a careful note to include those little quotation marks on either side of your audio file name.
One last change to make! Scroll to line 37 in the p5 code.
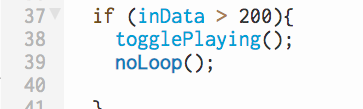
Make sure that this number “200” matches the number that you chose as your threshold in Arduino. As a reminder, for my circuit when I touched my sensor, the numbers jumped above 200. Add your number now.
Now run your p5 code by hitting the play button in the top left hand corner.

TOUCH THE SENSOR! You should hear your audio file play!
Now mount it in your petri dish, positioning it between your slime and an oat flake, mounted just above the agar agar.
See you next week!
